6. Replacing Parts
6-2-7. Main PCB Assy
Adjust the firmware with GT-3 Service Tool, after you replace to the new Main PCB Assy. (Refer to “3-3. GT-3
Service Tool”.) Refer to the page “How to connect/disconnect the FFC Connector” in “6-2-18. Carriage PCB
Assy” when you handle FFC Connectors.
Required Tools
・ Thermistor
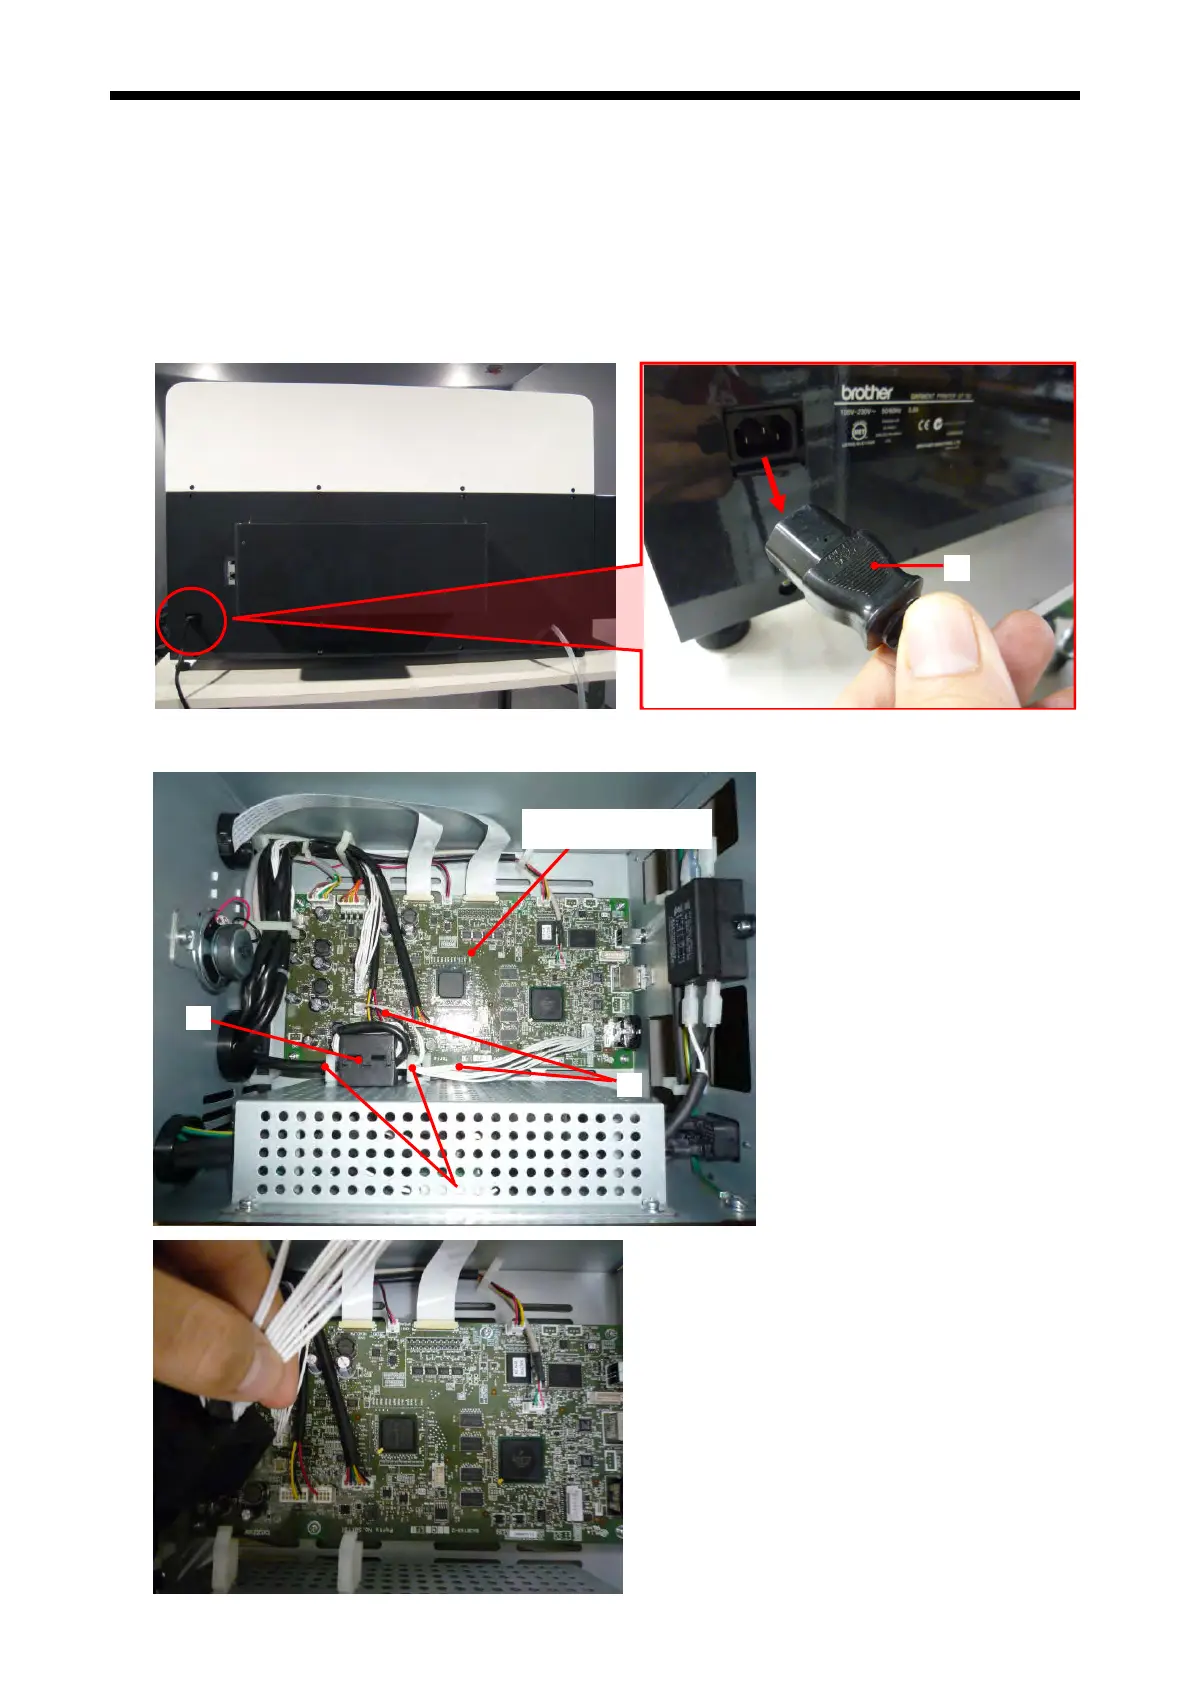
Disassembling
1. Remove the AC Cord (1).
(1)
2. Remove the
Cover DR (right side). (Refer to “6-1-2. Assembling/Disassembling of the Covers”.)
3. Remove the Harness: Panel Com (3) with the Ferrite Core (2) together from the Cord Clamp (4).
(
(3)
Main PCB Assy
2)
GT-3 Series
318
 Loading...