c. Use the cylinder bore ridge reamer to remove the ridge or deposits.
d. Turn the crankshaft until the piston is at the top of the stroke.
e. Remove the cloth and cuttings.
Cylinder bore ridge reamer
2. Turn the crankshaft to gain access to the connecting rods and screws.
IMPORTANT: Mark the location of each connecting rod assembly so that they can be assembled in the same location
later.
3. Mark connecting rods and bearing caps to the corresponding cylinder number (port bank 1, 3, 5, and 7; starboard bank 2,
4, 6, and 8 from front to rear on the same side as the piston thrust).
IMPORTANT: Before removing the connecting rod cap, mark and organize the connecting rods and caps so that they can
be installed in the same location later.
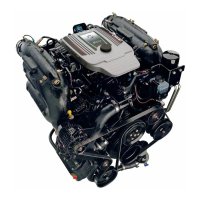
4. Remove the connecting rod bearing cap.
Connecting rod bearing cap
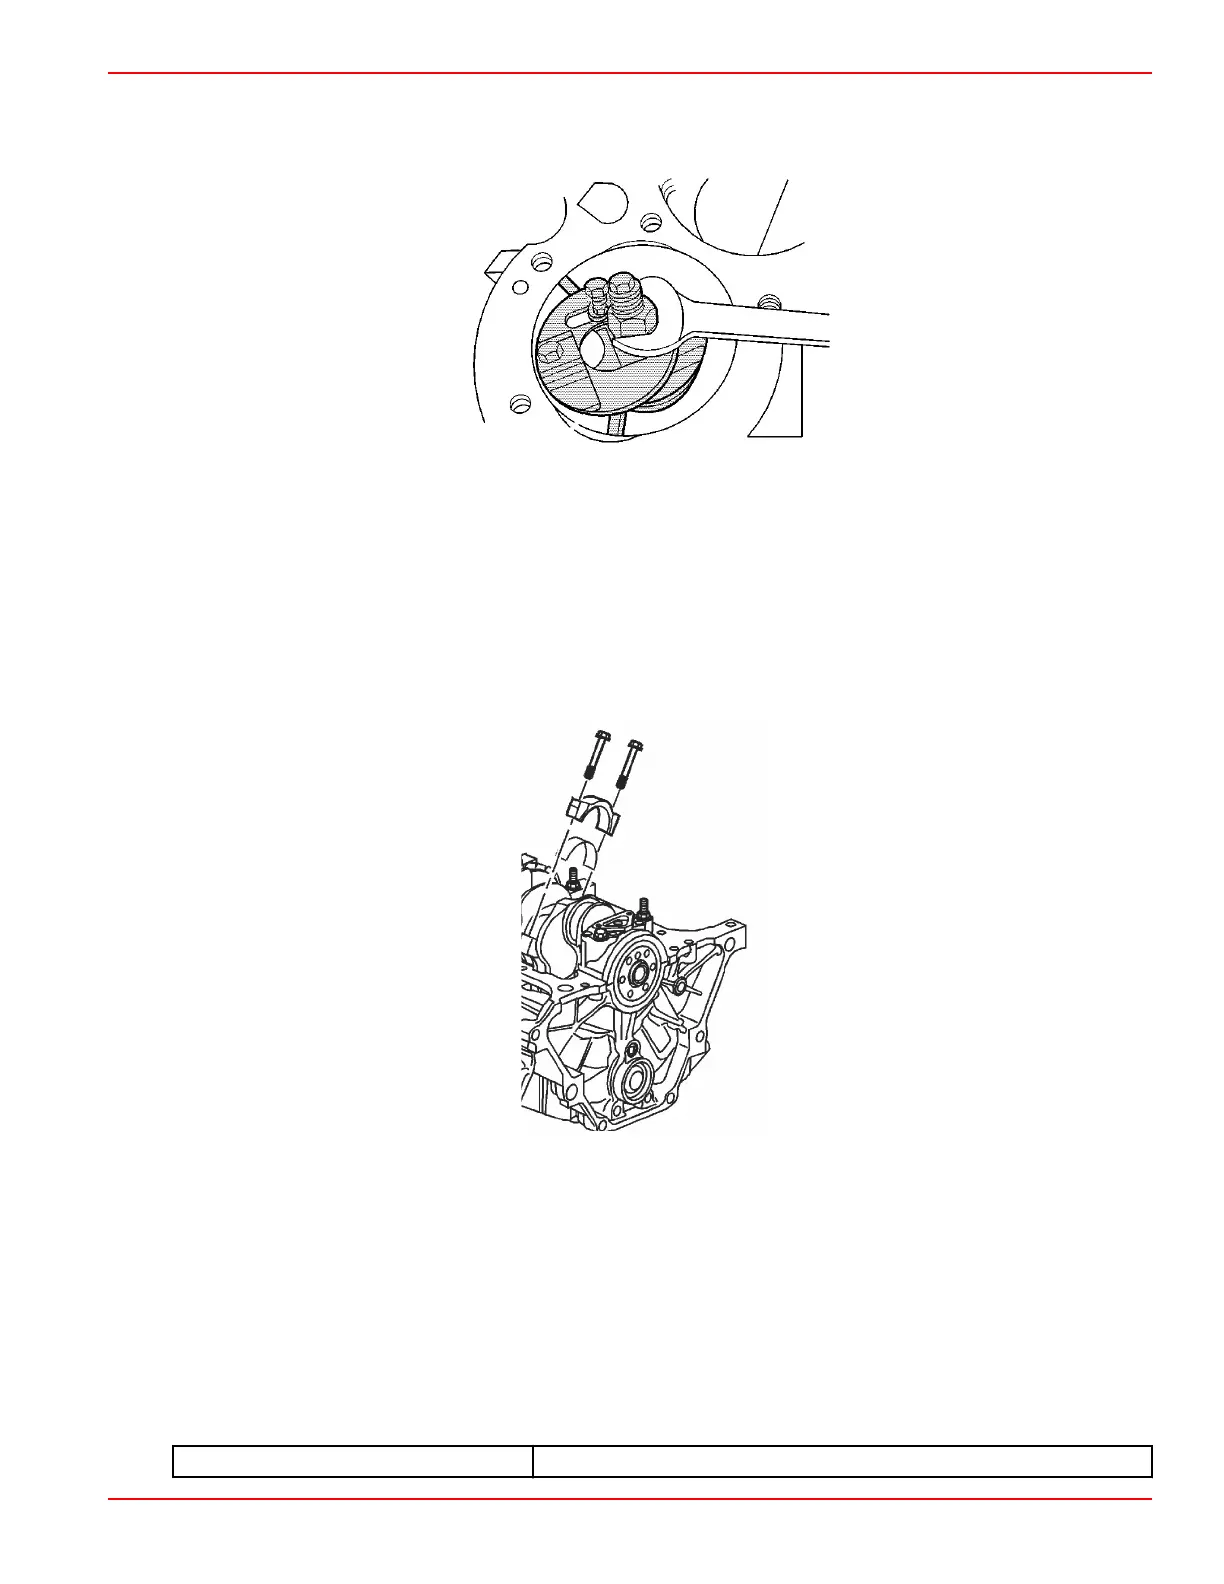
IMPORTANT: Wrap a clean, lint free towel around the connecting rod ends when removing the piston from the cylinder so
as not to damage the crankshaft journals or cylinder bore.
5. Push the piston and connecting rod out of the cylinder.
IMPORTANT: The mating surfaces of the connecting rods and the connecting rod bearing caps form an individual fit and
as a result must not be interchanged or damaged under any circumstances. To avoid damage, do not lay connecting rods
or connecting rod bearing caps on their mating surfaces.
6. Remove the connecting rod bearings. Keep the bearings with the original connecting rod and connecting rod cap together
as a matched set.
Disassembly
1. Remove the piston rings from the pistons.
Piston Ring Expander
91‑24697
Engine Disassembly
90-8M0099748 eng DECEMBER 2015 © 2016 Mercury Marine Page 3A-37
 Loading...


