5.
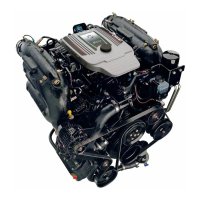
On Flagship and Admiral gauges: Connect a jumper wire from terminal G (GND) to terminal SEND ("S").
SEND ("S") terminal
6.
On VDO gauges: Connect a jumper wire from terminal "–" (negative, or ground) to terminal "G" (gauge).
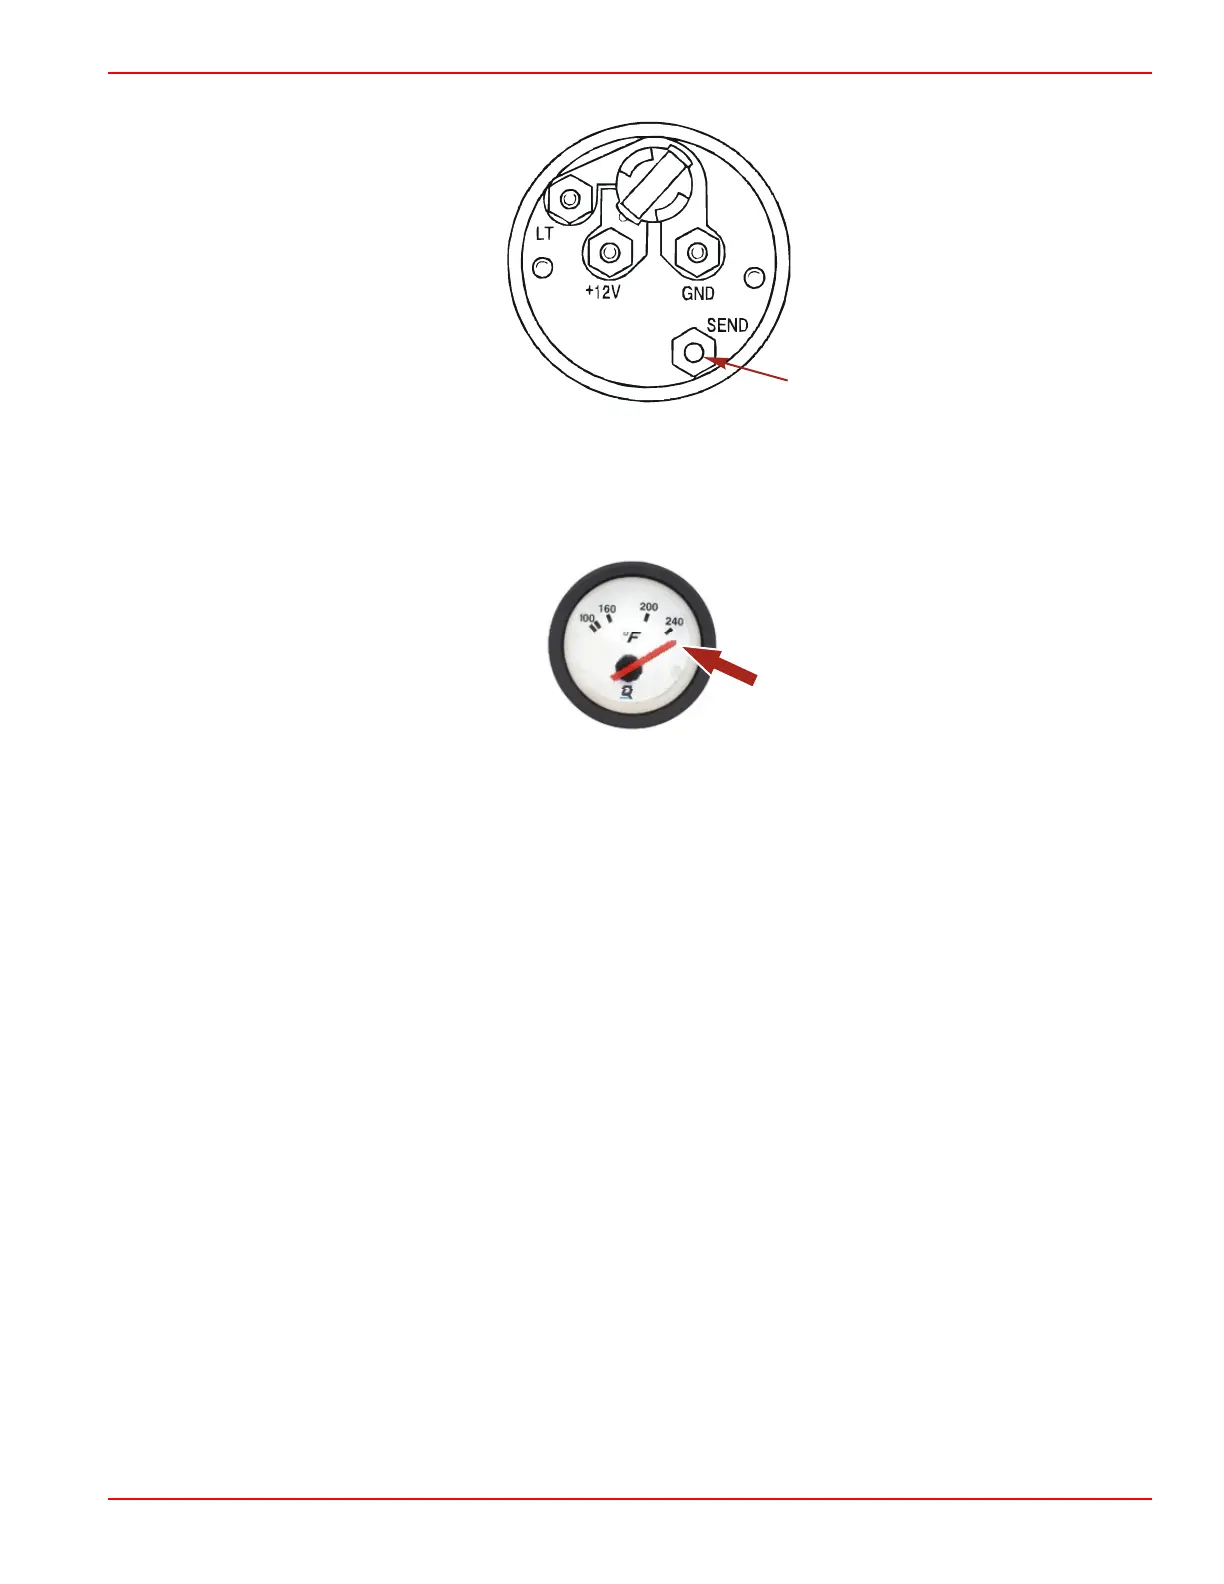
7. Turn the key switch to the "RUN" or "1" position, whichever applies to the key switch. The needle of the gauge must be in
the indicated position.
Typical gauge
8. If the gauge does not respond as indicated it is defective and must be replaced.
Battery or Voltage Gauge
In-the-Boat Testing
1. Connect a digital multimeter (DMM) to the terminals on the back of the gauge.
2. Set the DMM to VDC.
3. Turn the keyswitch to the "ON" or "RUN" position.
4. The voltage indicated by the gauge should match the voltage measured by the DMM. If the values do not match, replace
the gauge.
Bench Testing
If the gauge is disconnected from the boat's wiring, the gauge may be checked with any known good voltage source that is at
least 9 vdc but no greater than 15 vdc.
IMPORTANT: Connecting the gauge with the incorrect polarity could damage the gauge.
1. Connect the gauge's negative (–) terminal to the negative (–) terminal of the known good voltage source.
2. Connect the gauge's positive (+) terminal to the positive (+) terminal of the known good voltage source.
3. Check the position of the gauge needle. If it does not indicate the voltage of the source, replace the gauge.
Cruiselog (Engine Hour Meter)
1. Remove the battery cables and fully charge the battery.
2. Remove the wires from the rear of the gauge.
Instrumentation and Controls
90-8M0099748 eng DECEMBER 2015 © 2016 Mercury Marine Page 4D-5
 Loading...


