NOTICE
Without sufficient cooling water, the engine, the water pump, and other components will overheat and suffer damage. Provide
a sufficient supply of water to the water inlets during operation.
7. Supply cooling water to the engine.
8. Start the engine and operate at fast idle—1300 RPM, until the engine reaches normal operating temperature. During this
time, turn the steering wheel back and forth to the end of travel in each direction several times.
9. Center the sterndrive and stop the engine.
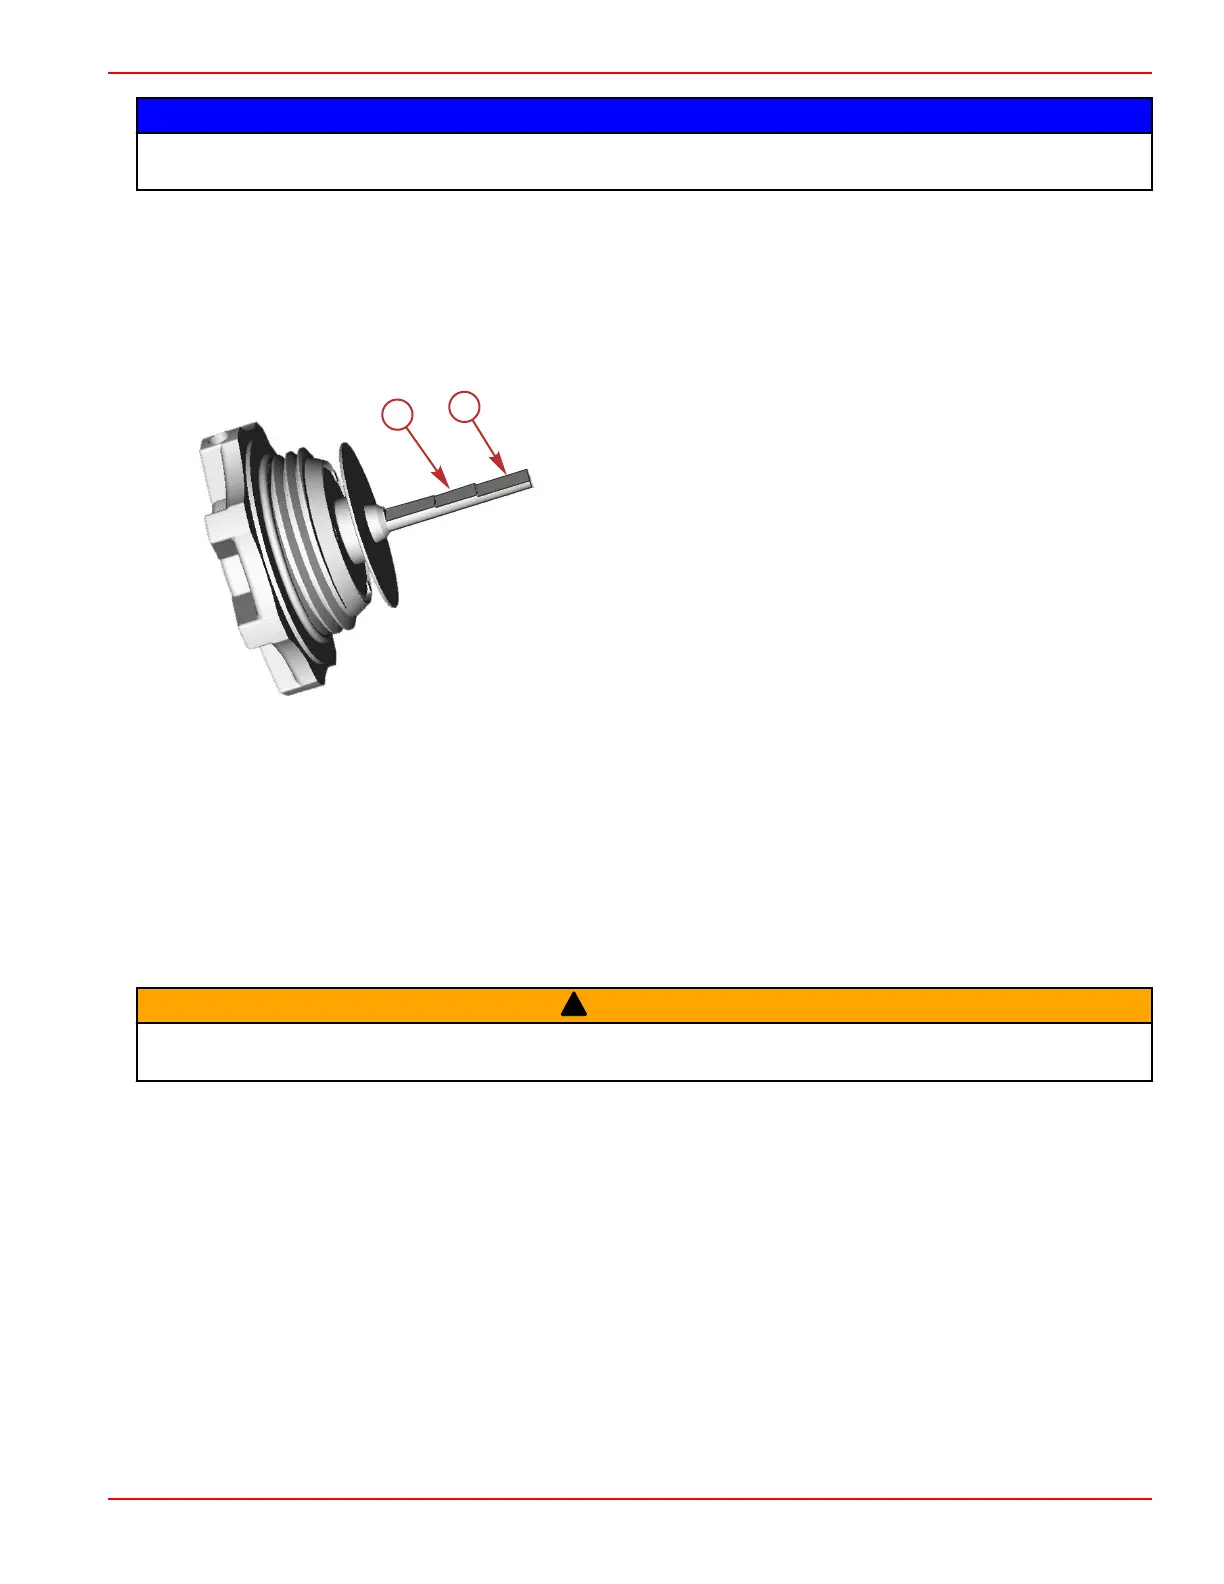
10. Remove the fill cap/dipstick from the pump.
11. Allow any foam in the pump reservoir to disperse.
12. Check the fluid level and add fluid, as required, to bring the level up to the warm range on the dipstick. Do not overfill.
a - Warm range
b - Cold range
13. Install the fill cap/dipstick. Tighten securely.
IMPORTANT: The drive unit must be centered and the power‑assisted steering fluid must be hot to accurately check the
fluid level.
14. If the fluid is still foamy—in step 10, repeat steps 7–13 until the fluid does not foam and the level remains constant.
Changing
Power‑assisted steering fluid does not require changing unless it becomes contaminated. Refer to Section 8A ‑
Power‑Assisted Steering Pump and Related Components.
Compact Hydraulic Steering
Complete instructions are listed in Section 8B ‑ Compact Hydraulic Steering.
!
WARNING
Failure to fill the system properly can damage steering components, causing serious injury or death from loss of boat control.
Completely retract the cylinder rod before checking or adding hydraulic fluid.
Setting the Fluid Level
The system must be filled and purged as outlined in Section 8B ‑ Compact Hydraulic Steering before setting the fluid level.
1. Ensure that the cylinder rod is fully retracted.
2. With the filler tube screwed into the helm filler plug hole, fill the tube approximately half full of air‑free hydraulic fluid.
3. Open the starboard bleeder valve and slowly turn the steering wheel clockwise until the fluid level in the filler tube is at the
top of the plastic filler fitting. Continue turning steering wheel clockwise ¼ turn more, and then stop. Close the bleeder
valve.
4. Remove the filler tube. The fluid level should be at the bottom of the filler hole. Install the vent/fill plug.
Maintaining the Fluid Level
To maintain proper fluid level, observe the following:
• Do not allow the fluid level to drop more than 6 mm (1/4 in.) below the bottom of the filler hole.
• Check the fluid level periodically.
Maintenance
90-8M0099748 eng DECEMBER 2015 © 2016 Mercury Marine Page 1C-21
 Loading...