SM 23 D163
8. Connect the other end [A] of the flat cable to CN603 on the FCU board.
9. Reinstall the rear cover and controller box cover.
10. Attach the ferrite core to the telephone cord for single SG3 board installation.
11. Connect the telephone cord to the "LINE 2" jack for single SG3 board installation.
12. Connect the power plug to a power outlet and turn on the main power switch.
13. Enter the service mode. Set bit 1 of communication switch 16 to "1" (SP1-104-023).
14. Exit the service mode.
15. Turn the main power switch off and on.
16. Print out the system parameter list. Then check that "G3" shows as an option.
17. Set up and program the items required for PSTN-2 communications.
For Installing the Double G3 Boards
1. If the FCU is not installed in the machine, install the FCU (D163) in the machine first
(page 7 "Fax Option Type M3 (D163)").
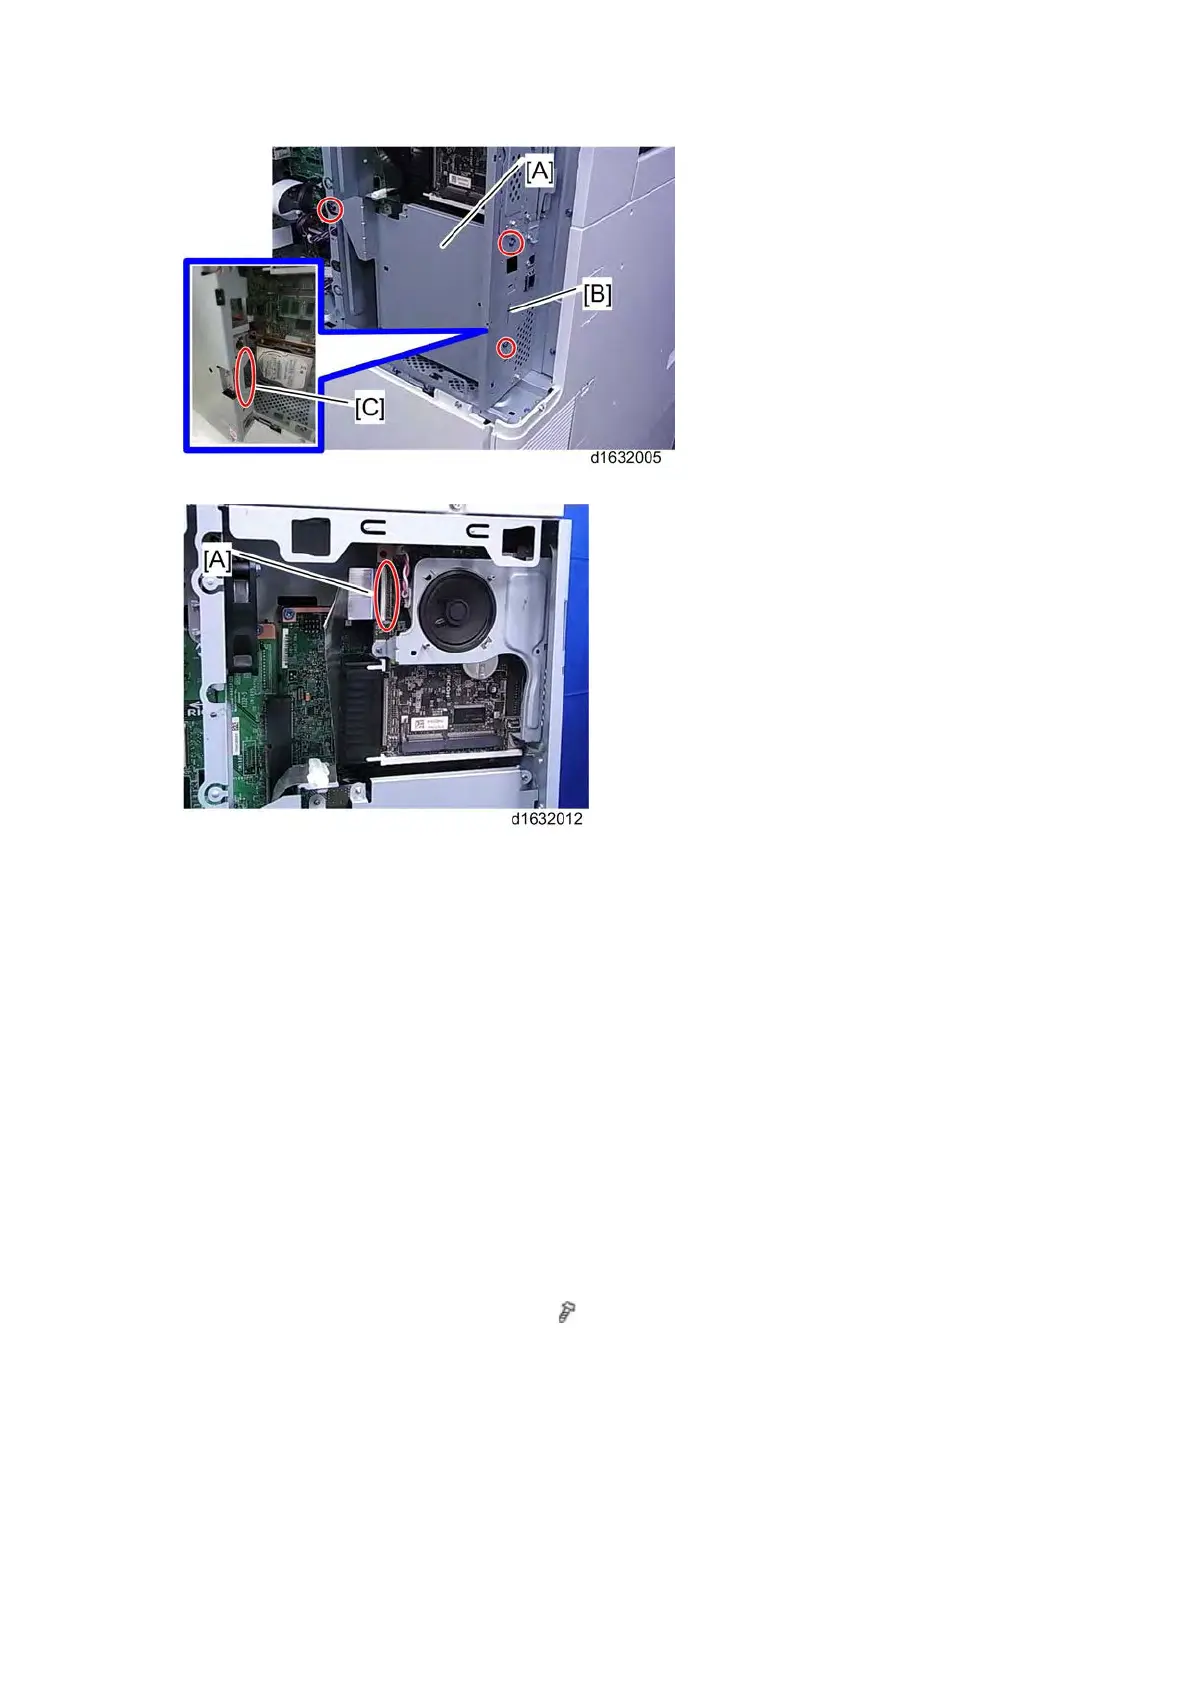
2. Remove the controller box cover [A] (
x 4).
 Loading...