CLUTCH
5-41
EAS25070
REMOVING THE CLUTCH
1. Remove:
• Friction plates
• Clutch plates
NOTE:
Be sure to mark the friction plates and clutch
plates or note the position of each part so that
they are installed in their original positions.
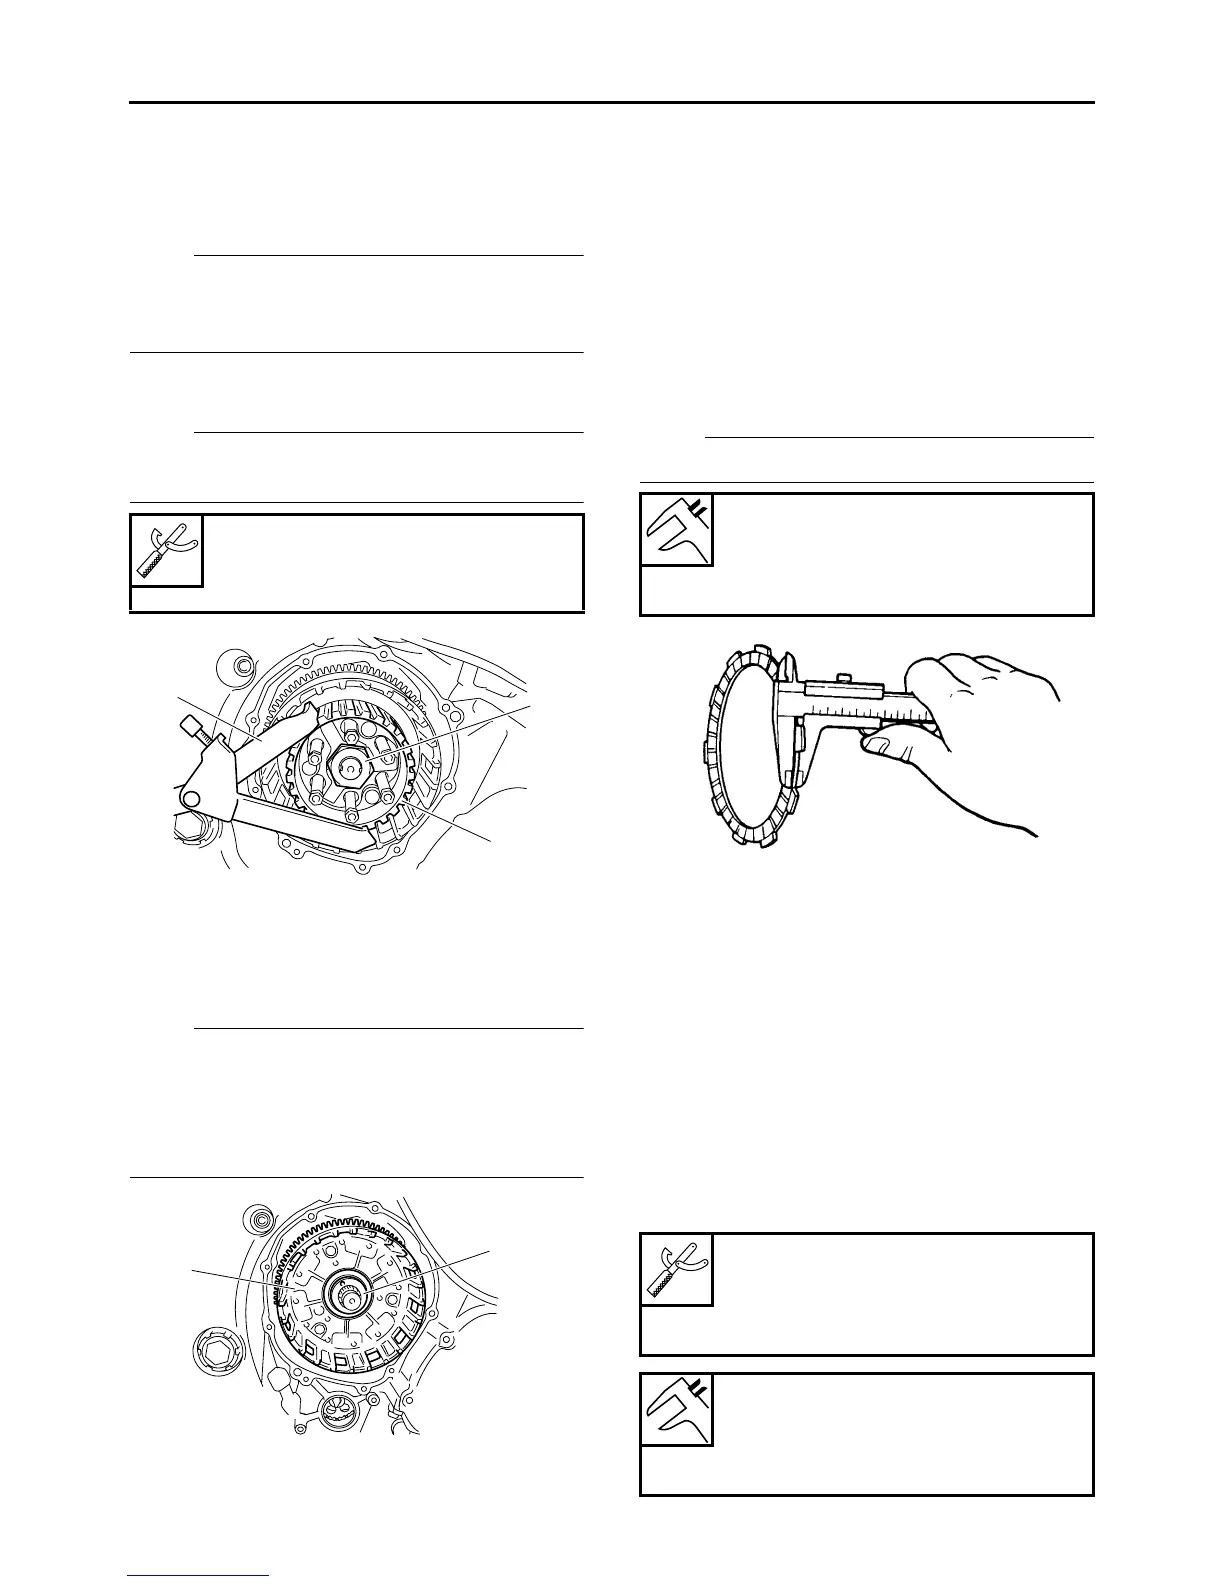
2. Loosen:
• Clutch boss nut “1”
NOTE:
While holding the clutch boss “2” with the univer-
sal clutch holder “3”, loosen the clutch boss nut.
3. Remove:
• Spacer “1”
• Bearing
• Clutch housing “2”
• Oil pump drive chain
NOTE:
Remove the spacer and bearing from the main
axle, then remove the oil pump drive chain from
the oil pump driven sprocket, and then remove
the clutch housing and oil pump drive chain from
the main axle.
EAS25100
CHECKING THE FRICTION PLATES
The following procedure applies to all of the fric-
tion plates.
1. Check:
• Friction plate
Damage/wear → Replace the friction plates
as a set.
2. Measure:
• Friction plate thickness
Out of specification → Replace the friction
plates as a set.
NOTE:
Measure the friction plate at four places.
EAS25110
CHECKING THE CLUTCH PLATES
The following procedure applies to all of the
clutch plates.
1. Check:
• Clutch plate
Damage → Replace the clutch plates as a
set.
2. Measure:
• Clutch plate warpage
(with a surface plate and thickness gauge “1”)
Out of specification → Replace the clutch
plates as a set.
Universal clutch holder
90890-04086
YM-91042
1
2
3
2
1
Friction plate thickness
2.92–3.08 mm (0.115–0.121 in)
Wear limit
2.80 mm (0.1102 in)
Thickness gauge
90890-03180
Feeler gauge set
YU-26900-9
Clutch plate thickness
1.90–2.10 mm (0.075–0.083 in)
Warpage limit
0.10 mm (0.0039 in)

 Loading...