FUEL INJECTION SYSTEM
8-40
EAS27420
DIAGNOSTIC MODE
Setting the diagnostic mode
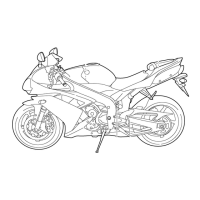
1. Turn the main switch to “OFF”.
2. Disconnect the wire harness coupler from the fuel pump.
3. Press and hold the “SELECT” and “RESET” buttons, turn the main switch to “ON”, and continue to
press the buttons for 8 seconds or more.
NOTE:
• All displays on the meter disappear except the odometer/trip meter/fuel reserve trip meter/stopwatch
display.
•“dIAG” appears on the odometer/trip meter/fuel reserve trip meter/stopwatch LCD.
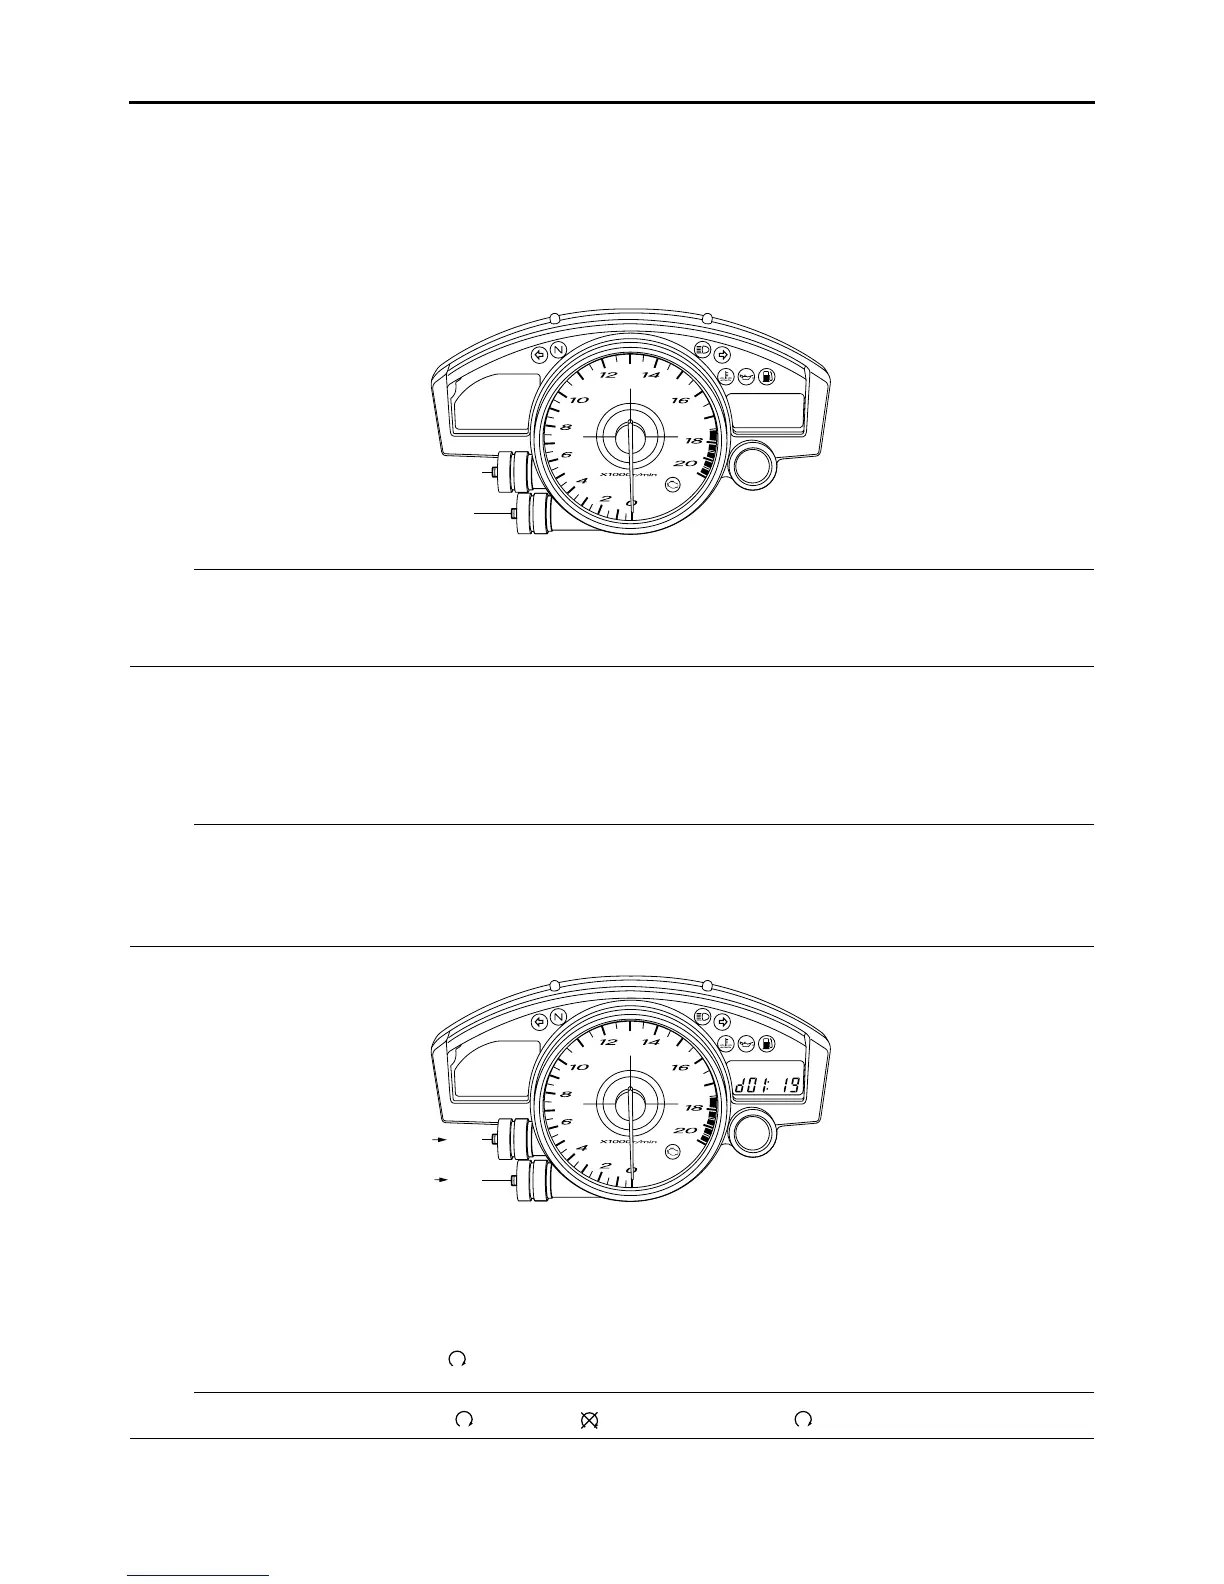
4. Press the “SELECT” button to select the diagnostic mode “dIAG”.
5. After selecting “dIAG”, simultaneously press the “SELECT” and “RESET” buttons for 2 seconds or
more to activate the diagnostic mode. The diagnostic code number “d01” appears on the clock LCD.
6. Select the diagnostic code number corresponding to the fault code number by pressing the “SE-
LECT” and “RESET” buttons.
NOTE:
• To decrease the selected diagnostic code number, press the “RESET” button. Press the “RESET”
button for 1 second or longer to automatically decrease the diagnostic code numbers.
• To increase the selected diagnostic code number, press the “SELECT” button. Press the “SELECT”
button for 1 second or longer to automatically increase the diagnostic code numbers.
7. Verify the operation of the sensor or actuator.
• Sensor operation
The data representing the operating conditions of the sensor appears on the odometer/trip meter/fu-
el reserve trip meter/stopwatch LCD.
• Actuator operation
Set the engine stop switch to “” to operate the actuator.
NOTE:
If the engine stop switch is set to “”, set it to “”, and then set it to “” again.
8. Turn the main switch to “OFF” to cancel the diagnostic mode.
“SELECT”
“RESET”
d01”
“d01
d70”
“d70

 Loading...