Administrator’s Guide for SIP-T2 Series/T19(P) E2/T4 Series IP Phones
212
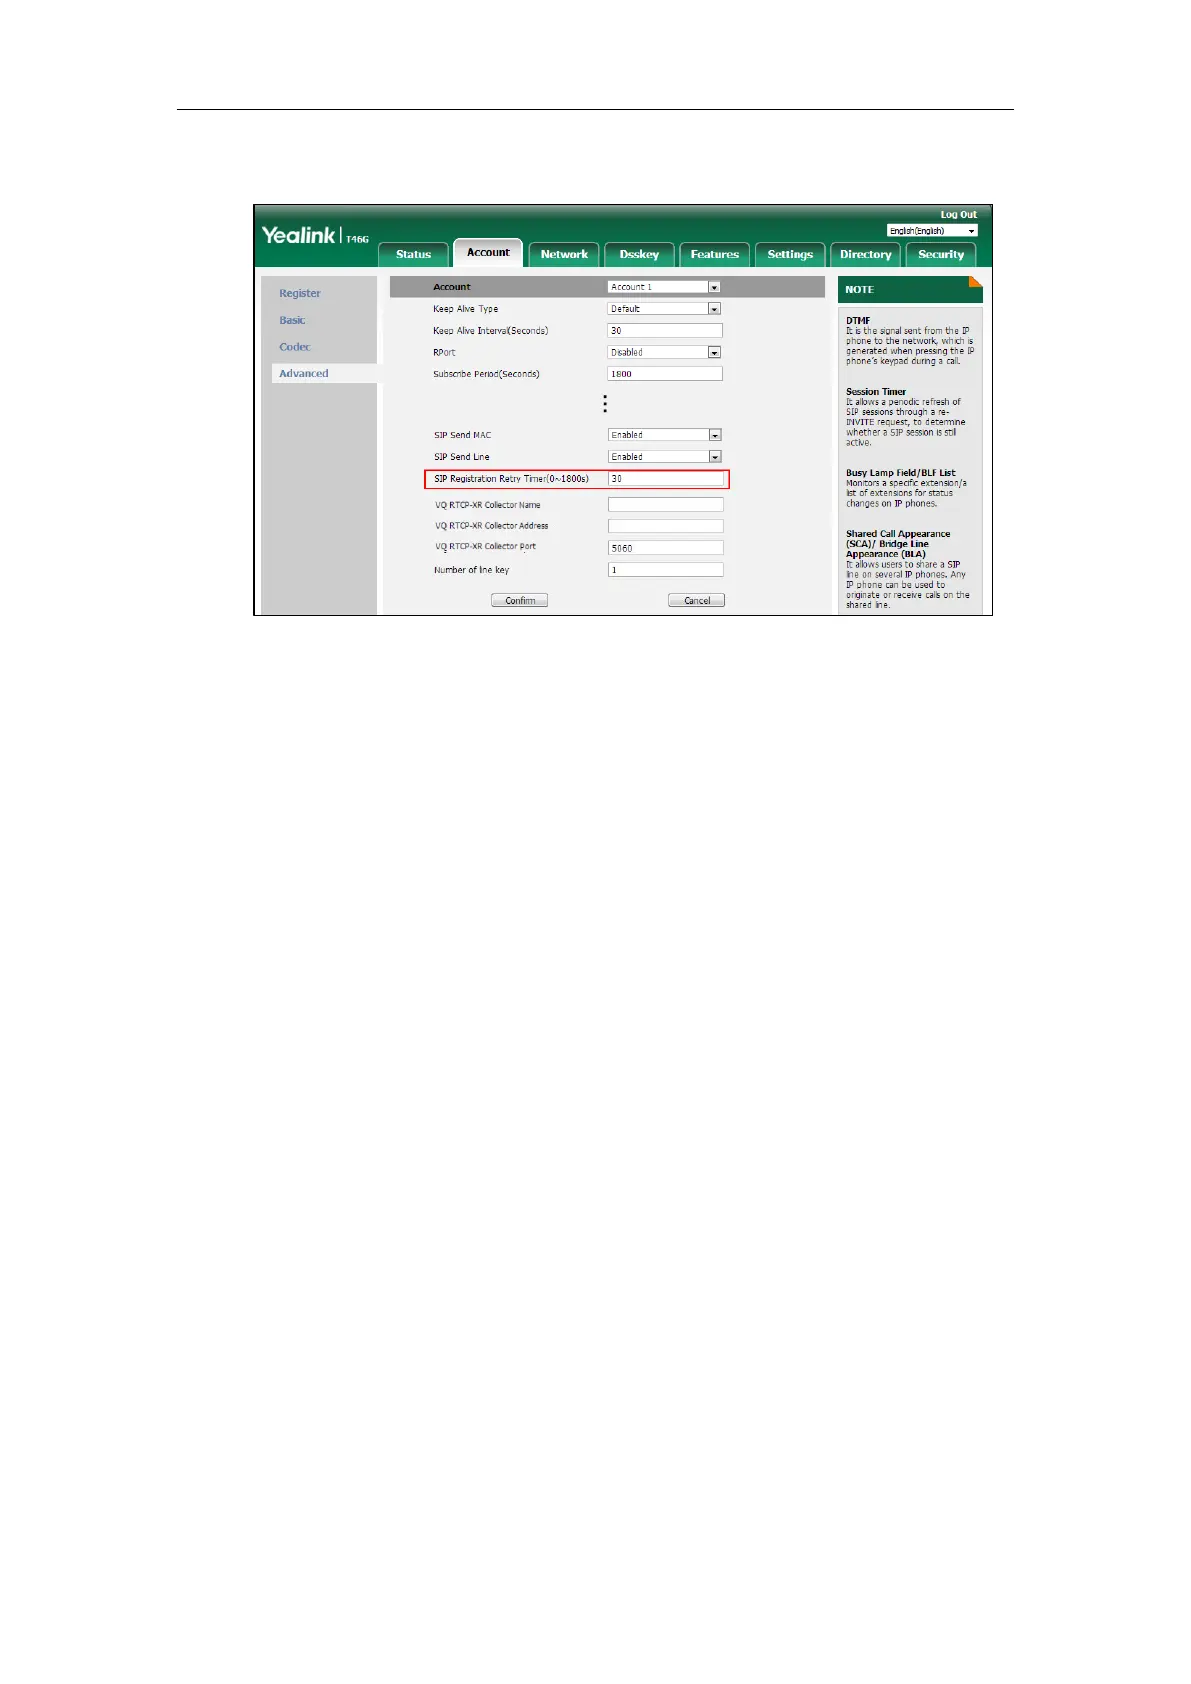
3. Enter the desired interval in the SIP Registration Retry Timer(0~1800s) field.
4. Click Confirm to accept the change.
To register an account via phone user interface:
1. Press Menu->Advanced (default password: admin) ->Accounts.
2. Select the desired account and then press the Enter soft key.
3. Select Enabled from the Activation field.
4. Enter the desired value in Label, Display Name, Register Name, User Name, Password
and SIP Server1/2 field respectively. Contact your system administrator for more
information.
5. If you use outbound proxy servers, do the following:
1) Select Enabled from the Outbound Status field.
2) Enter the desired IP address or domain name in the Outbound Proxy1/2 field.
6. Press the Save soft key to accept the change.
Multiple Line Keys per Account
You can customize the number of DSS keys to be automatically assigned with Line type. It
means multiple DSS keys will associate with an account. It is useful for managing a high volume
of calls to a line. For more information on how to register accounts, refer to Account
Registration on page 203. If you want to configure maximum number of concurrent calls per line
key, refer to Multiple Call Appearances on page 219. It is not applicable to SIP-T19(P) E2 IP
phones.
 Loading...