Working With Properties
126
TPDesign4 Touch Panel Design Software (v2.10 or higher)
The following table lists the reserved Level Codes for the NXP-PLV:
State Properties
Once you have created a new button, you can use the States tab of the Properties Control window to set/
edit state-oriented button properties. The State tab contains a table that lists the button properties for the
selected button type.
The ability to set state-oriented properties (including text/font settings, fill and border colors, bitmap,
slot and video fills) is provided via the States tab of the Properties Control window.
The State Manager window allows you to view/edit individual states on a selected button. This interface
supports full Cut, Copy, Delete, Insert, Replace and Paste as well as drag and drop capabilities. Right
mouse click support allows the user to Add single or multiple states, Replace states, Insert single or
multiple states and Remove states.
Port Code Description
1 1 1 Pan (Joystick - Left/Right)
1 2 2 Tilt (Joystick - Up/Down)
1 3 3 Zoom (Joystick - Twist - Positional)
1 4 4 Focus (Knob - Near - Positional)
1 5 5 Iris (Knob - Middle - Positional)
1 6 6 Speed (Knob - Far)
1 7 7 Pan (Compensated)
1 8 8 Tilt (Compensated)
1 9 9 Zoom (Joystick - Twist - Speed)
1 10 10 Focus (Knob - Near - Speed)
1 11 11 Iris (Knob - Middle - Speed)
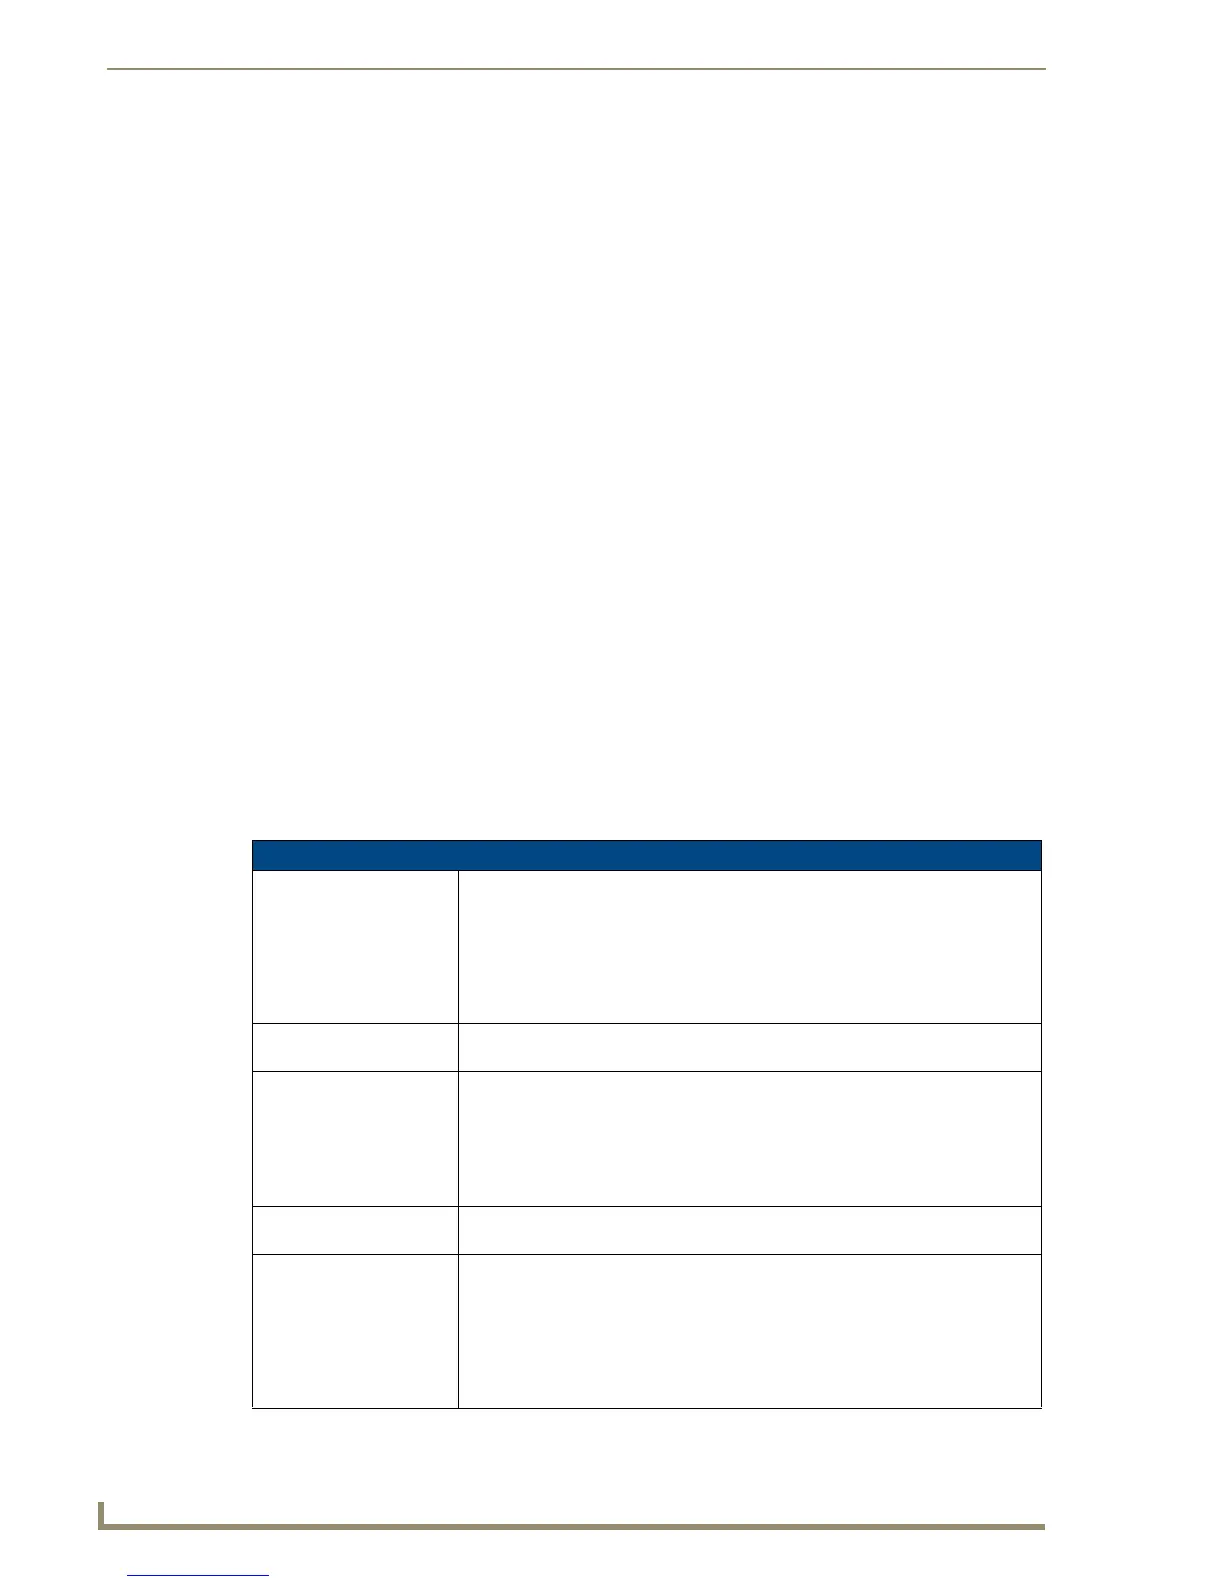
State Properties
Bitmap To apply an image file as the background image to the selected state(s), click the
browse button to open the Select Resource dialog, where you can select an
image file from among those imported into the project.
Note: If pairs of image resources exist that end in *off/*on, *f/*n, *0/*1, *1/*2 (case
insensitive), and the first in the pair is applied to the Off state of a General button,
the second will be automatically applied to the On state to make it easier to set up
images on a General button.
Bitmap Justification To set or reset the justification setting for the bitmap (on the selected state(s)),
click the down-arrow and select an option from the list.
Bitmap X and Y Offsets (available only if the bitmap justification has been set to Absolute). To apply an X
and/or Y offset to the bitmap (on the selected state(s)), enter the value for the
desired offset (in pixels) in these text fields.
Alternatively, you can click the browse button to open the Image/Text Positioning
dialog where you can make several alignment adjustments to the bitmap, icon
and text elements of the button, for each state.
Border Color To change the border color for the selected state(s), click the browse button to
open the Colors dialog.
Border Name To change the Border Name for the selected button, click Border Name, and
select the desired border from the drop-down list. If a Border Style was specified
(in the General tab), then the borders listed here are limited to those contained in
the selected Border Style. If no Border Style was specified, then all border names
are available in the provided list.
Note: For List Box buttons, this property applies to all the buttons in the selected
column.
 Loading...


