File Transfer Operations
207
PDesign4 Touch Panel Design Software (v2.10 or higher)
Secure NetLinx Connections
If the target NetLinx Master has authentication enabled, you will prompted to enter a User Name and
Password in order to establish a connection. You can save the User Name/Password combination as part
of a communication configuration for secured NetLinx Masters, via options in the Connection Settings
dialog.
To access the Connection Settings dialog, select Transfer > Connect (or click the toolbar button) to
open the Connect dialog, and select New to create a new communication configuration, or select an
existing configuration from the drop-down list and click Properties to edit those saved settings.
Click the Connection requires authentication checkbox to enable the User and Password text fields.
Enter the User Name/Password combination to save them as part of this configuration. Once they are
entered here, you will be able to establish this connection (by selecting it by name in the Connect dialog)
without having to type the authentication information each time you connect.
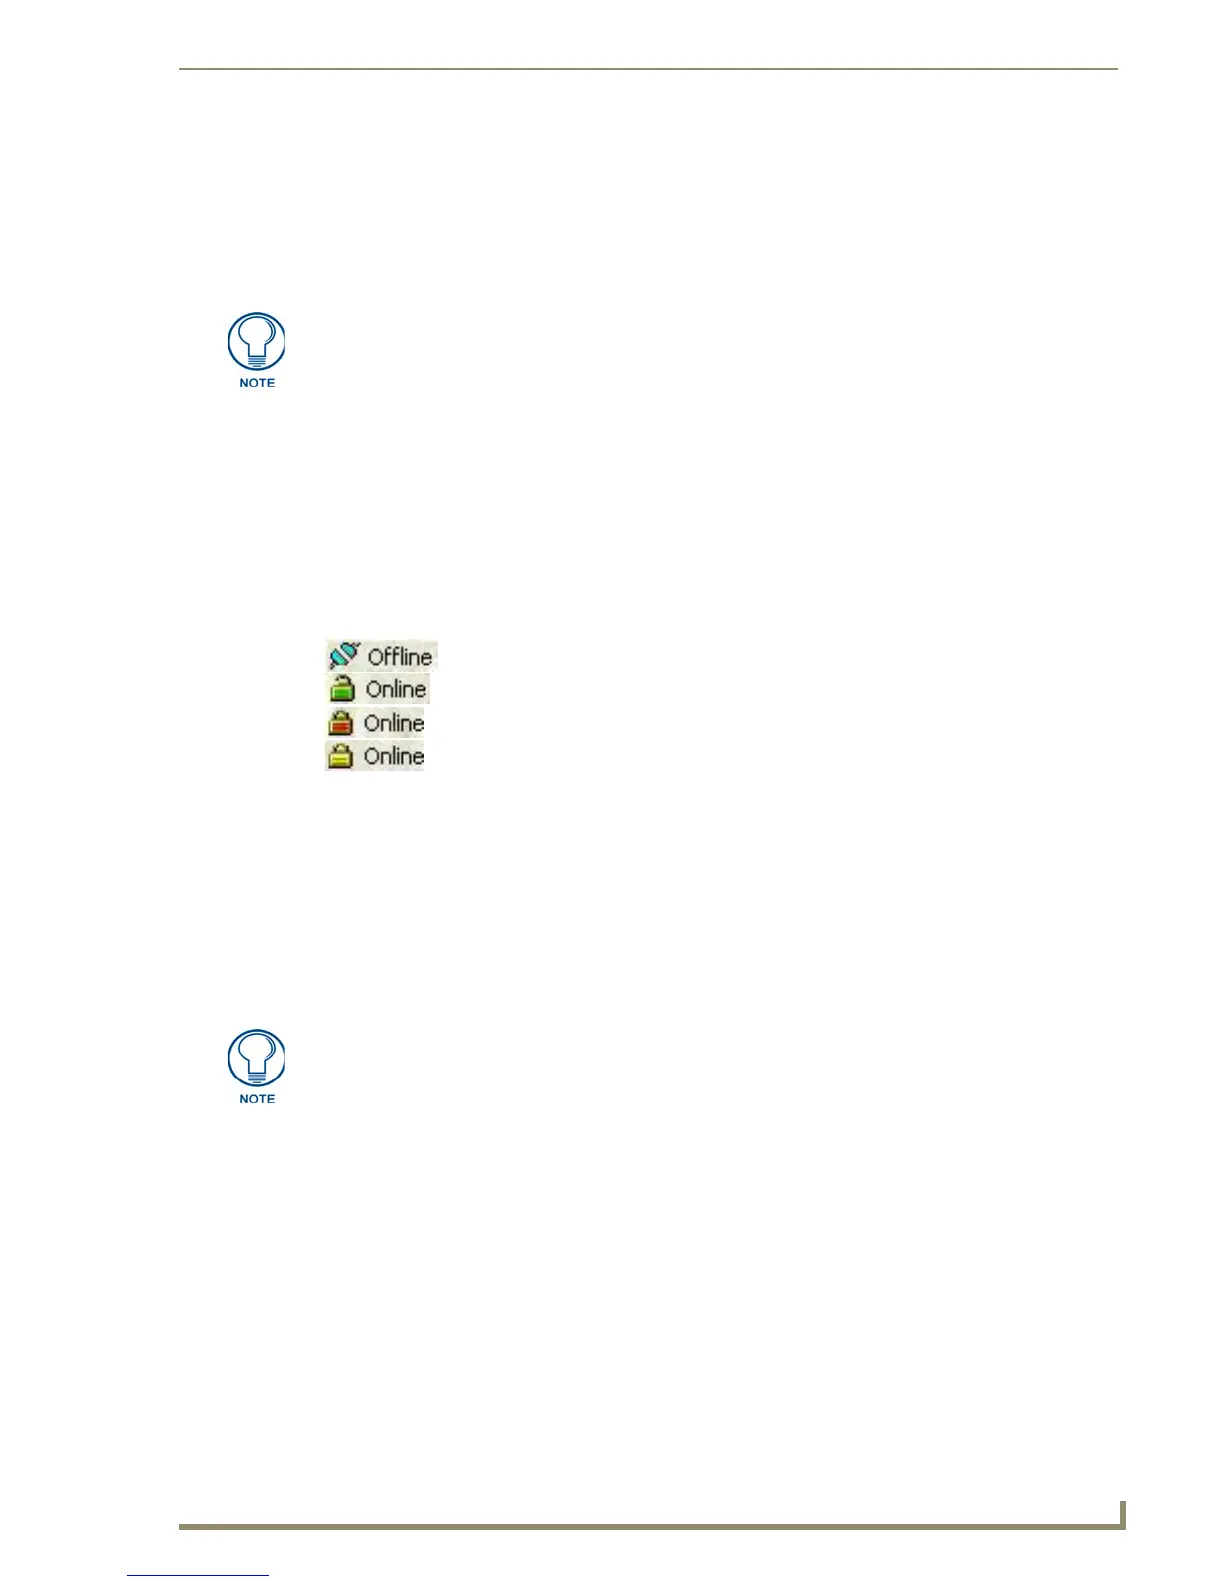
The status bar will reflect the status of the connection as follows:
Transferring Touch Panel Files to/from a NetLinx Master
Use the File > Send To Panel option to connect to a Master and download a panel file to a compatible
G4 touch panel on that Master's bus.
Use the File > Receive From Panel option to connect to a Master and upload a panel file from a
compatible G4 touch panel on that Master's bus. There are three ways to connect and transfer Panel files:
TCP/IP, Serial and Modem.
Panel File Transfers via TCP/IP
In TPDesign4, file transfer operations are typically routed through the Master to which the target/source
touch panels are connected. To use a TCP/IP as the transport type:
1. Select Transfer > Send to Panel or Receive From Panel. If you are not already connected to the
Master, the Connect dialog is invoked.
If you have already established a TCP/IP communication configuration, select it from the drop-
down list.
Otherwise, create and save a serial communication configuration via the Connection Settings
dialog:
a.
In the Name field, enter a name for this communication configuration. This is the name that will
appear in the drop-down list of the Connect dialog.
Refer to the NetLinx Studio online help for details on enabling authentication on
NetLinx Masters.
FIG. 92 Status bar icons reflect the status of the connection to the NetLinx Master
not connected
connected to a secured but unencrypted master
connected to a secured and encrypted master
connected to an unsecured master
To transfer to a G4 panel, verify that the NetLinx Master Firmware is build 85 or later.
Verify the TPDesign4 program being used is Version 1.01 or higher. Earlier versions
of the firmware and TPD4 software are incompatible with G4 panels.
 Loading...


