STwrench User Guide Getting started with STwrench
9836 4134 01 Edition 2.9 63 (326)
4 Getting Started with the STwrench
To turn on the STwrench press the ON button on the wrench keyboard. To turn the wrench off, press the
OFF button and hold it down for a few seconds. The power on screen is shown for few seconds, followed
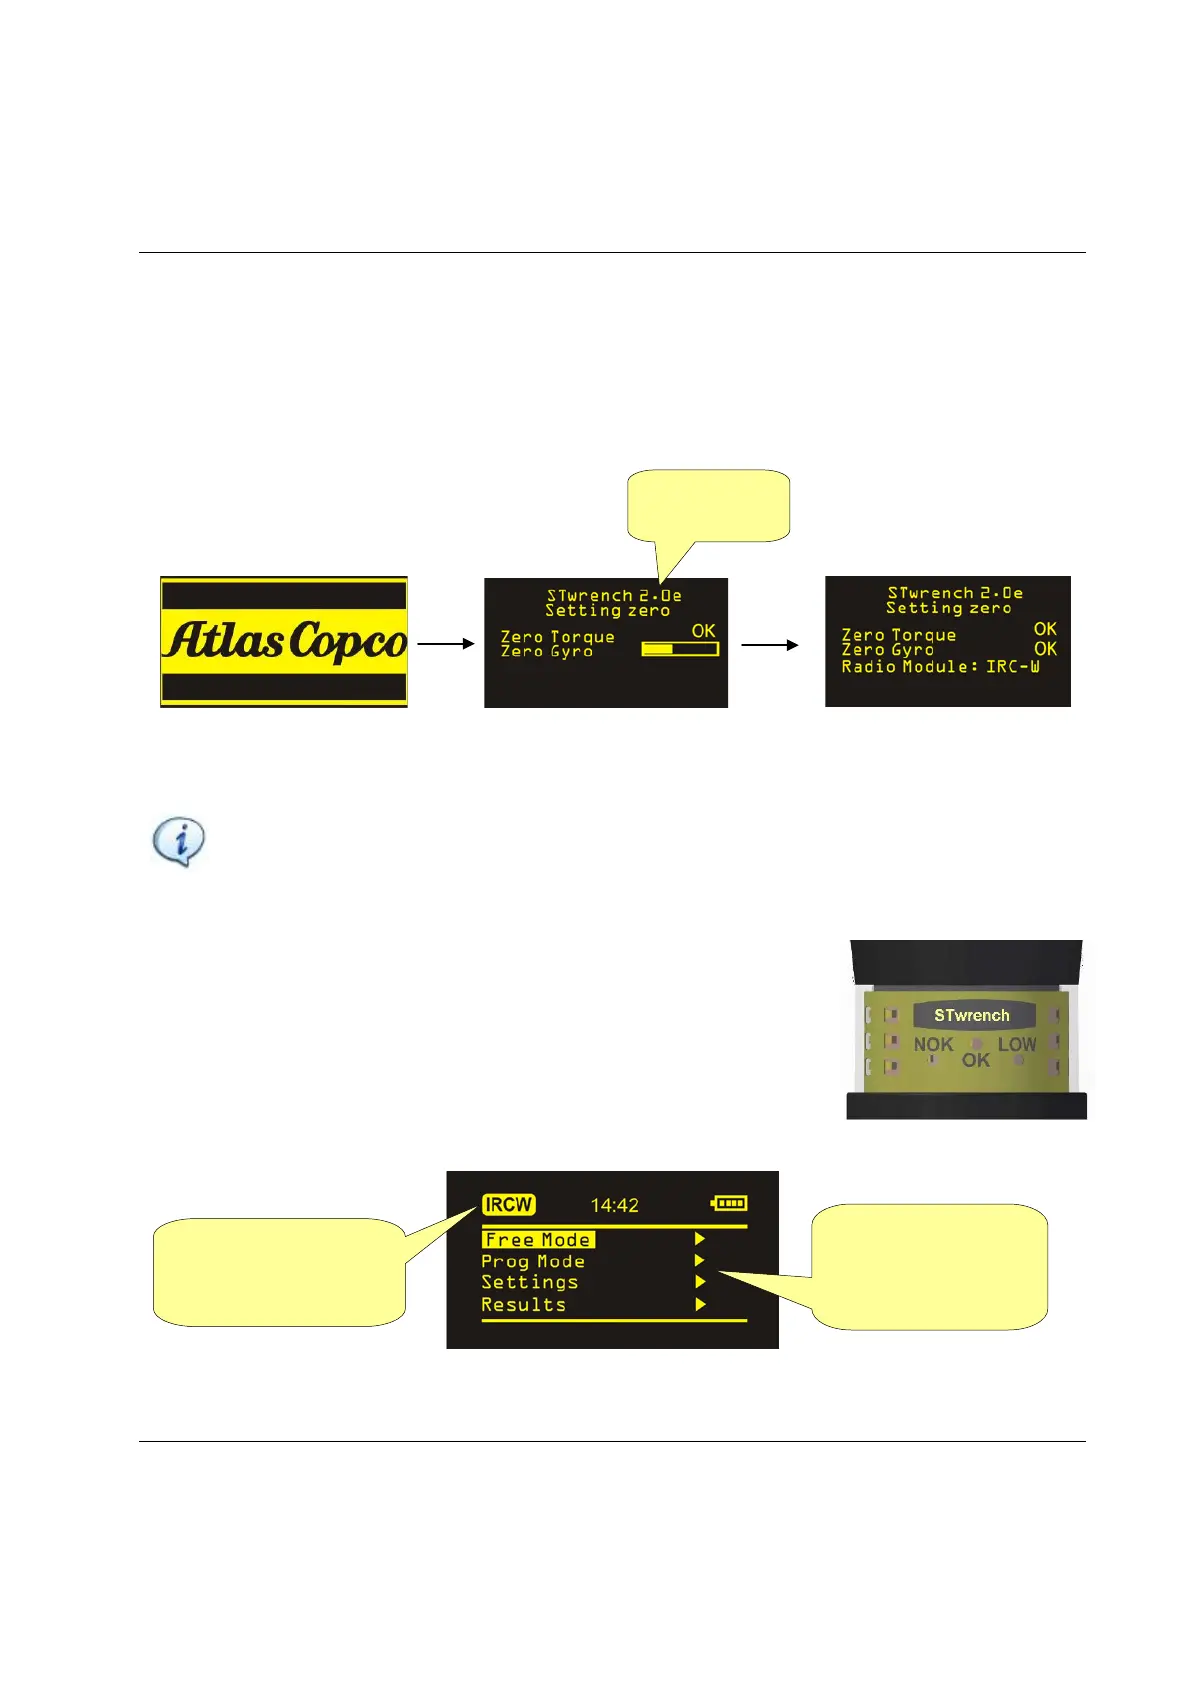
by the zero adjustment and radio module search screen. During zero adjustment, the firmware version is
displayed in the upper part of the screen:
Power on screen Zero adjustment Radio module search
NOTE: Leave the wrench in a fixed position without applying any torque to the transducers
when powering on; this permits proper automatic zero adjustment of the transducer and
gyroscope. At the end of the zero adjustment process, the OK is displayed to indicate the
process has been completed; in case of error during the zero adjustment, a message “Error
Zeroing Torque” or “Error Zeroing Gyro” is shown under the main menu. If this occurs, the
wrench cannot perform any operation.
During the power on phase, a self-test of the wrench LEDs is also performed;
all the LEDs light up in sequence. At the end of this test, only the STwrench
logo remains lit. To save battery charge, after 30 seconds of inactivity, the
display brightness is automatically reduced and the STwrench logo is
deactivated, until a button on the wrench keyboard is pressed.
After the power on sequence, the main menu is shown on the display:
Main menu
shown only when the
wrench is connected to a
remote device
Settings menus can be
disabled. See
STwrench Settings
version

 Loading...