4-22
Cisco Wireless LAN Controller Configuration Guide
OL-17037-01
Chapter 4 Configuring Controller SettingsWireless Device Access
Configuring DHCP Proxy
Voice Stream-Size............................. 84000
Voice Max-Streams............................. 2
Video max RF bandwidth........................ Infinite
Video reserved roaming bandwidth........... 0
Configuring DHCP Proxy
When DHCP proxy is enabled on the controller, the controller unicasts DHCP requests from the client
to the configured servers. Consequently, at least one DHCP server must be configured on either the
interface associated with the WLAN or the WLAN itself.
When DHCP proxy is disabled on the controller, those DHCP packets transmitted to and from the clients
are bridged by the controller without any modification to the IP portion of the packet. Packets received
from the client are removed from the CAPWAP tunnel and transmitted on the upstream VLAN. DHCP
packets directed to the client are received on the upstream VLAN, converted to 802.11, and transmitted
through a CAPWAP tunnel toward the client. As a result, the internal DHCP server cannot be used when
DHCP proxy is disabled. The ability to disable DHCP proxy allows organizations to use DHCP servers
that do not support Cisco’s native proxy mode of operation. It should be disabled only when required by
the existing infrastructure.
You can use the controller GUI or CLI to enable or disable DHCP proxy on a global basis, rather than
on a WLAN basis. DHCP proxy is enabled by default.
Note DHCP proxy must be enabled in order for DHCP option 82 to operate correctly. Refer to the
“Configuring DHCP Option 82” section on page 5-53 for information on DHCP option 82.
Note All controllers that will communicate must have the same DHCP proxy setting.
Note Refer to Chapter 6 for information on configuring DHCP servers.
Using the GUI to Configure DHCP Proxy
Using the controller GUI, follow these steps to configure DHCP proxy.
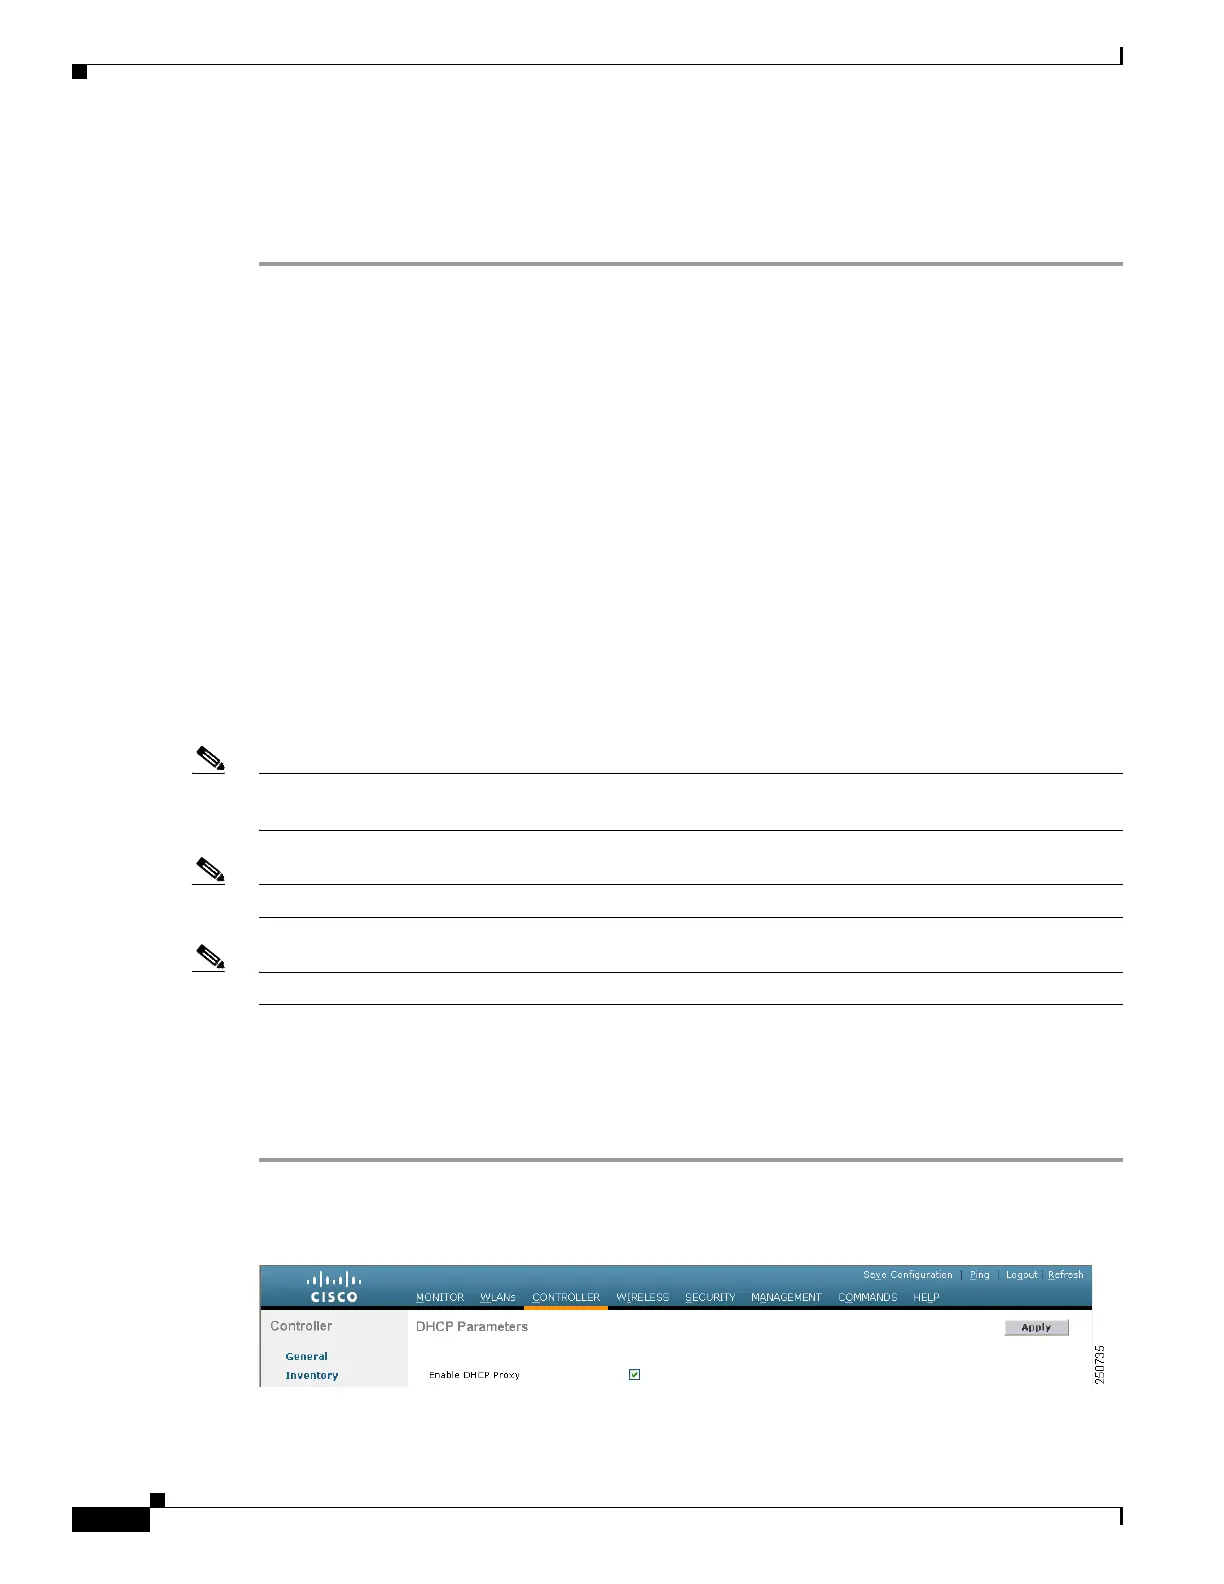
Step 1 Click Controller > Advanced > DHCP to open the DHCP Parameters page (see Figure 4-4).
Figure 4-4 DHCP Parameters Page
 Loading...