1-14
Inserting Ink Cartridges
Insert ink cartridges.
1
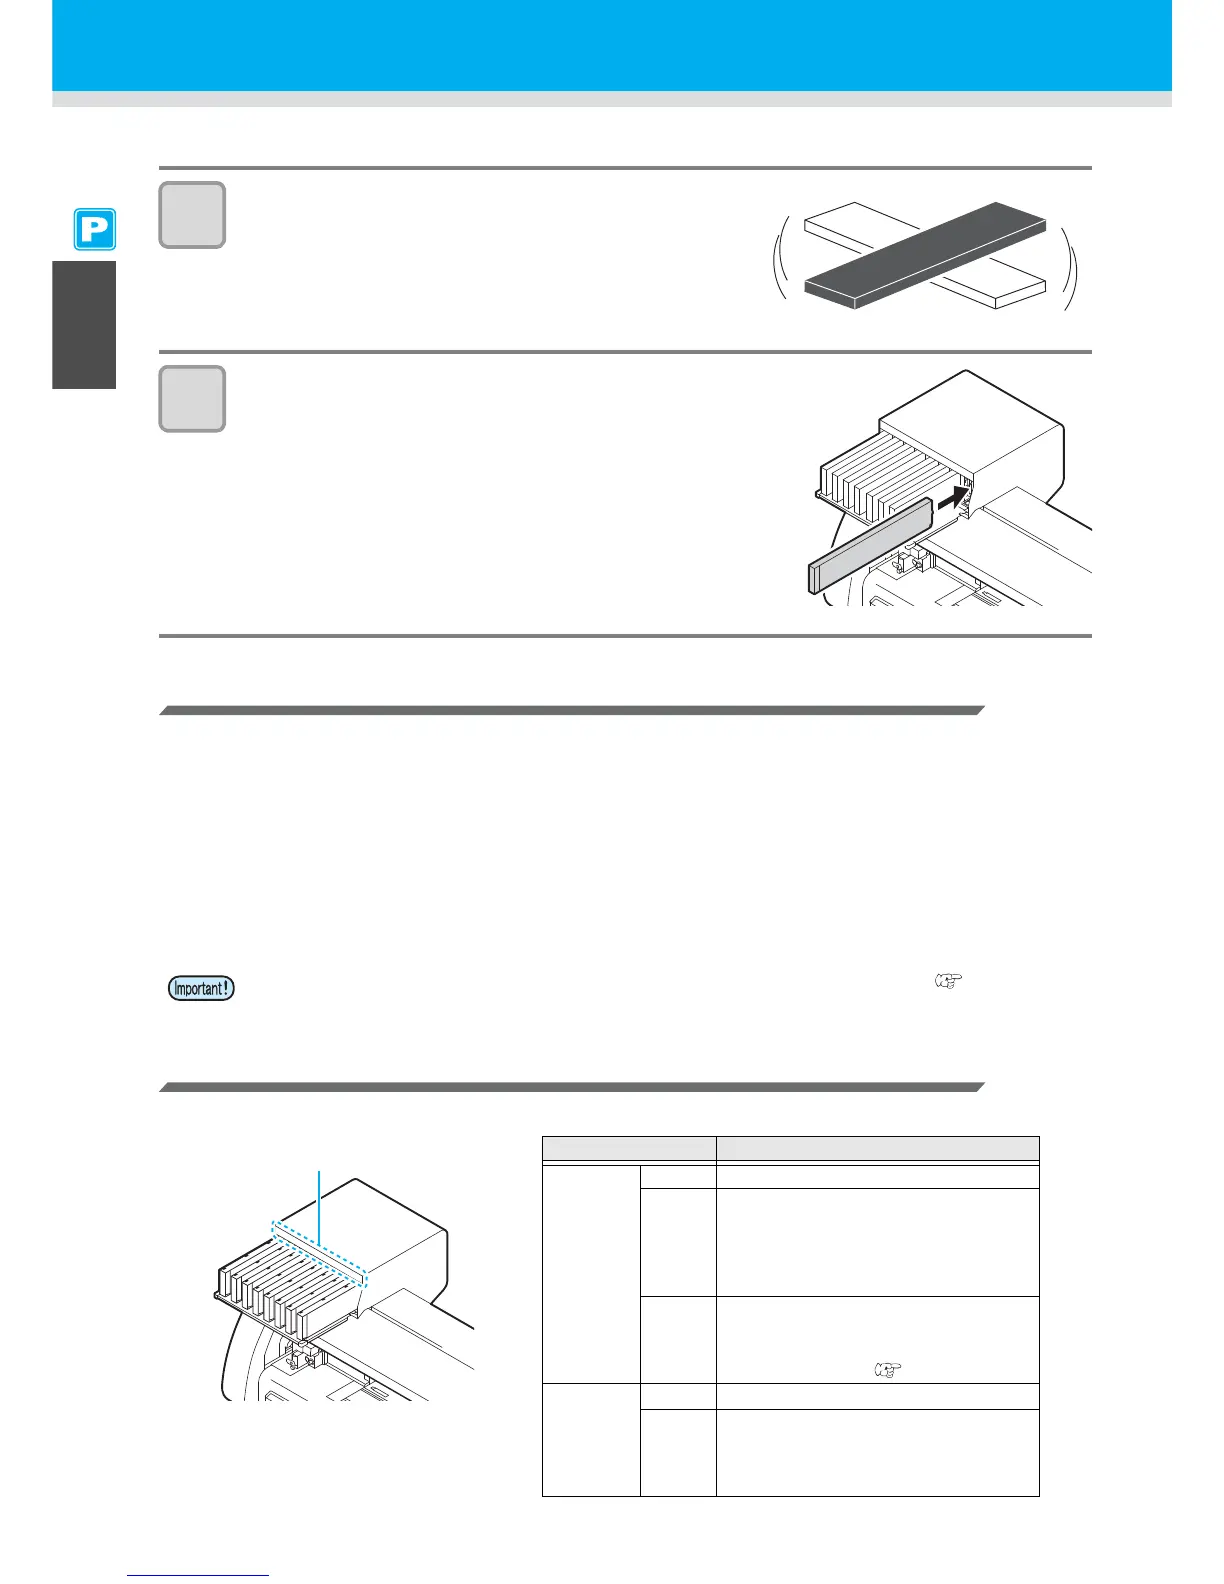
Shake the ink cartridge as shown on the right.
2
Insert the ink cartridge.
• Insert the ink cartridge lengthwise with the surface having IC
chips pointing to the left side.
• Colors are displayed on the display as follows.
Black: K, Cyan: C, Magenta: M, Yellow: Y, Light cyan: c,
Light magenta: m, White: W, Silver: S, Light black: k
Changing an Ink Cartridge
Perform as follows when [INK END] or [NEAR END] is displayed on the display.
When [INK END] is displayed
(1) Pull out the ink cartridge to be replaced.
(2) Insert a new ink cartridge, paying attention to the direction of IC chip.
When [NEAR END] is displayed
There is a little ink left. Though printing can be continued even if it is displayed, it is recommended to replace
the ink cartridge as soon as possible to avoid running out of ink during printing.
For Ink Cartridge Lamps
The condition of the ink cartridges set in the machine is confirmable with lamps located over the ink cartridges.
• While [NEAR END] is displayed, the setting for cleaning during printing is disabled. ( P.3-26)
Condition of Lamp Explanation
Upper row
Red lamp
OFF No error
Blinking
One of the following errors occurs.
• Almost no ink
•No ink
• Expiration of a term of ink validity (one
month)
ON
One of the following errors occurs.
• No ink left
• No ink cartridge inserted
• Other ink errors ( P.7-5)
Lower row
Green lamp
OFF No error
ON
When used with 4-color ink set, the
machine supplies ink from the ink
cartridge with lower ink. In this case, the
cartridge being used lights in green.
 Loading...


