2-10
Installing Tools
This machine allows you to use the following tools:
Cutter : This tool is selected when an image printed on a medium is cut or when
letters are cut with a cutting medium.
Pen (water-based ballpoint pen) : This tool is used to perform “test printing” for checking how images or
letters are cut actually.
When a Cutter Is Used
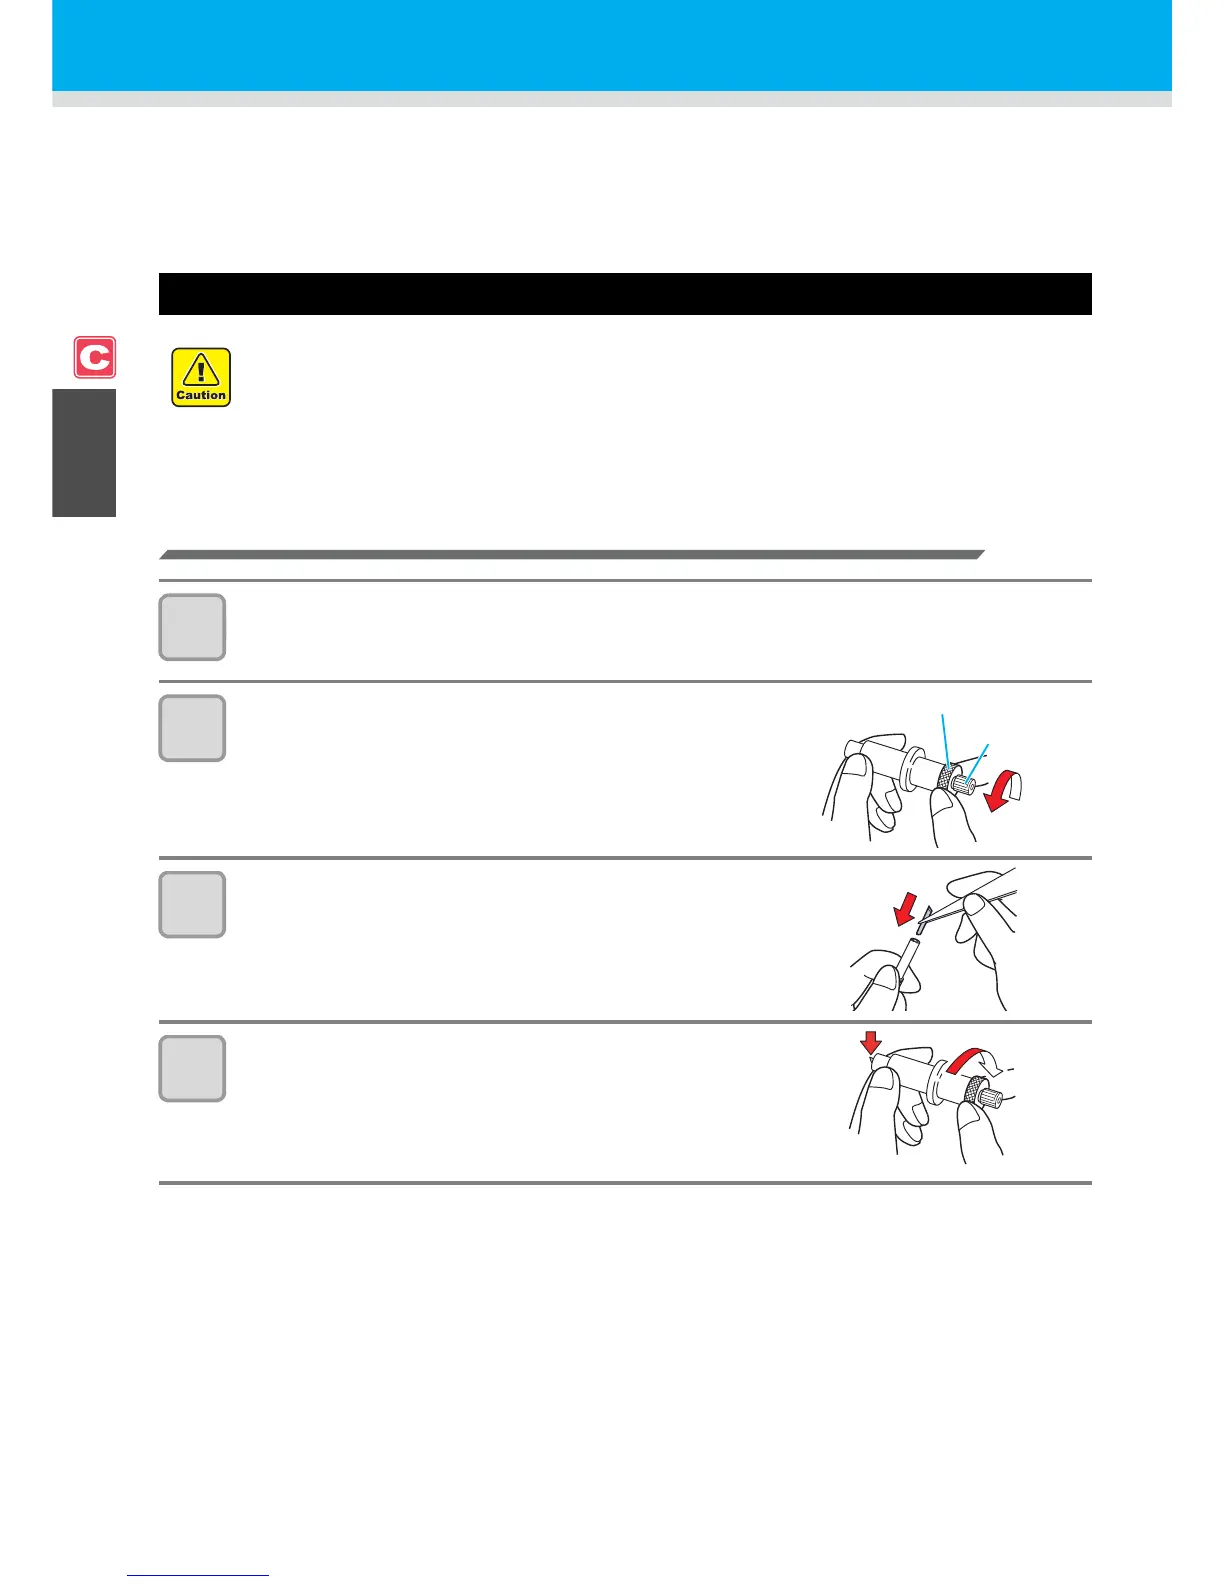
Mounting a Cutter Blade
1
Remove the cutter holder.
2
Loosen the locknut and remove the adjustment knob
from the holder.
3
Insert a cutter blade in the hole of the adjustment
knob.
• Pick up the cutter blade with tweezers.
4
Tighten the locknut.
• Do not touch the cutter with your fingers.
The sharp blade edge of the cutter may cause you to get injured.
• Do not shake the tool after having set the cutter.
Otherwise, the blade edge may pop out, causing you to get injured.
• Store the cutter blade in a place that is out of the reach of children.
In addition, dispose of used cutter blades according to regional laws and regulations.
 Loading...


