3-8
Setting Media Correction
In the following cases, be sure to set medium correction and correct the amount of the medium feeding.
• when replacing the kind of the medium ( P.2-15)
• when changing the heater temperature ( P.2-44)
• when changing the pinch roller pressure in the pinch roller setting ( P.3-6)
If the correction value is not appropriate, stripes may appear on the printed image, thus resulting in a poor
printing.
Setting Media Correction
A pattern for media correction is printed and a medium-feeding rate is corrected.
1
Set a medium. ( P.2-15)
2
Press the key in LOCAL to select the
printing mode.
3
Press the key.
4
Press the key.
5
Press to select one of the types (1 to 4) and press the key.
• When you have changed the temperature of the heaters, make sure that the [CONSTANT] lamp lights
up and that the preset temperature is reached, and then start the correction.
• When printing with a take-up device, set the medium first and then perform media correction.
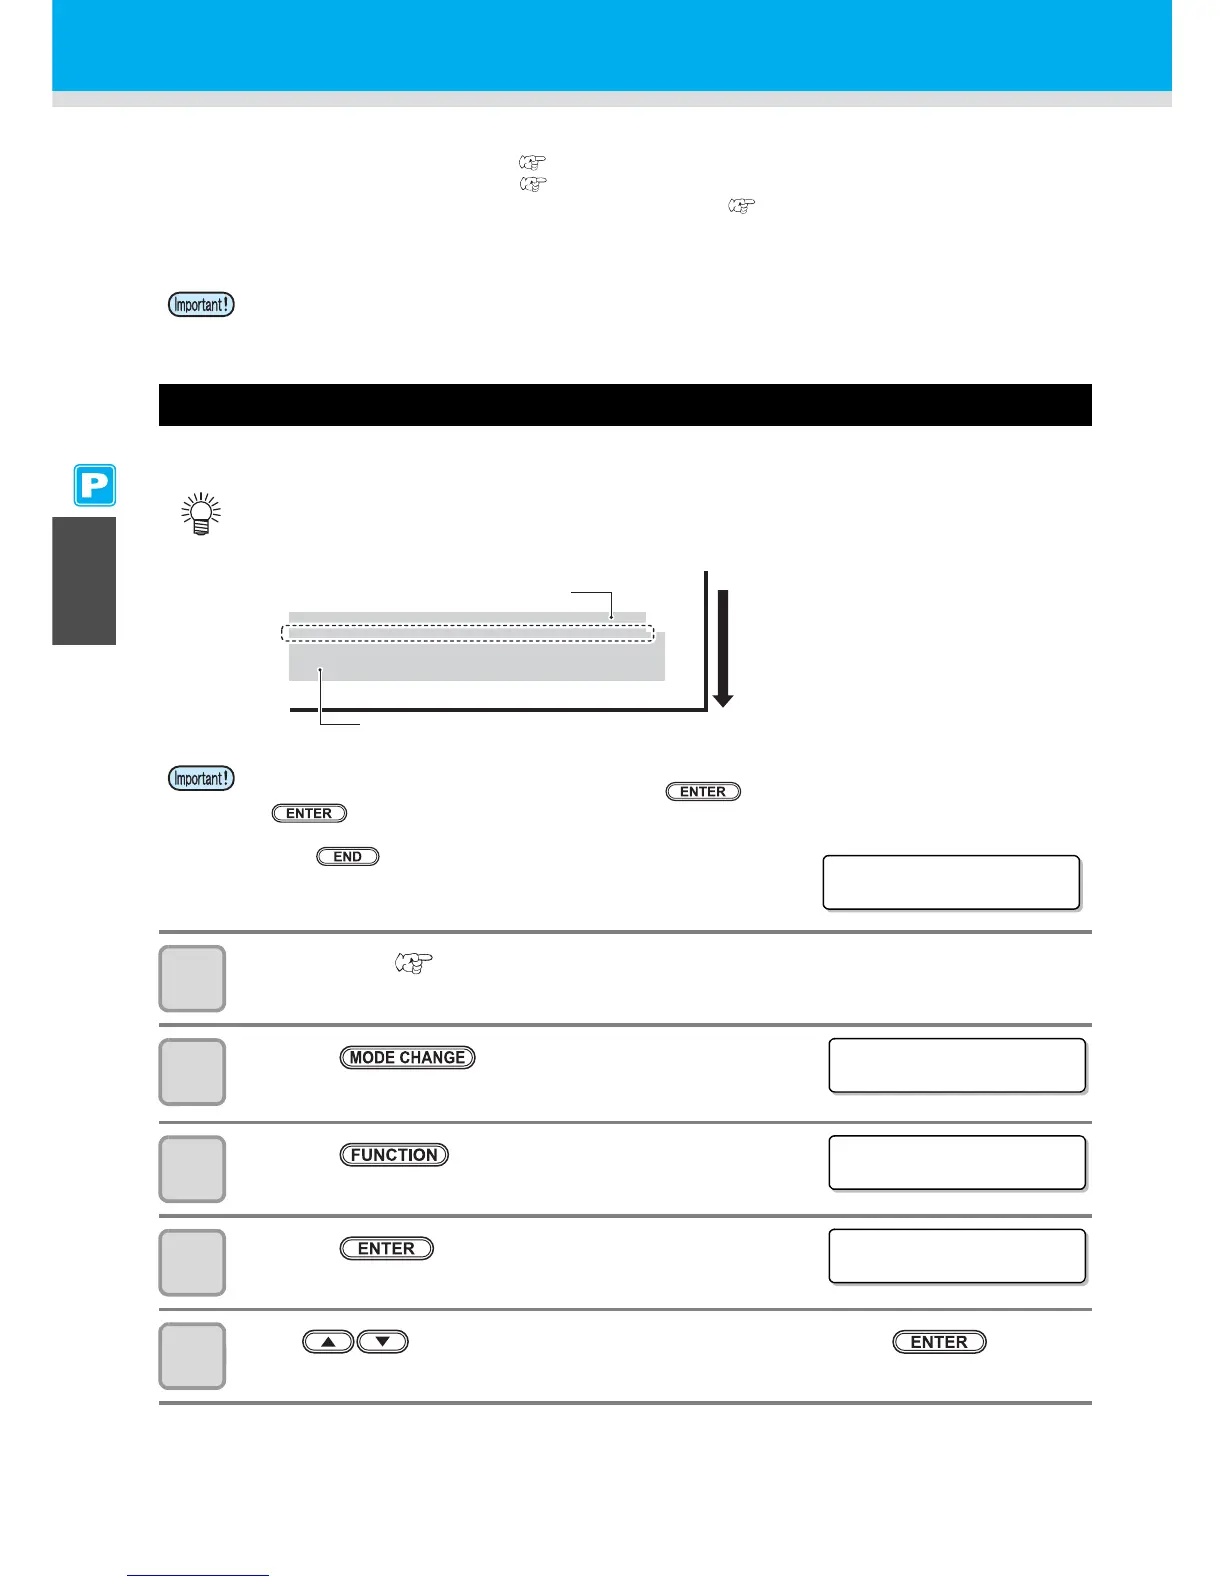
• Two bands are printed in the correction pattern.
• Make adjustment so that an even color density is obtained in the boundary between the two bands.
• When detecting the medium and when the mode is in cut mode, if you correct the medium as it is, the
following screen will be displayed by pressing the key in Step 7. In this case, press the
key to switch the setting of pinch roller pressure to the print mode and then print the
correction pattern.
• If the key is pressed, switching operation will not be
performed.
 Loading...


