88
Making Detailed Settings for Tones
You can make more detailed settings to the tones assigned to
each of the Internal parts.
In certain selected Tones, there may be parameters
that cannot be changed.
1.
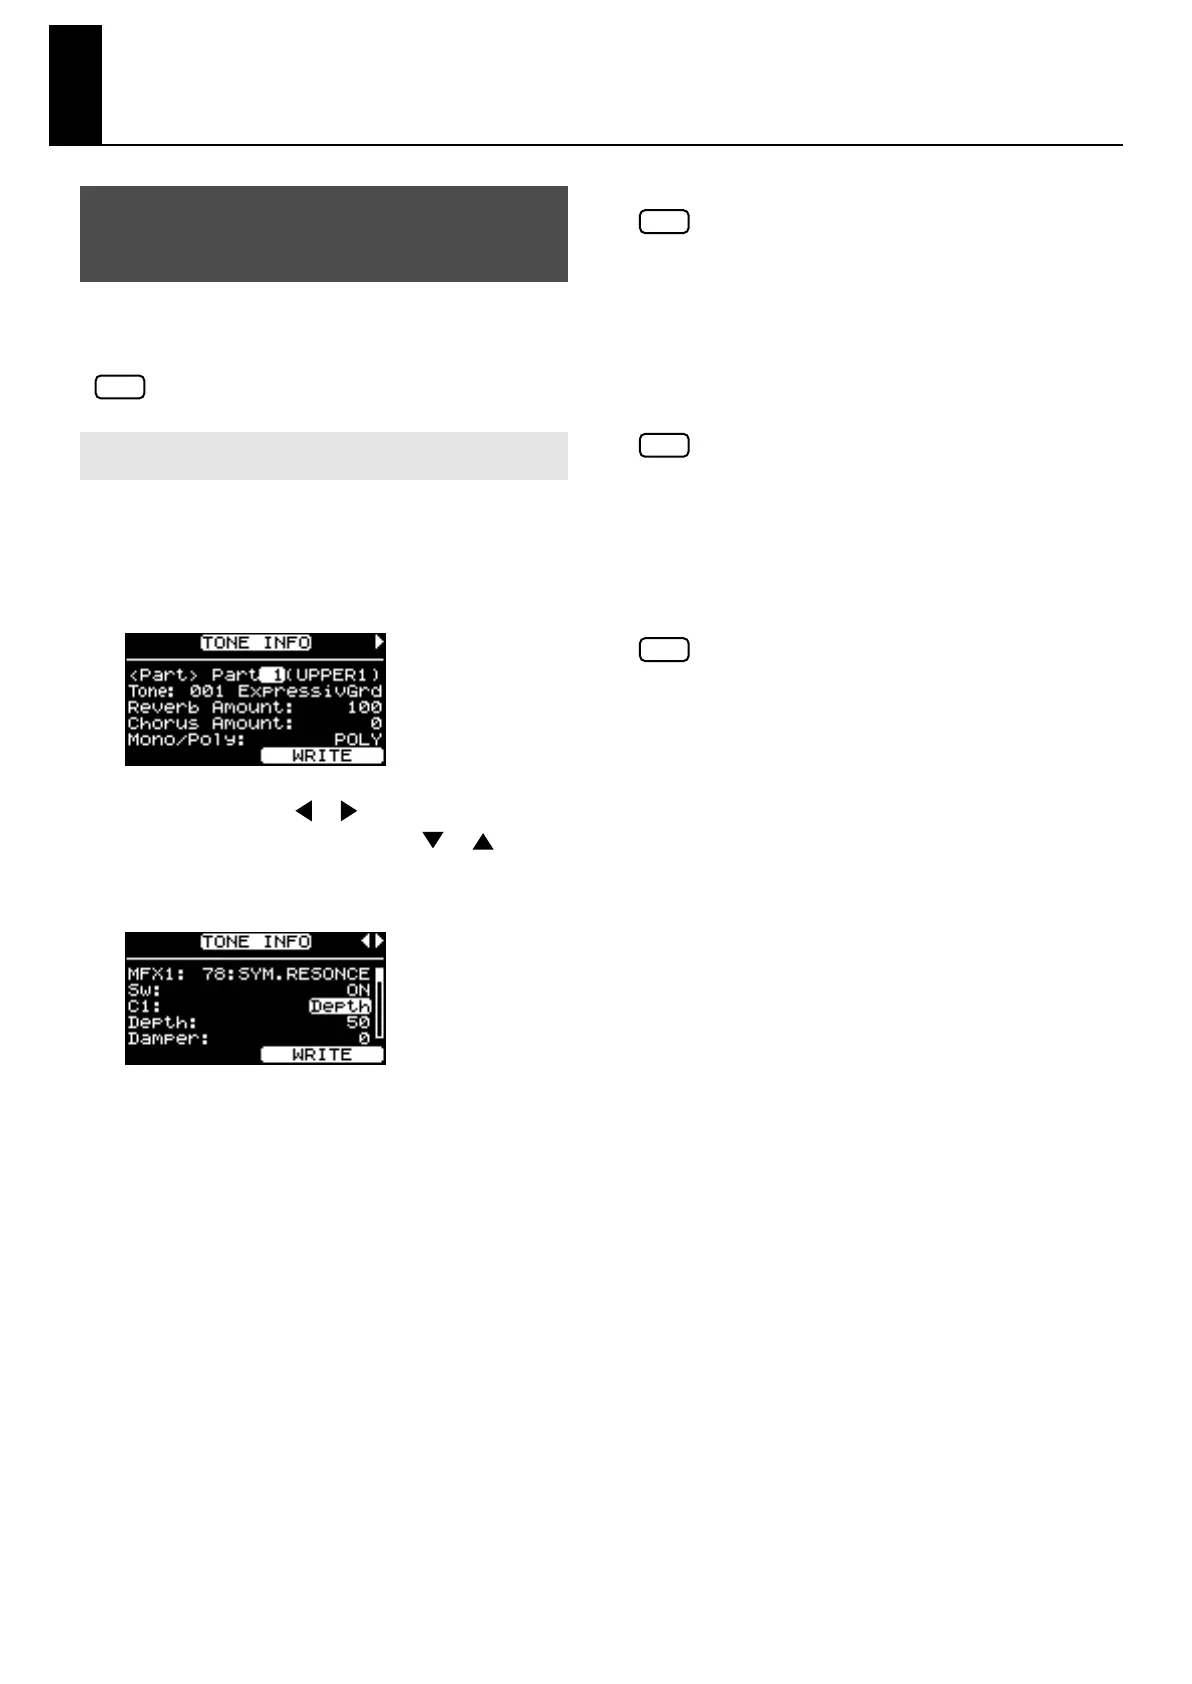
In the Tone screen, press the [F1(TONE INFO)]
button.
The [F1] button blink, and the TONE INFO screen
appears.
fig.04-03g
2.
Press the Cursor [ ] [ ] buttons to switch
screens, and press the Cursor [ ] [ ]
buttons to move the cursor to the parameter to
be set.
fig.04-04g
Move the cursor to one of the following menus and press
the [ENTER] button, then select the parameter you want
to set in the screen that follows.
• Micro Tune Edit (p. 80)
• Initialize (p. 81)
This restores the tone settings to their initial conditions as
well as ONE TOUCH PIANO settings.
3.
Use the [DEC] [INC] buttons or the VALUE dial
to edit the value.
4.
If you want to save your settings, press the [F2
(WRITE)] button.
The [ENTER] button’s indicator will blink, and a
confirmation message will appear.
If you decide not to save your settings, press the [EXIT/
SHIFT] button. The operation will be cancelled, and you
will return to the TONE INFO screen.
Settings for tones of a wave expansion board (SRX
series) can’t be saved in the TONE INFO screen. If
you want to save these settings, save them as a
Setup (p. 67).
5.
When you press the [ENTER] button, the TONE
INFO settings will be stored in memory.
Once the TONE INFO settings have been stored, you
will return to the TONE INFO screen.
Never turn off the power while the screen indicates
“Executing...”.
6.
When you finish making settings, press the
[F1] button, extinguishing its indicator.
You are returned to the Tone screen.
If you’ve selected a tone wheel organ tone or a
SuperNatural E. Piano tone, some items will not be
available for editing. The value is shown as “- - -”
for such items.
Making Tone Settings
(TONE INFO)
How to Make Settings
NOTE
NOTE
NOTE
NOTE
RD-700GX_e.book 88 ページ 2008年2月13日 水曜日 午後5時49分
 Loading...