– Cover flange -2- all round with textile-reinforced adhesive
tape.
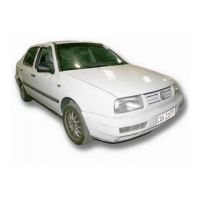
– Cut through adhesive seal (with glass remains) in window cut-
out using electric cutter -V.A.G 1561 A- and u-shaped blade -
V.A.G 1561- .
WARNING
Always wear safety goggles and leather gloves.
1.10 Installing rear window
Carry out following work:
Preparing old undamaged window for glazing ⇒ page 201
Preparing new window for glazing ⇒ page 201 .
Preparing body flange for glazing ⇒ page 202
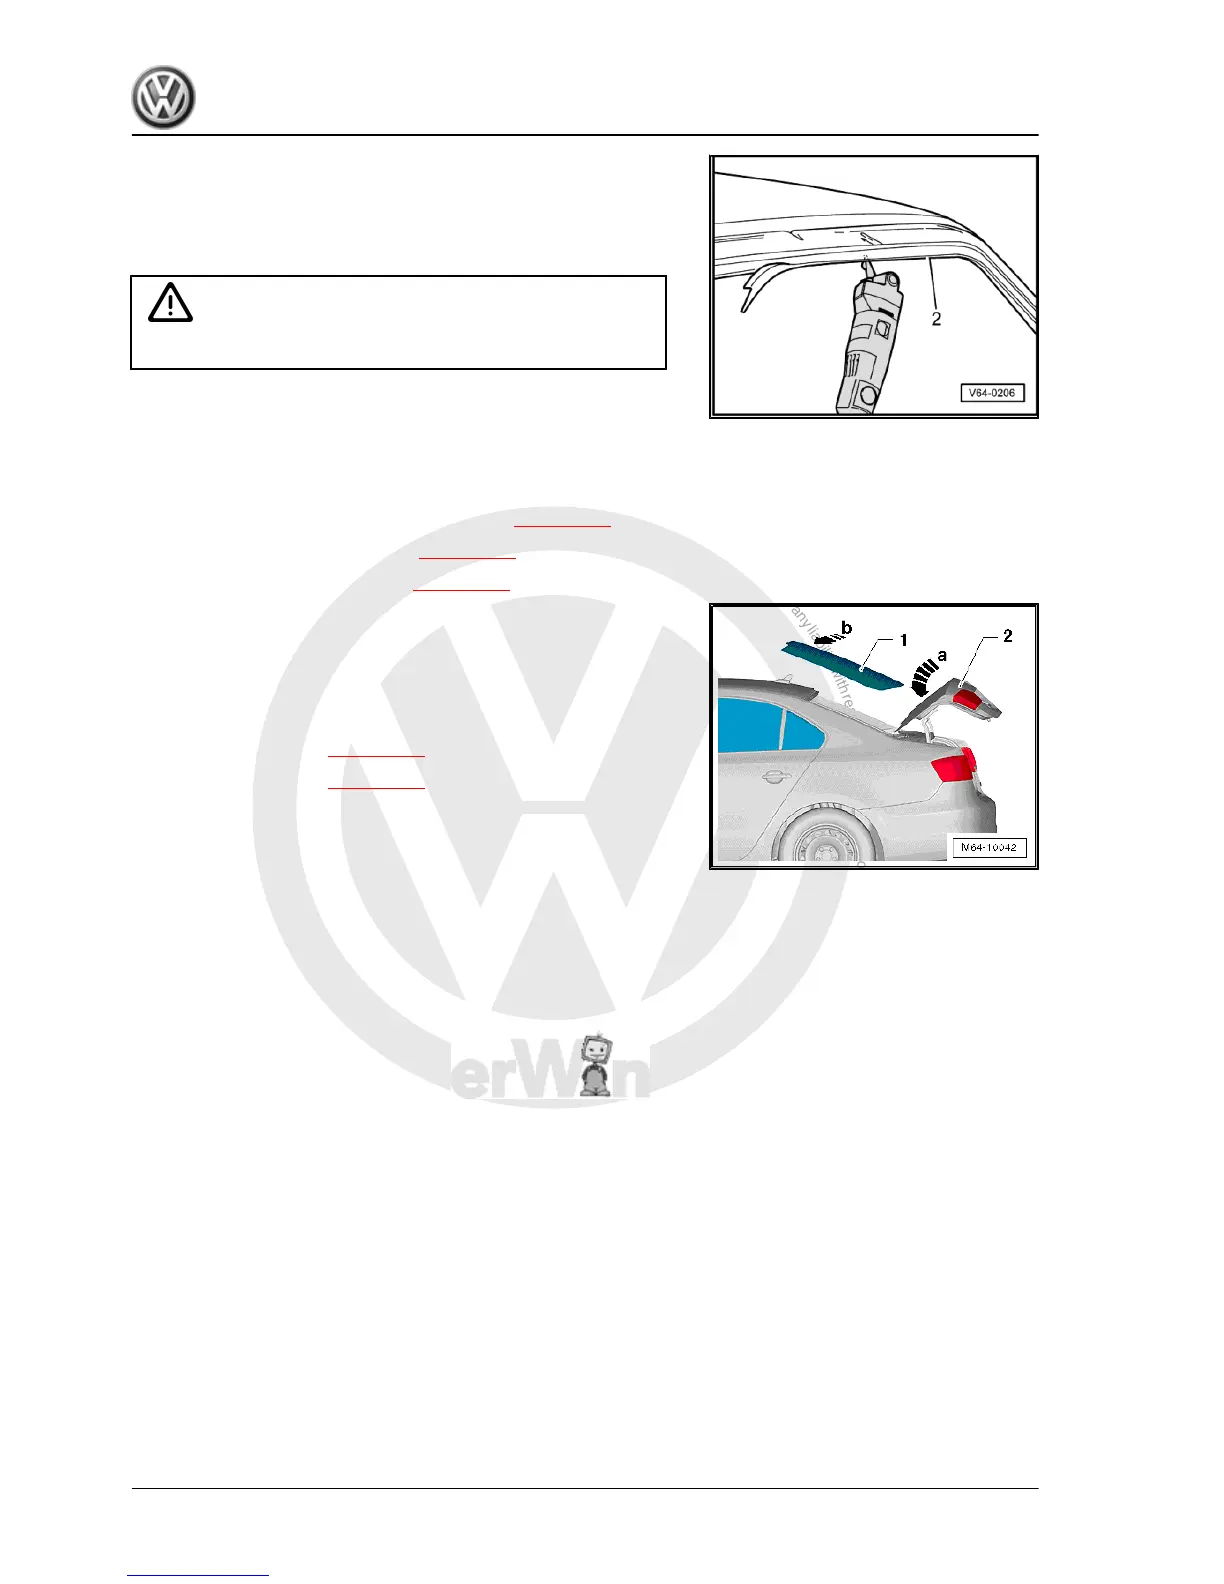
– Once all the preparations for rear window glazing -1- have
been completed, open rear lid -2- approx. 45°.
– Firstly, guide rear window -1- under rear lid -2- -arrow a-.
– Then, place rear window -1- in mounting position on body
flange -arrow b-.
Installation instructions ⇒ page 203
Minimum curing period ⇒ page 203
Jetta 2011 ➤ , Jetta Hybrid 2013 ➤
General body repairs, exterior - Edition 08.2012
200 Rep. gr.64 - Glazing

 Loading...