15-4
BATTERY/CHARGING SYSTEM
BATTERY
REMOVAL
● Turn off the ignition switch.
● Remove the floor panel mat.
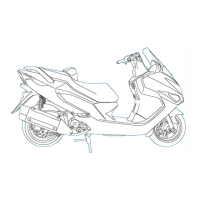
● Loosen the 2 battery cover setting screws, remove the
battery cover.
● Disconnect the negative “⊖” battery cable first, and
then disconnect the positive “⊕” cable.
● Install in the reverse order of removal.
WARNING
·Disconnecting the positive “⊕” cable first could
cause an accidental direct short between the two
terminals when the tool disconnecting the terminal
contacts the frame. The spark could ignite or damage
the battery.
·To prevent shorting, always connect the positive“⊕”
cable first.
BATTERY (OPEN-CIRCUIT VOLTAGE) INSPECTION
● Remove the battery cover.
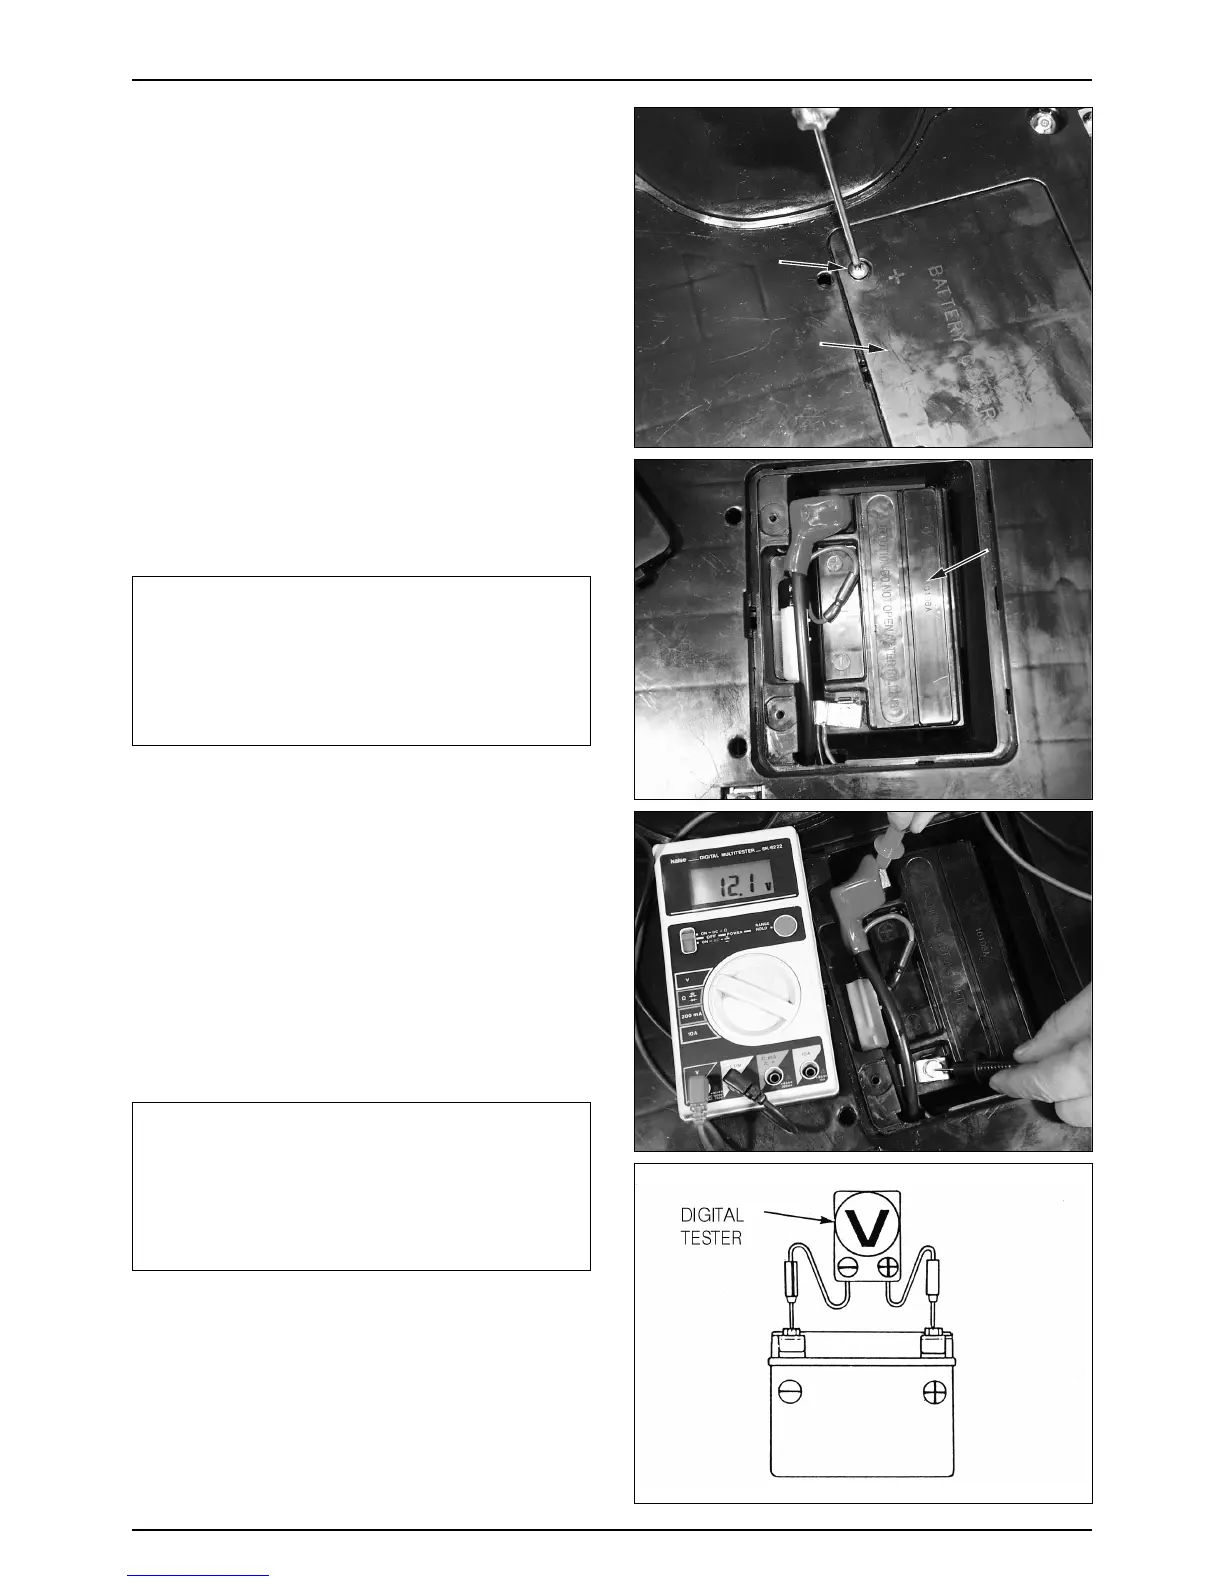
● Disconnect the battery terminals from the battery.
● Measure the voltage between the battery terminals.
- FULLY CHARGED : 13.0-13.2V
- INSUFFICIENTLY CHARGED : UNDER 12.3V
TOOL : DIGITAL TESTER
NOTE
·Use a voltmeter that will accurately indicate 0.1V
difference.
·Never open the sealed filler cap.
·When measuring the battery volate after charging,
leave it for at least 30 minutes, or the accurate results
cannot be obtained because the battery voltage
fluctuates just after charging.
 Loading...