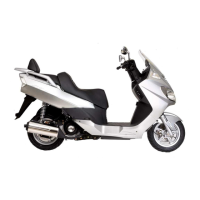
FLOAT LEVEL INSPECTION
● Install the float valve, float, float pin.
● Measure the float level with the float level gauge.
FLOAT LEVEL : 13 mm
TOOL : FLOAT LEVEL GAUGE
● If the level is out of specification and the float arm lip
can be bent, adjust the float level by bending the lip.
Non-adjustable floats must be replaced.
NOTE
•Be sure to keep the float level at the specified height.
If the float level is low / high, fuel mixture becomes
lean / rich.
● Install the float body assembly, install the bracket and 4
pan screws.
NOTE
•Be sure to replace the float chamber body O-ring
with the new one.
● Insert the jet needle, needle spring holder, needle
spring, diaphragm assembly, and install the needle
screw.
NOTE
•Install the jet needle aligned with the grooves in the
diaphragm.
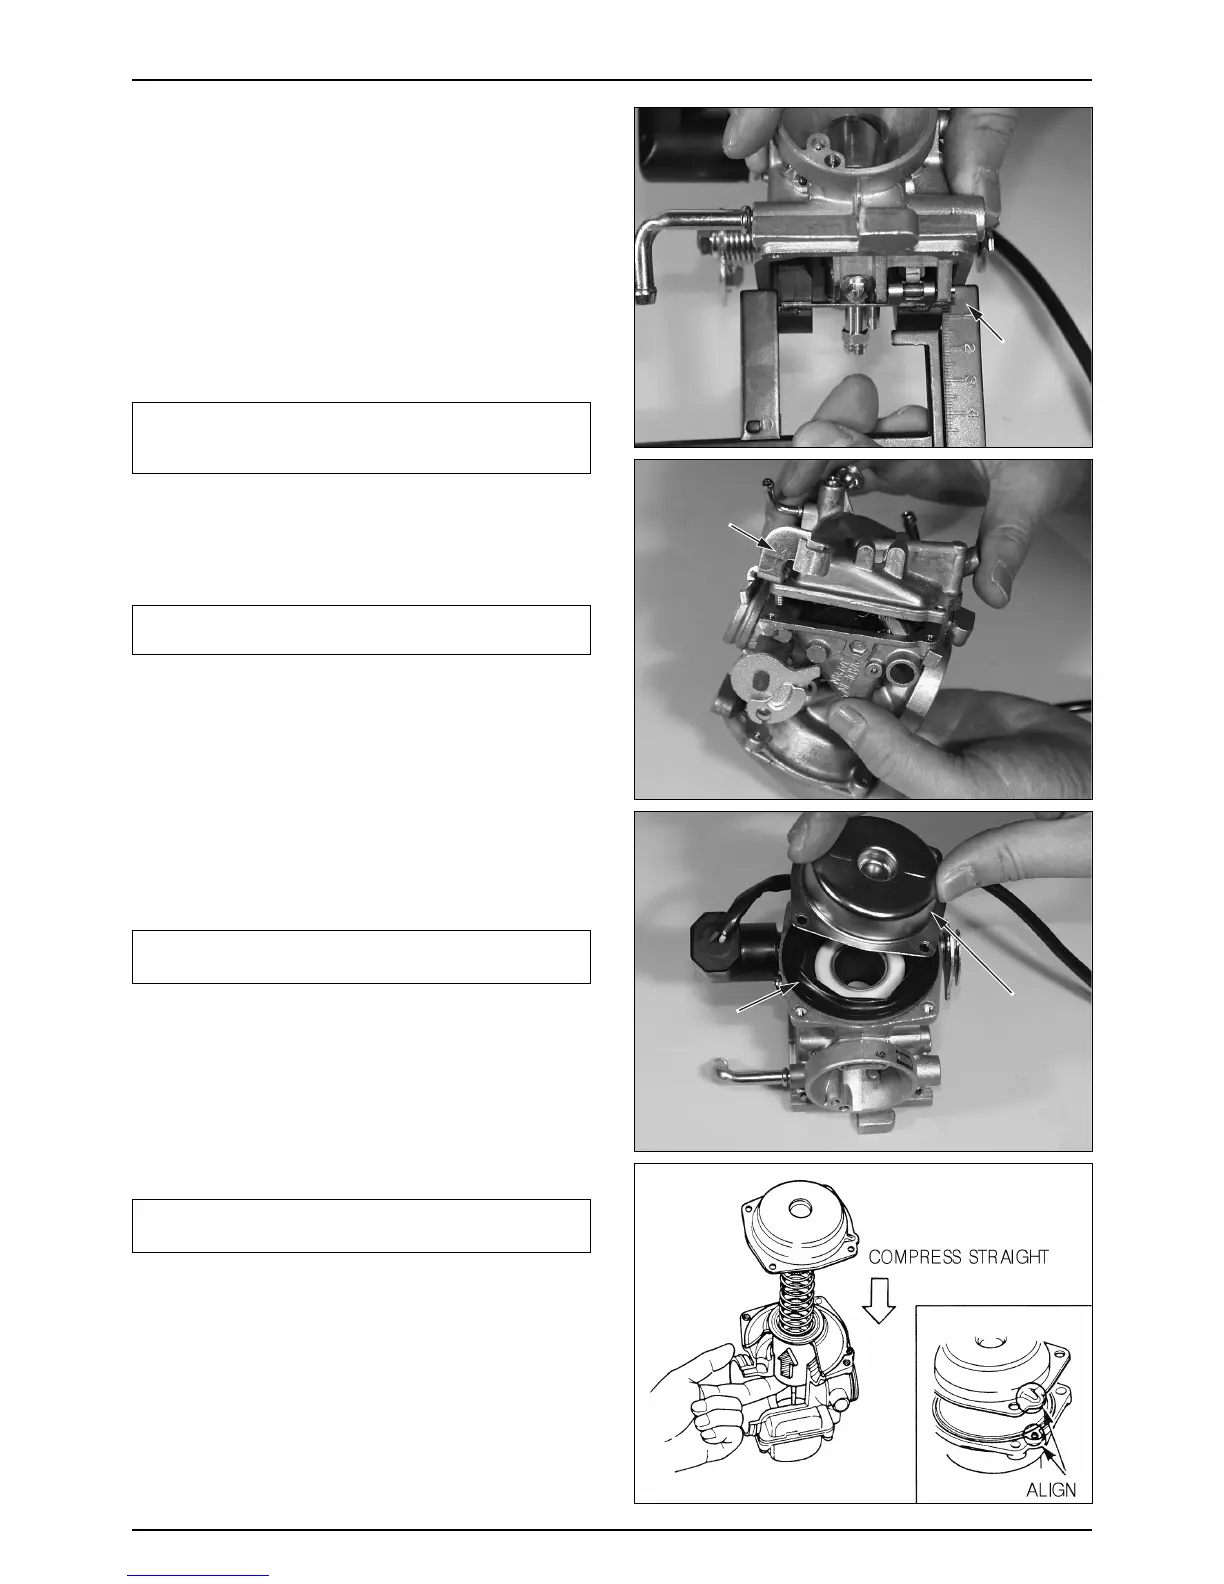
● Install the diaphragm assembly on the carburetor body.
● Install the diaphragm spring.
● Install the diaphragm cover with its cutout aligned with
the hole in the tab of diaphragm.
NOTE
•Be careful not to pinch the diaphragm, and to keep
the spring straight.
● Install the auto bystarter wiring plate to the diaphragm,
and tighten the 4 pan screws.
● Install the drain tube and air-hose.
 Loading...