Interfaces Local Area Networks (LANs)
Digi Connect IT® 4 User Guide
156
Configure the WAN Ethernet port as a LAN
This procedure reconfigures the WAN port to serve as port for a LAN, which will result in the device
having two separate LANs: the default LAN LAN, and the LAN created in this procedure. To utilize both
LANs, you will need to have a device connected to the WAN port, and a separate device connected to
the ETH2 port to the default LAN, and these devices will be on separate LANs.
If instead, you want the WAN port to be bridged with the ETH2 portincluded in the default LAN, see
Create a bridge that includes the WAN port, or if you want to create a new bridge that includes the
WAN port an other devices, see Create a bridge that includes the WAN port.
To configure the WAN Ethernet port as a LAN:
Web
1. Log into Digi Remote Manager, or log into the local Web UI as a user with full Admin access
rights.
2. Access the device configuration:
Remote Manager:
a. Locate your device as described in Use Digi Remote Manager to view and manage your
device.
b. Click the Device ID.
c. Click Settings.
d. Click to expand Config.
Local Web UI:
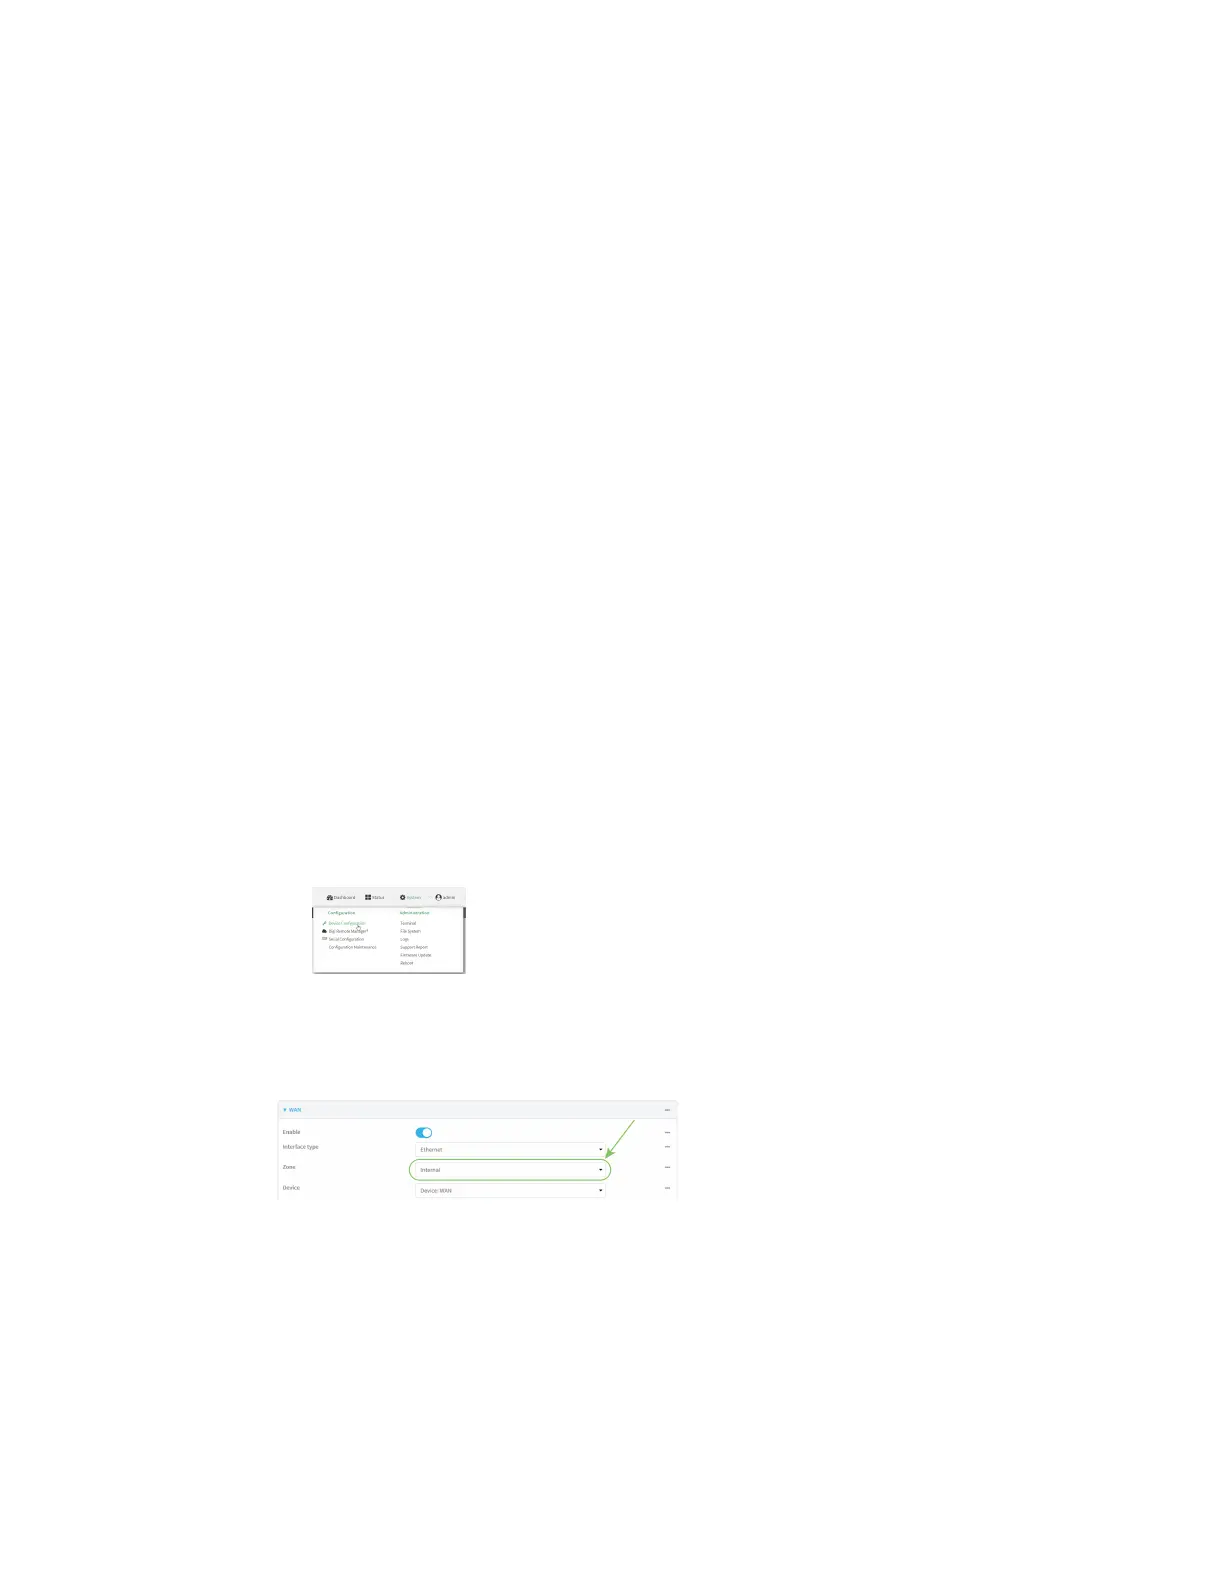
a. On the menu, click System. Under Configuration, click Device Configuration.
The Configuration window is displayed.
3. Click Network > Interfaces > WAN.
4. For Zone, select Internal.
5. Configure IPv4 settings:
a. Click to expand IPv4.
b. For Type, select Static IP address.
c. For Address, type the IPv4 address and netmask, using the format IPv4_address/netmask,
for example, 192.168.3.1/24.
 Loading...