Routing Virtual Router Redundancy Protocol (VRRP)
Digi Connect IT® 4 User Guide
283
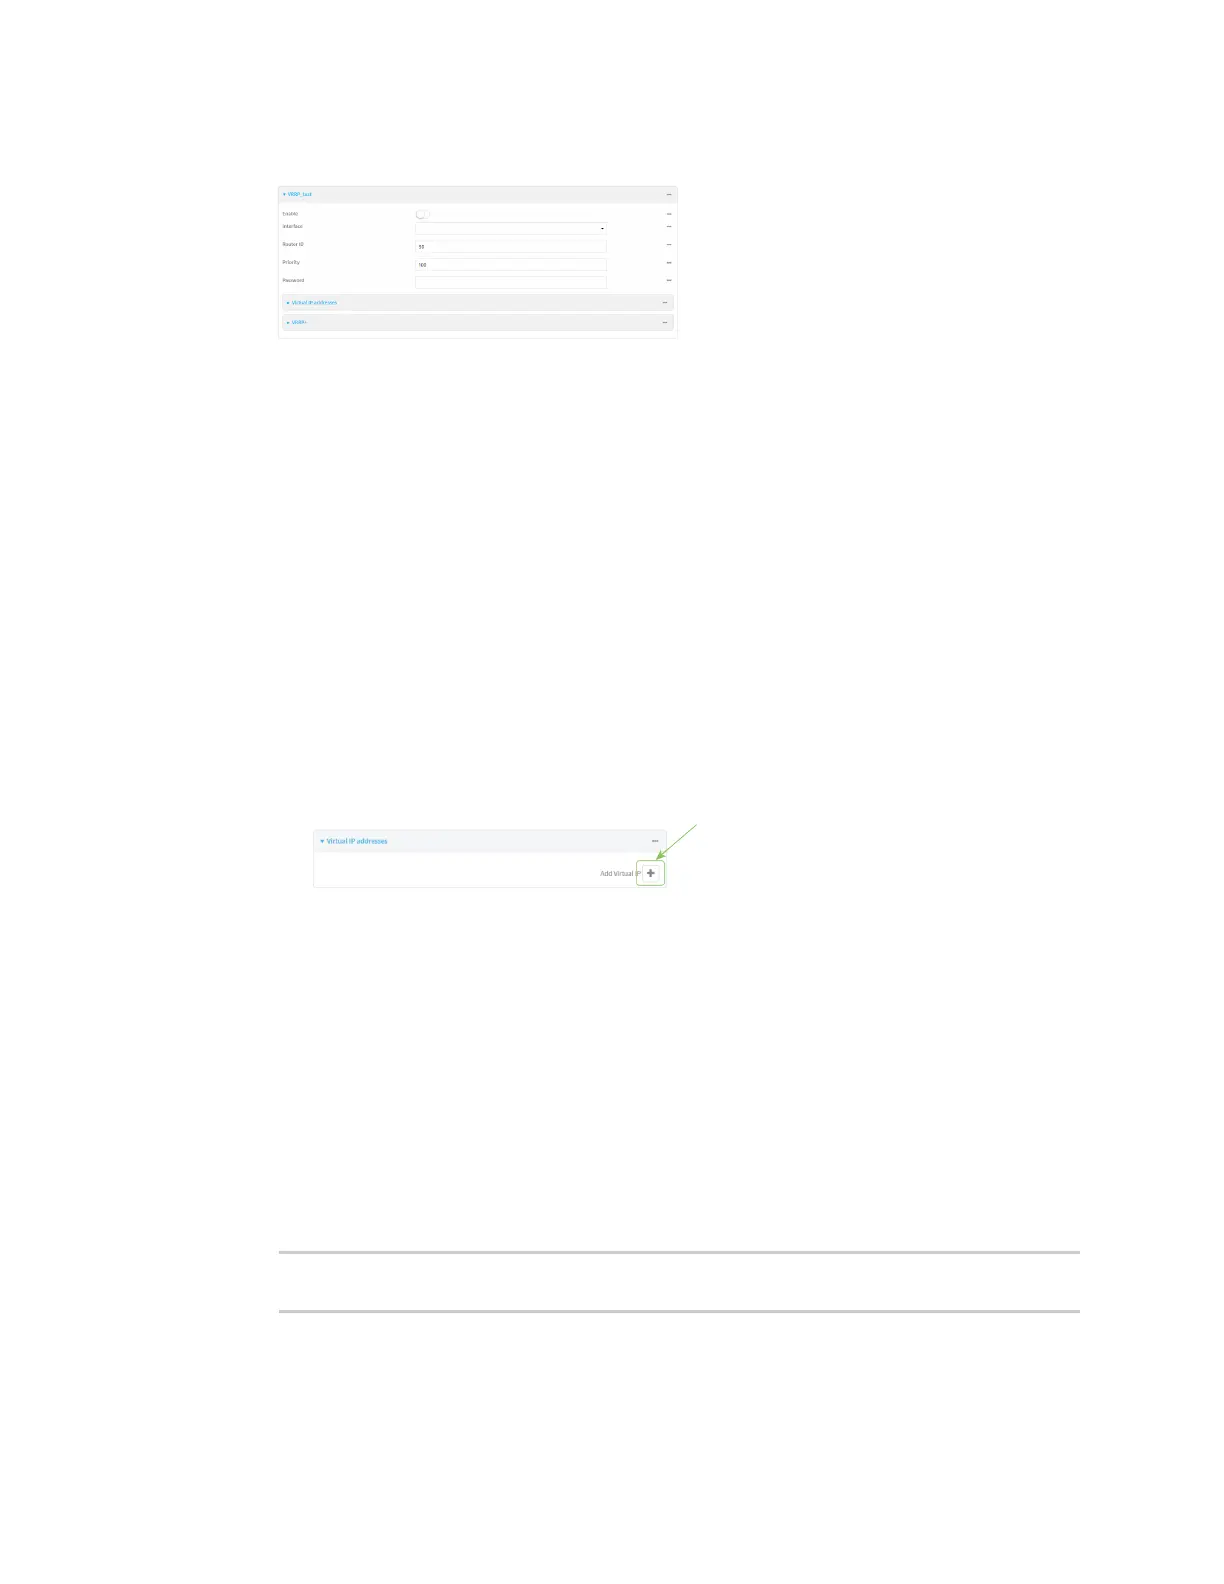
The new VRRP instance configuration is displayed.
5. Click Enable.
6. For Interface, select the interface on which this VRRPinstance should run.
7. For Router ID field, type the IDof the virtual router instance. The Router ID must be the same
on all VRRP devices that participate in the same VRRP device pool. Allowed values are from 1
and 255, and it is configured to 50 by default.
8. For Priority, type the priority for this router in the group. The router with the highest priority
will be used as the master router. If the master router fails, then the IP address of the virtual
router is mapped to the backup device with the next highest priority. If this device's actual IP
address is being used as the virtual IP address of the VRRP pool, then the priority of this device
should be set to 255 . Allowed values are from 1 and 255, and it is configured to 100 by default.
9. (Optional) For Password, type a password that will be used to authenticate this VRRP router
with VRRP peers. If the password length exceeds 8 characters, it will be truncated to 8
characters.
10. Configure the virtual IP addresses associated with this VRRP instance:
a. Click to expand Virtual IP addresses.
b. Click to add a virtual IP address.
c. For Virtual IP, type the IPv4 or IPv6 address for a virtual IP of this VRRP instance.
d. (Optional) Repeat to add additional virtual IPs.
11. See Configure VRRP+ for information about configuring VRRP+.
12. Click Apply to save the configuration and apply the change.
Command line
1. Select the device in Remote Manager and click Actions > Open Console, or log into the
Connect IT 4 local command line as a user with full Admin access rights.
Depending on your device configuration, you may be presented with an Access selection
menu. Type admin to access the Admin CLI.
2. At the command line, type config to enter configuration mode:
> config
(config)>
 Loading...