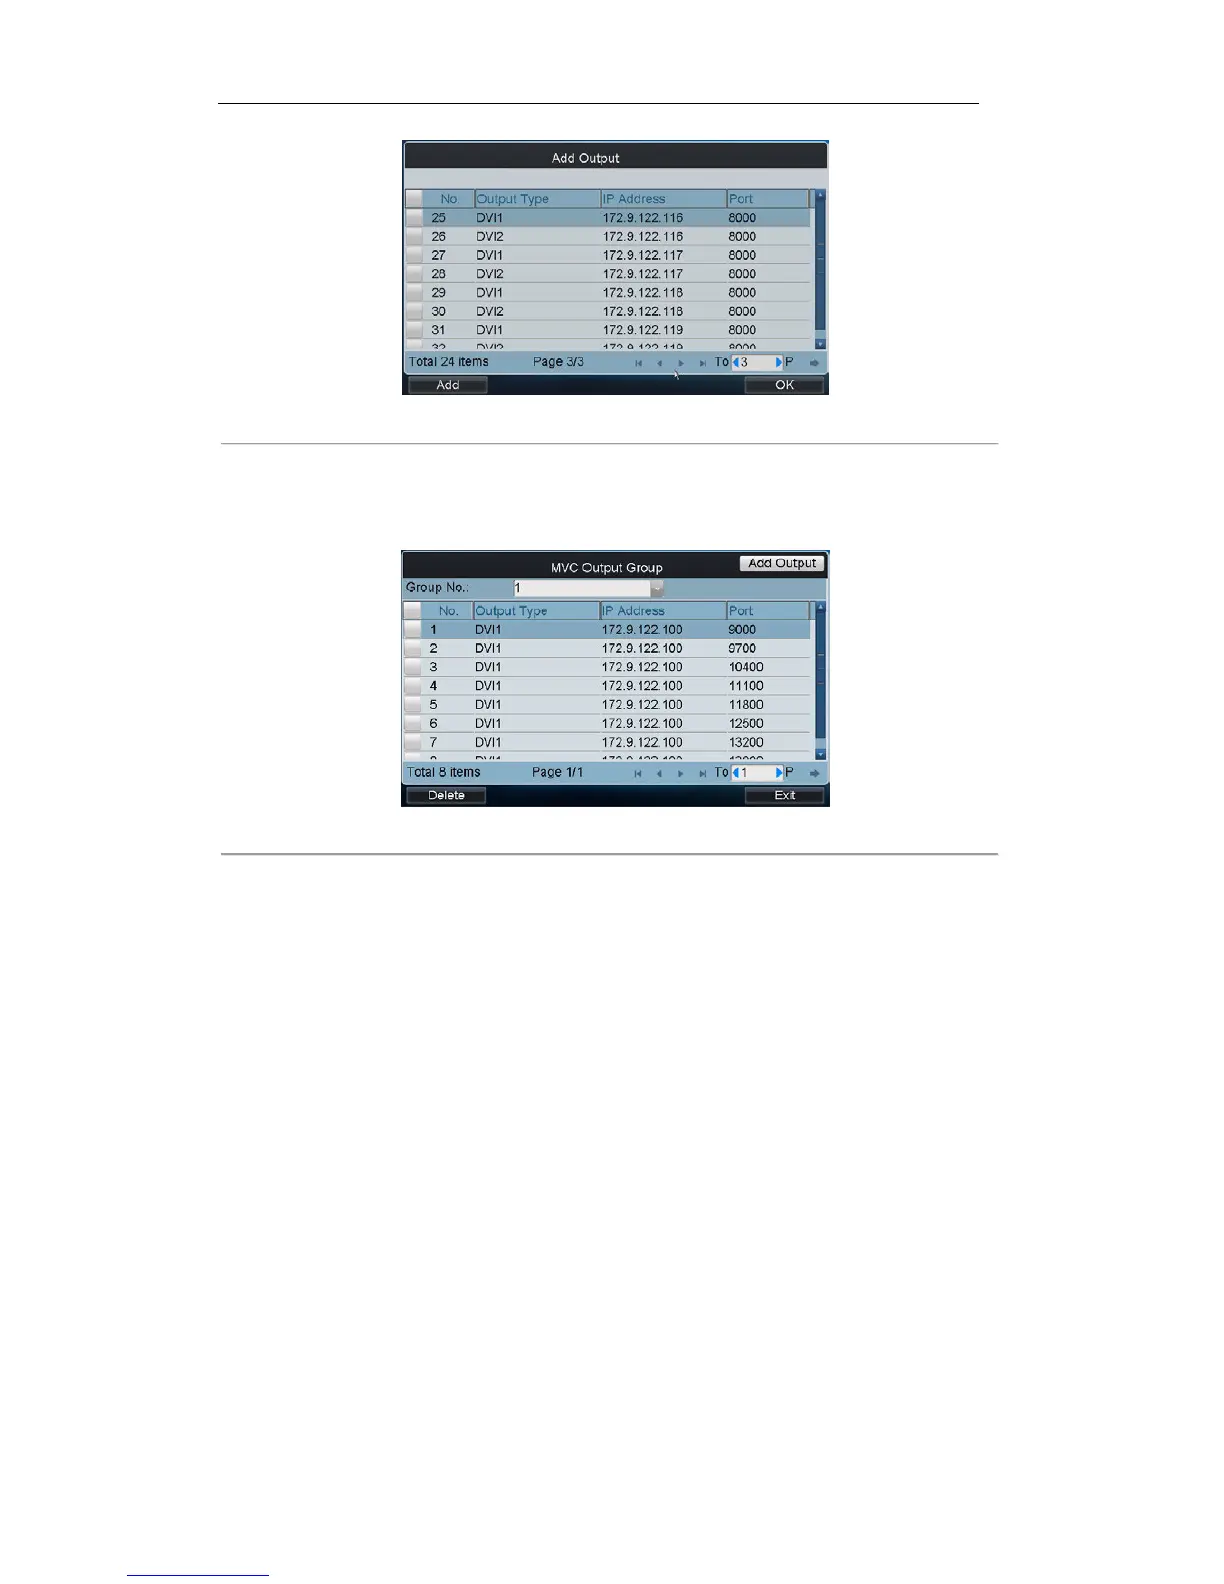
Figure 6. 14 Add Output interface
4. Select the outputs from the list to be added to the group, and then click Add to finish the setting.
5. Click OK to return to the MVC Output Group interface, where you can view the successfully added output
channels for the current group.
Figure 6. 15 MVC Output Group interface
Displaying Video on Monitor
The selected input signal can be outputted and displayed by the decoding channel on the monitor. Currently, the
supported decoding resolution includes: QCIF, CIF, 2CIF, DCIF, 4CIF, 720p, 1080p, VGA, UXGA, etc. The output
interface can be selected to BNC/VGA/HDMI/DVI.
Task1: Local Live View
Steps:
1. Press the 0+MON to enter the local live view mode.
2. Press the Num + CAM keys to enter the local live view of the selected camera.
Task2: Display of Video on Monitor
Steps:
1. Press the Num + MON keys to select the monitor.
2. Press the Num + WIN keys to select the display window on the monitor.
3. Press the Num + CAM keys to select the input camera.
Example: You can press the “1+MON, 2+WIN, 3+CAM” keys to decode the video signal from camera 3 and
display it on window 2 of monitor 1.
When you press the 0+CAM keys, it will stop the dynamic decoding of the current window. If no display window is
selected, the decoding of the 1
st
window will be stopped by default.
 Loading...