2. Posion the shipping crate with the arrows poinng up.
3. Open all the latches on the shipping crate.
4. Remove the front door of the shipping crate cover and set it aside.
5. Slide the remainder of the shipping crate cover o the pallet.
6. Remove the foam covering the top of the switch.
7. Remove the accessory box and the Quick Start installaon instrucons.
8. Verify the parts received against the lists.
9. Remove the vapor corrosion inhibitor (VCI) packs aached to the pallet, being careful not to break
the VCI packs open.
10. To remove the brackets holding the chassis on the pallet, use a 1/2-in. socket wrench and a
number 2 Phillips screwdriver to remove the bolts and screws from the brackets.
11. Store the brackets and bolts inside the accessory box.
12. Save the shipping crate cover, pallet, and packing materials in case you need to move or ship the
switch at a later me.
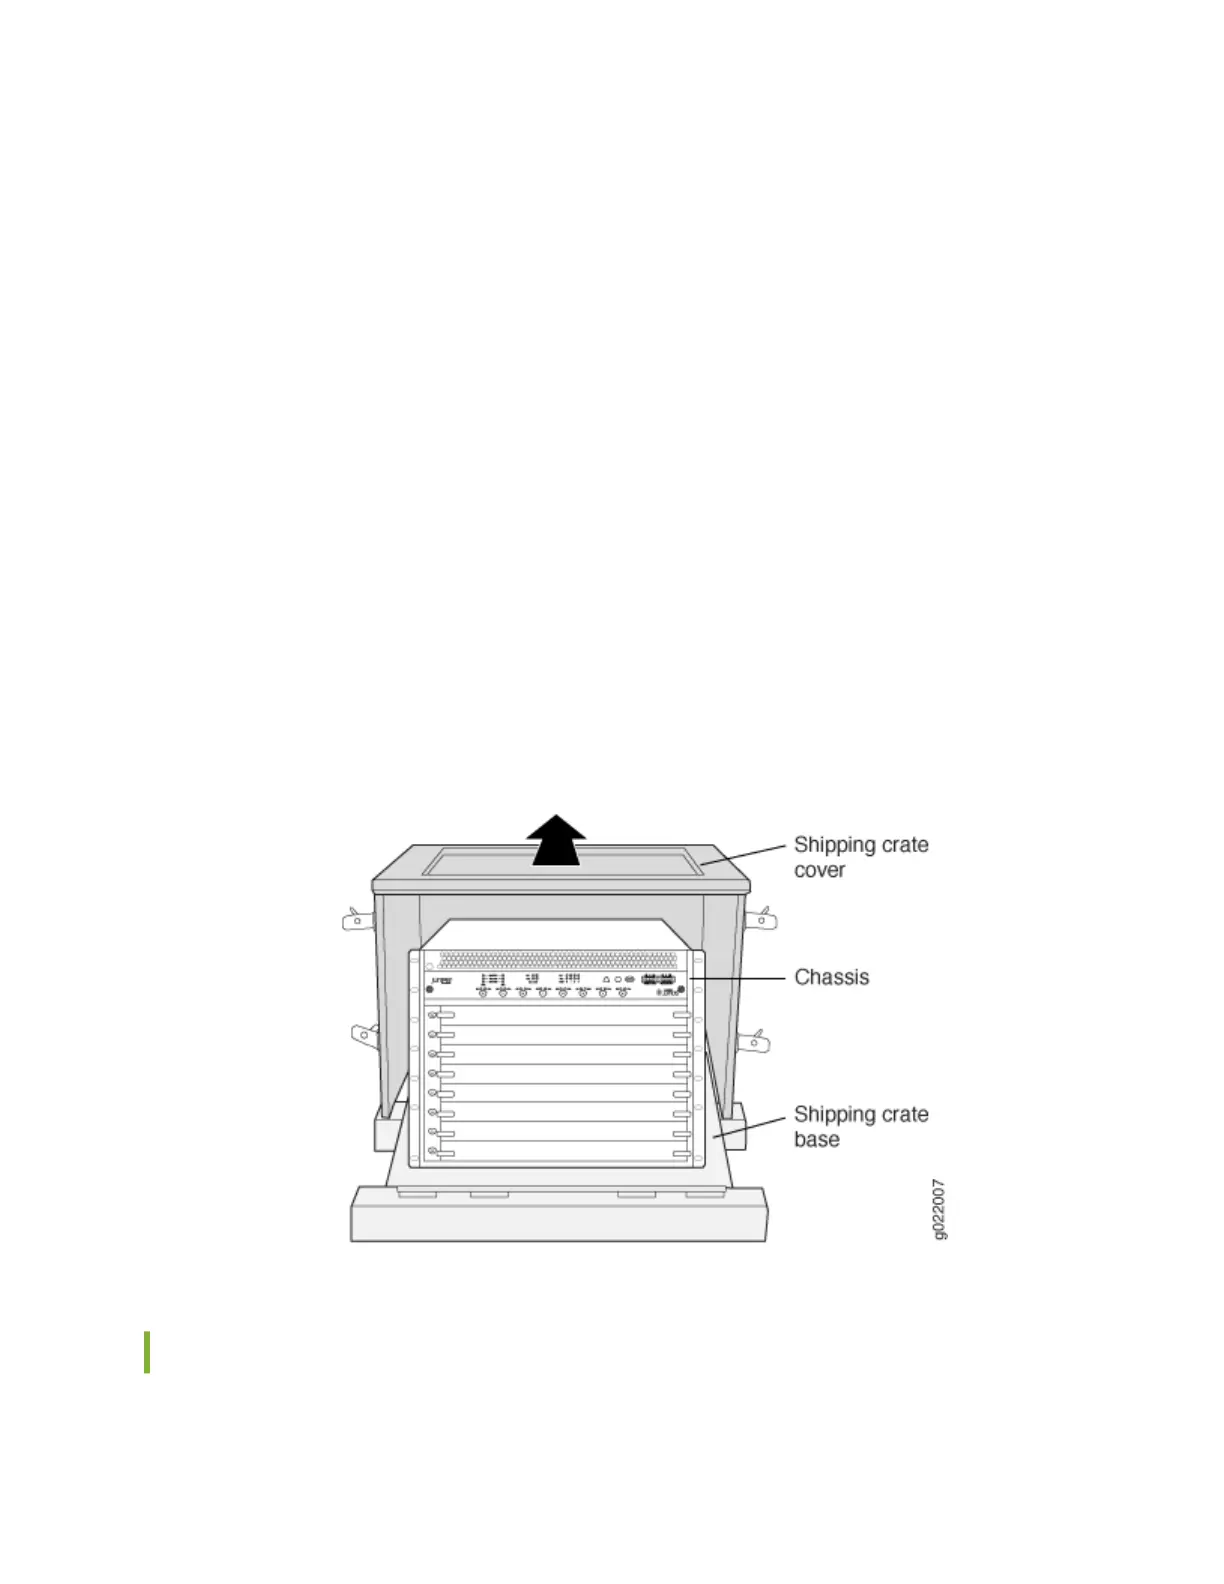
Figure 44 on page 149 shows an EX9208 switch in the shipping crate. The contents are the same
for all EX9200 switches.
Figure 44: Contents of the Shipping Crate for EX9200 Switches
Unpacking a Line Card Used in an EX9200 Switch
Before you unpack a line card:
149
 Loading...