1. Use the appropriate screwdriver to remove the mounng screws that aach the chassis front-
mounng brackets to the rack or cabinet.
2. Move the li to the rack and posion it so that its plaorm is centered about 0.5 in. (1.27 cm) below
the boom of the switch chassis and as close to it as possible.
3. Carefully slide the switch from the adjustable mounng brackets aached to the rack onto the li.
4. Use the li to transport the switch to its new locaon.
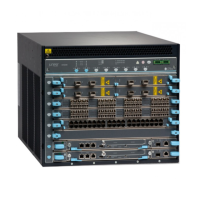
Maintaining the EX9214 Cable Management Bracket
IN THIS SECTION
Removing the Cable Management Bracket from an EX9214 Switch | 279
Installing the Cable Management Bracket in an EX9214 Switch | 281
Removing the Cable Management Bracket from an EX9214 Switch
Before you remove a cable management bracket from the switch:
• Ensure you understand how to prevent Electrostac discharge (ESD) damage. See
Prevenon of
Electrostac Discharge Damage
.
Ensure that you have the following parts and tools available:
• ESD grounding strap
• 7/16 in. (11 mm) nut driver
The cable management bracket is installed below the line card and SF module slots on the front panel.
To remove the cable management bracket:
1. Aach an ESD grounding strap to your bare wrist and connect the strap to one of the ESD points on
the chassis.
279
 Loading...