- 119 -
4. Print
2
Select [Print] from the [File] menu.
3
Click [Preferences].
4
Select [Auto] from [Source] on the [Setup] tab.
5
Change other settings if necessary, and then click [OK].
6
Click [Print] on the [Print] screen.
For Windows PS Printer Driver
1
Open the file to print.
2
Select [Print] from the [File] menu.
3
Click [Preferences].
4
Select [Automatically Select] from [Paper Source] on the [Paper/Quality] tab.
5
Change other settings if necessary, and then click [OK].
6
Click [Print] on the [Print] screen.
For Mac OS X
1
Open the file to print.
2
Select [Print] from the [File] menu.
3
Select [Auto Select] from [All Pages From] on the [Paper Feed] panel.
4
Change other settings if necessary, and then click [Print].
If setting details are not displayed in the print dialog box, click [Show Details] at the bottom of the dialog box.
• Setting Trays for the Auto Tray Switching
• For Windows PCL Printer Driver
• For Windows PS Printer Driver
•For MacOSX
When the specified tray runs out of paper, the machine can continue to print from another
tray if paper of the same paper size and weight is loaded in the paper cassettes (Tray 1/2/3)
and the MP tray.
To use this function, enable the auto tray switching function on the operator panel first. Then,
set the auto tray switching function with the printer driver.
For the paper settings of each tray used for the auto tray switch function, set the same values to the machine and printer
driver.
Loading Paper (User's Manual)
Setting Trays for the Auto Tray Switching
1
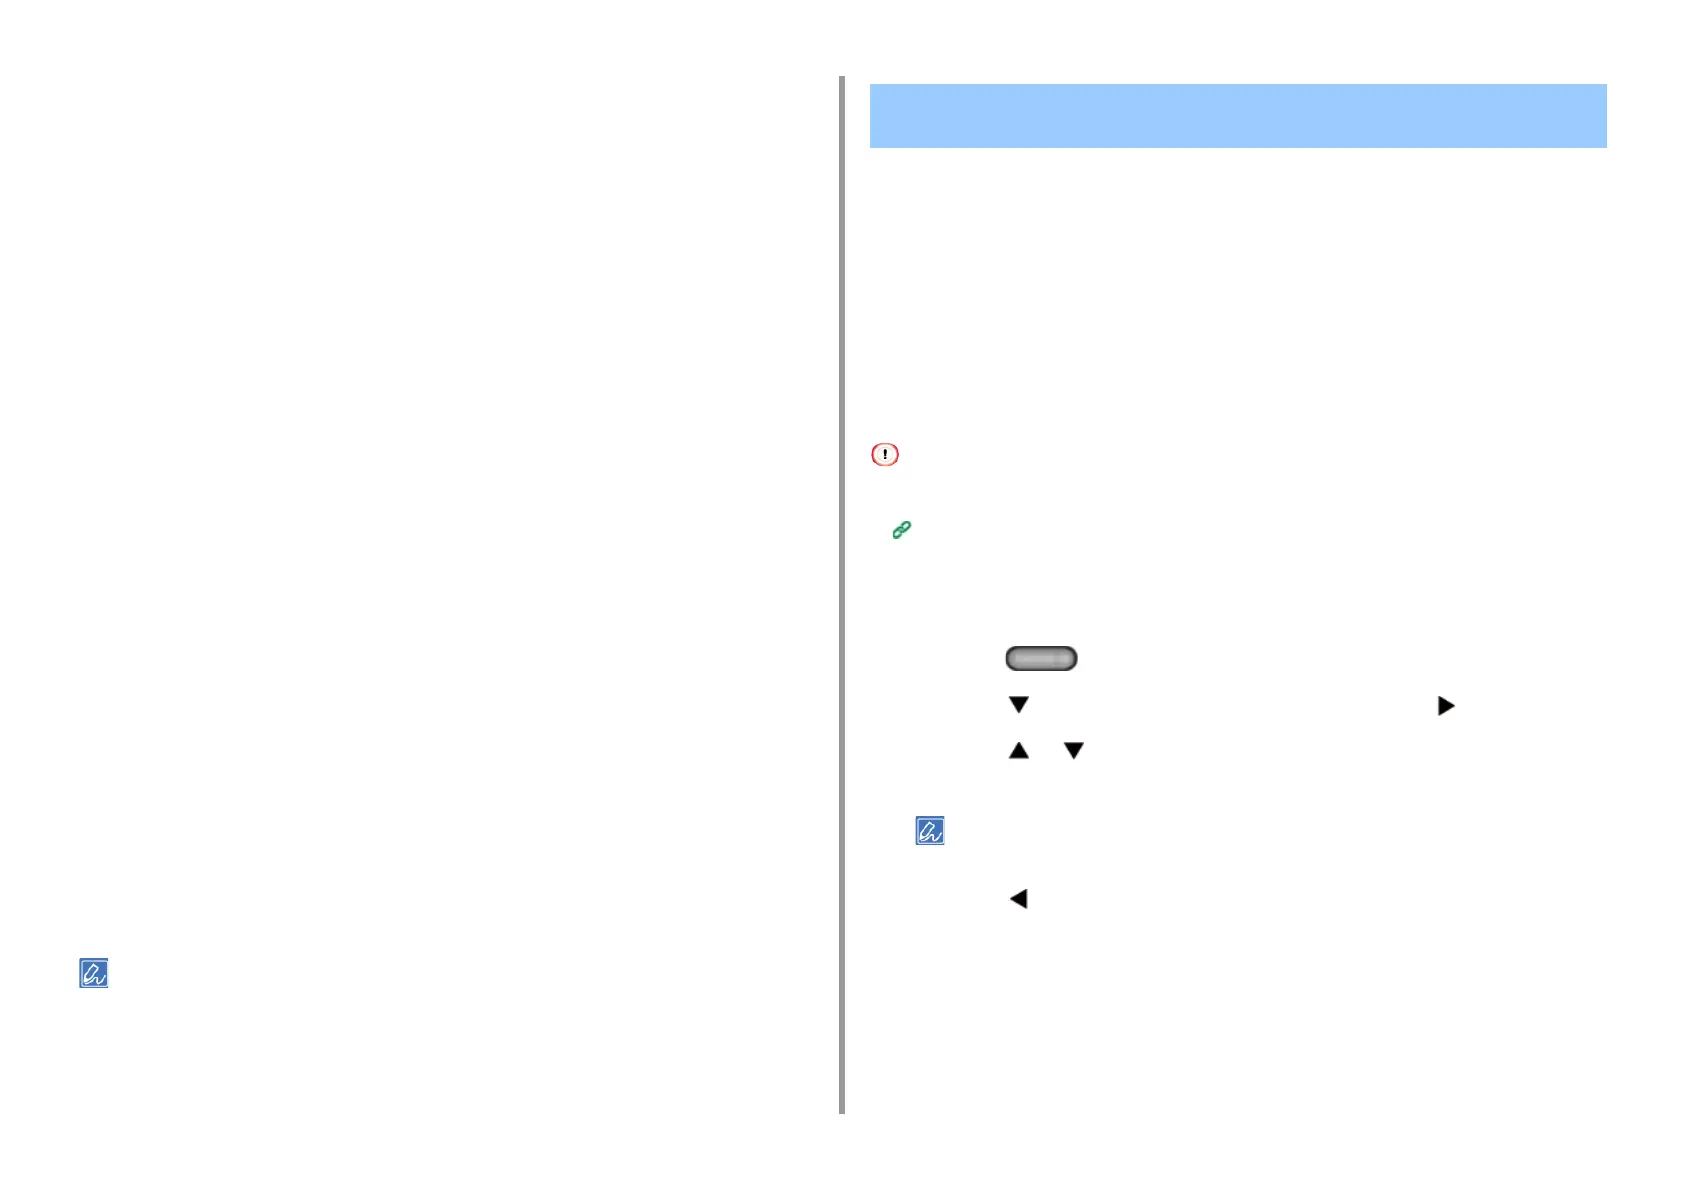
Press the (SETTING) button on the operator panel.
2
Press the button to select [Paper Setup] and press the button.
3
Press the or button to select [Auto Tray Switch] and check that [ON] is
set.
Trays switch in accordance with the [Tray Sequence] setting.
4
Press the button until the home screen is displayed.
For Windows PCL Printer Driver
1
Open the file to print.
2
Select [Print] from the [File] menu.
Switching to Another Paper Feed Tray Automatically When a
Tray Runs Out Of Paper

 Loading...