Using a Polycom RealPresence Group Series Remote Control
Polycom, Inc. 29
Note: Changing this setting takes effect immediately, even if a call is in progress.
1 From the Home screen, press .
2 Do one of the following:
While in a call, select More > Settings > User Settings > Camera.
While not in a call, select Settings > User Settings > Camera.
3 Select Allow Other Participants in a Call to Control Your Camera.
Disable EagleEye Director Tracking in a Call
While in a call, you might want to disable EagleEye Director tracking.
When you stop camera tracking through the menu, the Mute and Unmute buttons do not affect tracking.
» Navigate to Cameras, and select Tracking On/Tracking Off to toggle tracking off.
After you disable tracking in this way, the Mute and Unmute functions on the microphone and remote
control no longer affect tracking.
Enable EagleEye Director Tracking in a Call
If EagleEye Director tracking is enabled, the camera follows the person or people who are speaking.
This tracking action, also called automatic camera positioning, can be manually started or stopped.
You must start camera tracking using the menu before the Mute and Unmute buttons will again affect
tracking. After the call is complete, EagleEye Director returns to its default setting.
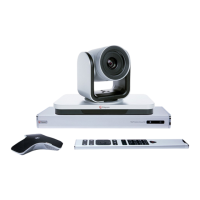
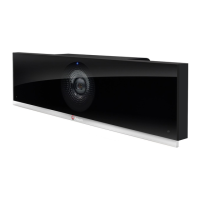
Figure 4: EagleEye Director
» Navigate to Cameras, and select Tracking On/Tracking Off to toggle tracking on.
Camera Presets
Camera presets are stored camera positions that you can create before or during a call.
The system uses preset 0 as the default camera position for all preset camera positions. This default
camera position is zoomed out, panned straight ahead with horizontal tilt.
Presets allow you to do the following:
 Loading...


