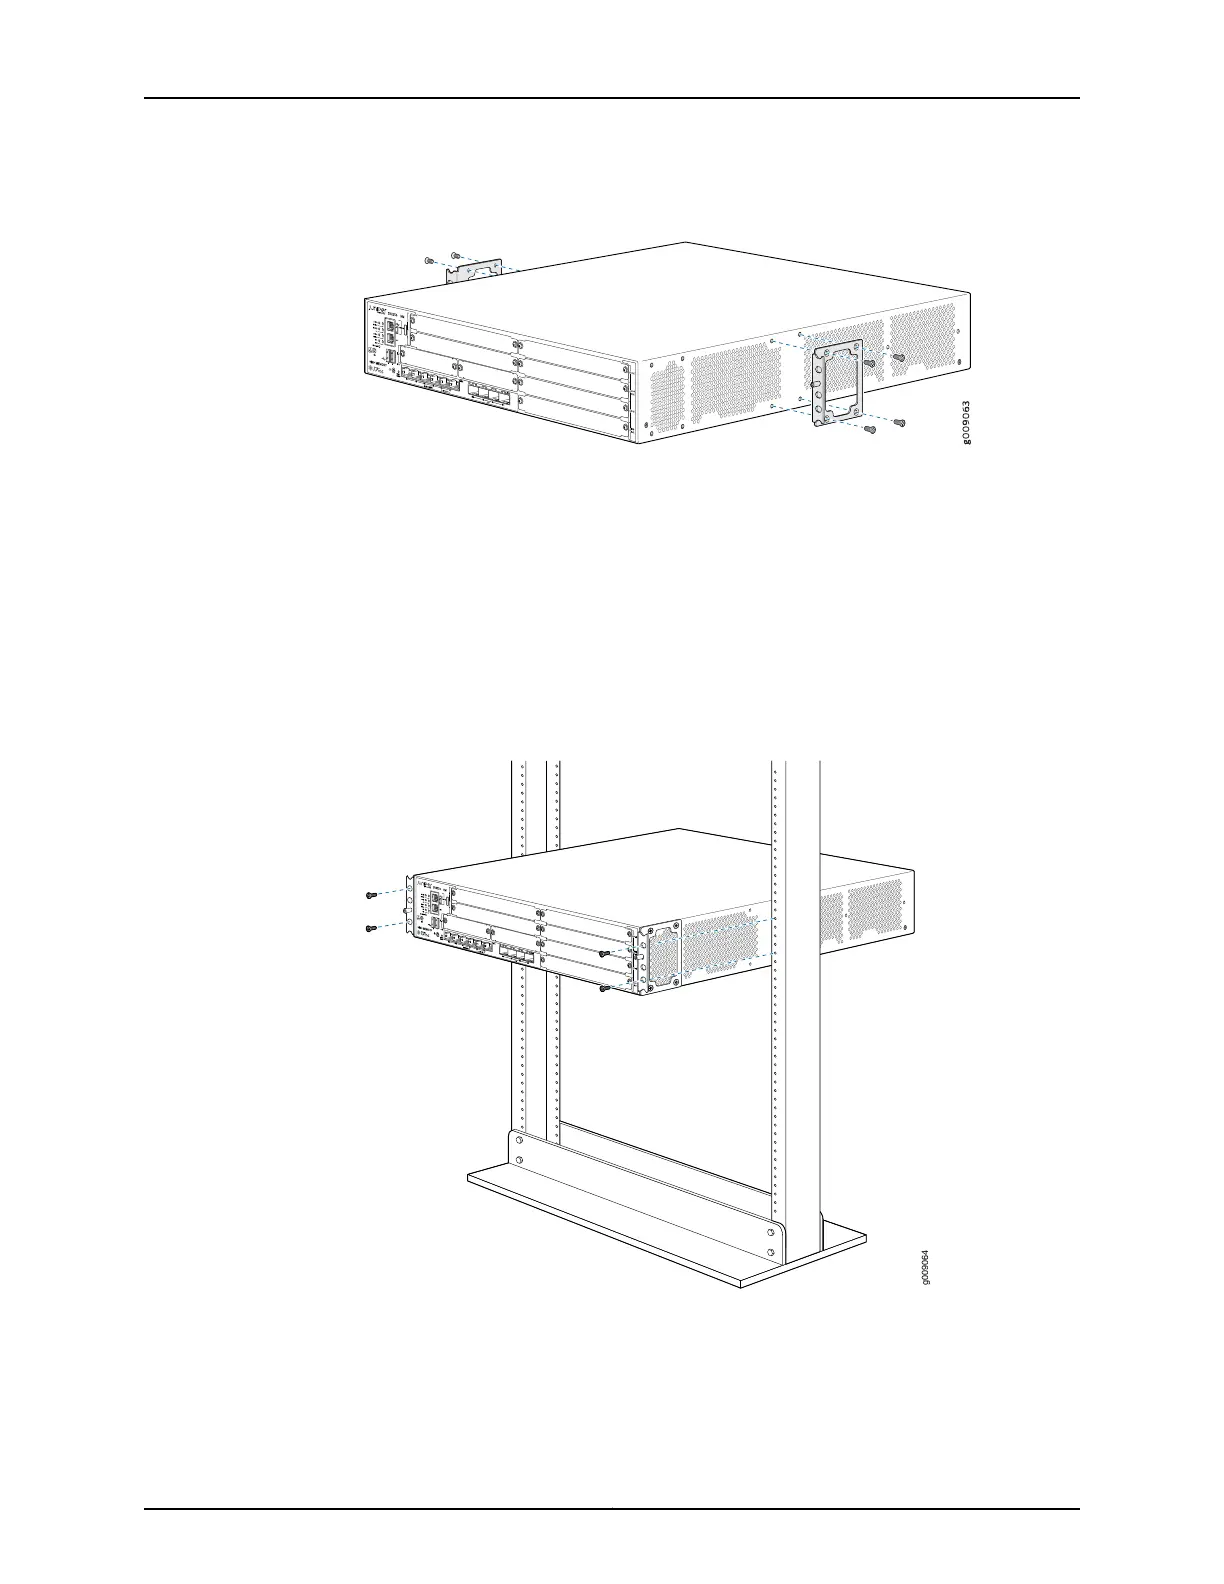
Figure 18: Installing the Rack Mount Brackets (Center Mount Position)
3. Have one person grasp the sides of the services gateway, lift it, and position it in the
rack.
4. Align the bottom hole in each mounting bracket with a hole in each rack rail, making
sure the chassis is level.
5. Have a second person install a mounting screw into each of the two aligned holes.
Use a Phillips (+) screwdriver, number 2 to tighten the screws.
6. Install the second screw in each mounting bracket.
Figure 19: Installing the Services Gateway in the Rack (Front Mount Shown,
Center Mount Similar)
7. Verify that the mounting screws on one side of the rack are aligned with the mounting
screws on the opposite side and that the services gateway is level.
Copyright © 2016, Juniper Networks, Inc.98
SRX550 High Memory Services Gateway Hardware Guide
 Loading...