9
9929422 R02 - 2017-2019 ACE 900 Service Manual
© Copyright Polaris Industries Inc.
9.17
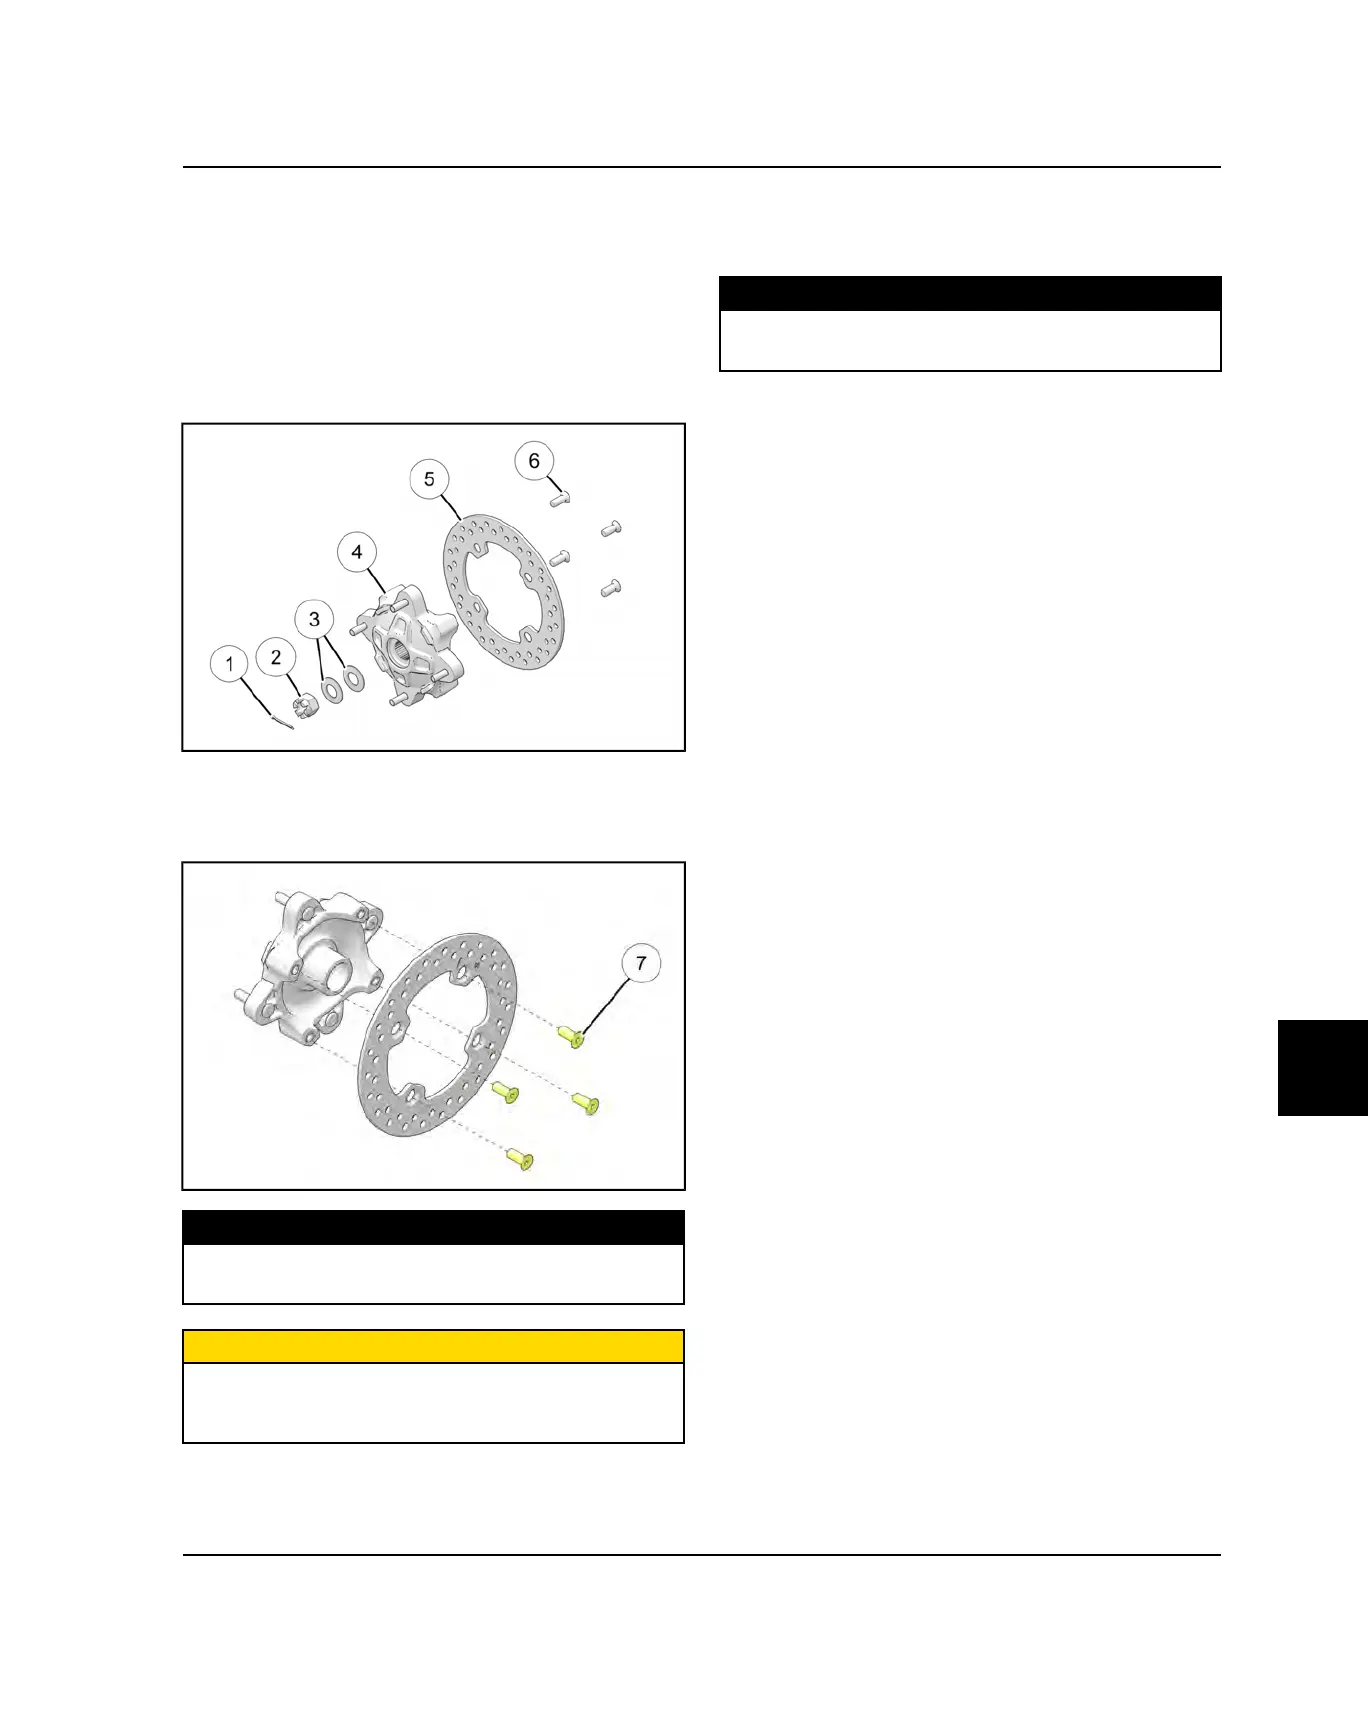
DISC REPLACEMENT
1. Remove the front brake caliper (see “Front Caliper
Removal” page 9.13).
2. Remove wheel hub cotter pin
q
, castle nut
w
, and
washers
e
.
3. Remove the wheel hub assembly
r
from the vehicle
and remove the (4) bolts
y
retaining the disc
t
to
the hub.
4. Clean the wheel hub mating surface and install new
disc on wheel hub.
5. Install new bolts
u
and torque to specification.
TORQUE
Disc Fasteners:
18 ft-lbs (24 Nm)
CAUTION
Always use new brake disc mounting bolts. The bolts
have a pre-applied locking agent which is destroyed
upon removal.
6. Install wheel hub assembly, washers, and castle nut.
Torque castle nut to specification and install a new
cotter pin.
TORQUE
Castle Nut:
110 ft-lbs (149Nm)
7. Install the front brake caliper (see “Front Caliper
Installation” page 9.15).
8. Follow bleeding procedure outlined earlier in this
chapter.
9. Field test unit for proper braking action before putting
into service. Inspect for fluid leaks and firm brakes.
Make sure the brake is not dragging when pedal is
released. If the brake drags, re-check assembly and
installation.
BRAKE BURNISHING PROCEDURE
It is required that a burnishing procedure be performed
after installation of new brake pads to extend service life
and reduce noise.
Start machine and slowly increase speed to 30 mph.
Gradually apply brakes to stop machine. Allow pads and
disc to cool sufficiently during the procedure. Do not
allow pads or disc to become hot or warping may result.
Repeat this procedure 10 times. Do not make more
than 3 stops per 1 mile (1.6 km).
BRAKE SYSTEM

 Loading...