2.40
9929422 R02 - 2017-2019 ACE 900 Service Manual
© Copyright Polaris Industries Inc.
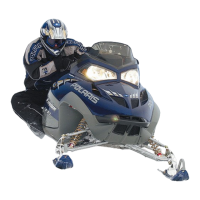
WHEEL INSTALLATION
1. Verify the transmission is still in PARK.
2. Place the wheel in the correct position on the wheel
hub
t
. Be sure the valve stem
w
is toward the
outside and rotation arrows on the tire point toward
forward rotation.
3. Attach the wheel nuts
q
and finger tighten.
4. Carefully lower the vehicle to the ground.
5. Torque the wheel nuts and/or hub nut
e
to the proper
torque specification.
TORQUE
Wheel Lug Nuts:
30 ft-lbs + 90° (41 Nm)
Hub Castle Nuts:
Front: 110 ft-lbs (149Nm)
Rear: 110 ft-lbs (149Nm)
6. If hub nut was removed, install a new cotter pin after
the hub nut has been tightened. If the holes do not
line up, turn the hub nut until the cotter pin
r
can be
installed.
CAUTION
If wheels are improperly installed it could affect vehicle
handling and tire wear. On vehicles with tapered wheel
nuts, make sure tapered end of nut goes into taper on
wheel.
TIRE INSPECTION
• Improper tire inflation may affect vehicle
maneuverability.
• When replacing a tire always use original equipment
size and type.
• The use of non-standard size or type tires may affect
vehicle handling.
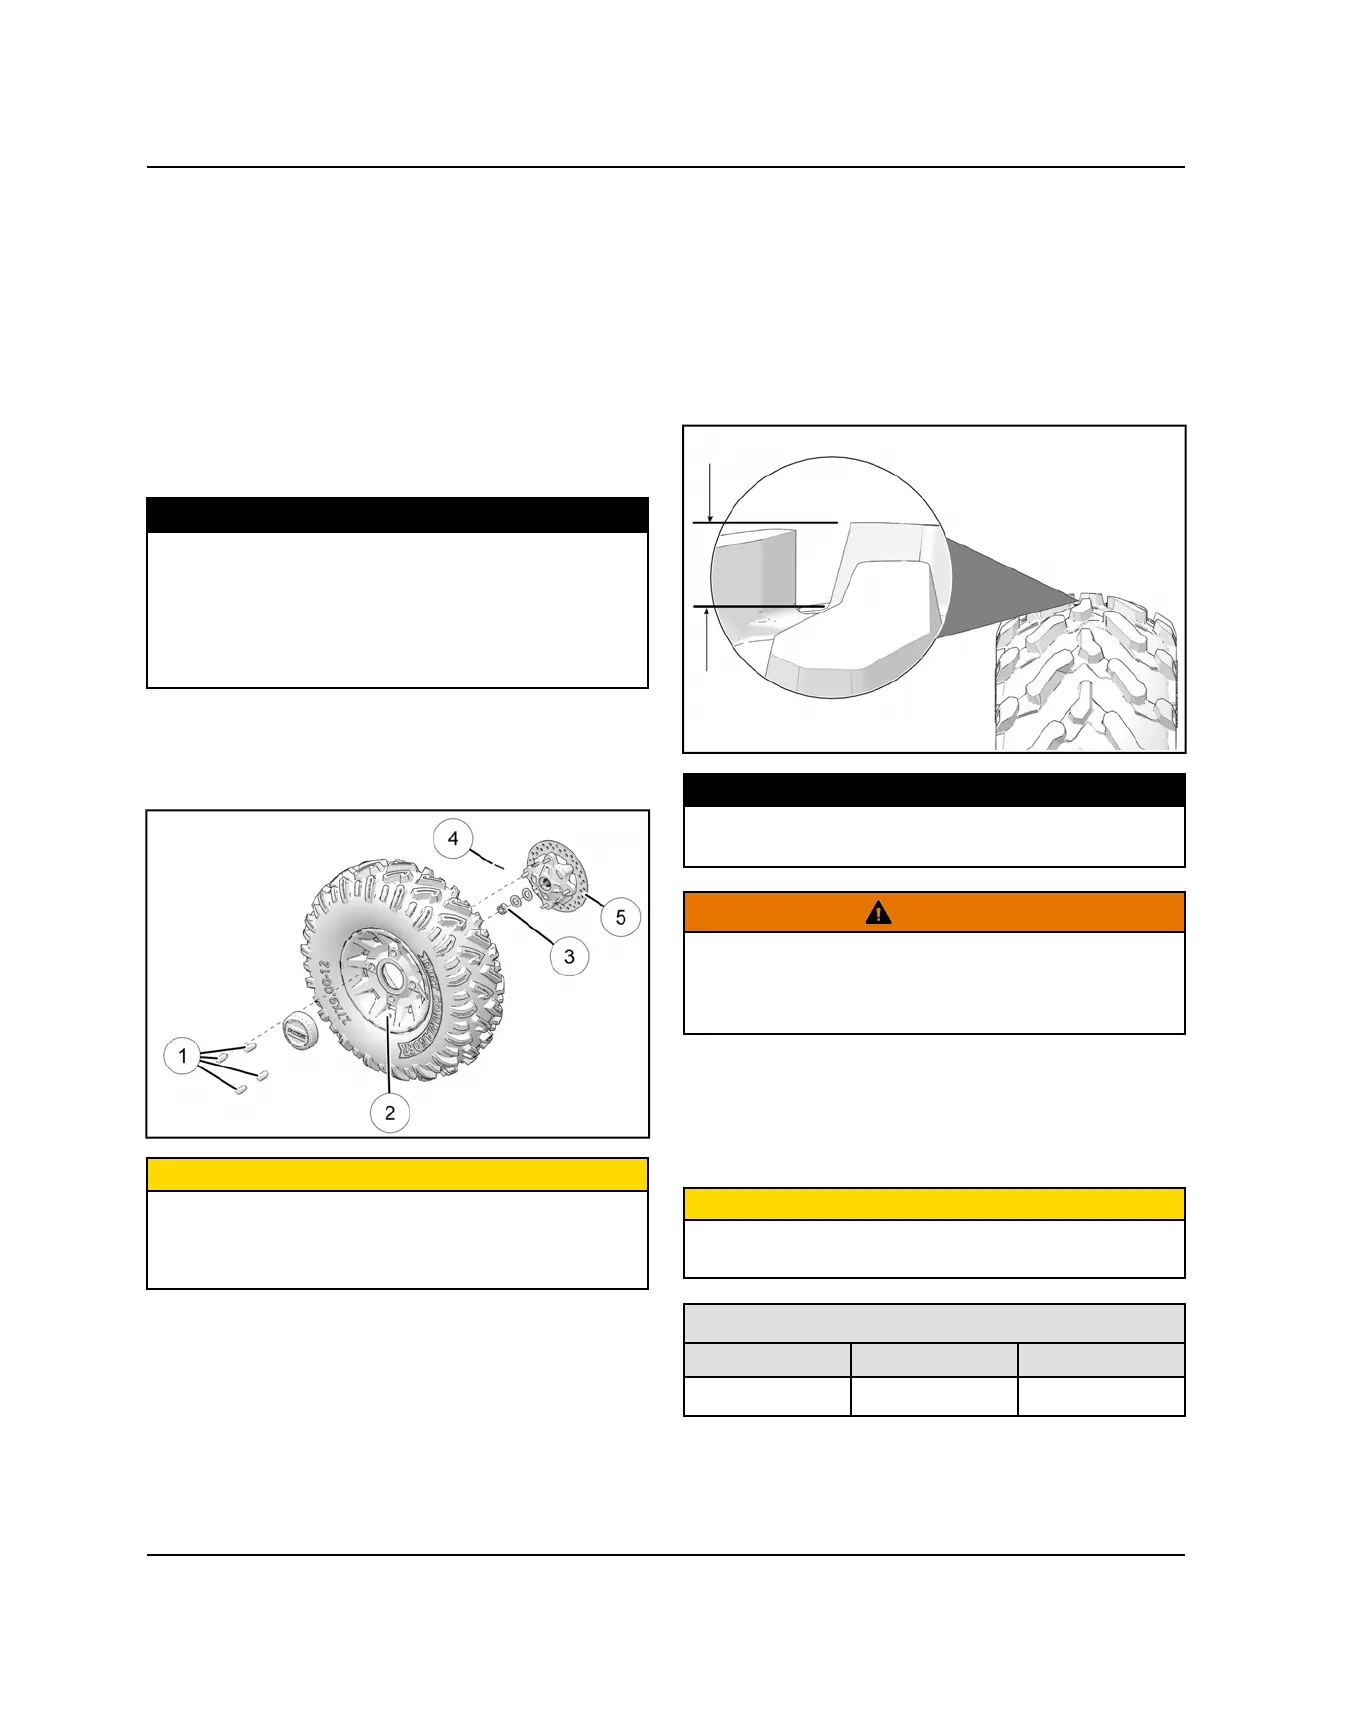
MEASUREMENT
Tire Lug Service Limit:
Replace if 1/8″ (3 mm) or less.
WARNING
Operating with worn tires will increase the possibility of
the vehicle skidding easily with possible loss of control.
Worn tires can cause an accident. Always replace tires
when the usable tread depth has worn out.
TIRE PRESSURE
Remove the valve stem cap and check tire pressure
using the tire pressure gauge included in the vehicle’s
tool kit.
CAUTION
Maintain proper tire pressure. Refer to the warning tire
pressure decal applied to the vehicle.
ACE TIRE PRESSURE INSPECTION (COLD)
Model Front Rear
ACE 900 XC
10 psi (69 kPa) 14 psi (96 kPa)
MAINTENANCE

 Loading...