 Loading...
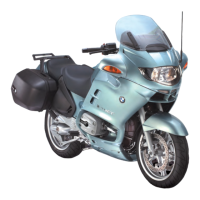
Do you have a question about the BMW R 1150 RT and is the answer not in the manual?
| Displacement | 1130 cc |
|---|---|
| Transmission | 5-speed |
| Final Drive | Shaft |
| Bore x Stroke | 101 mm x 70.5 mm |
| Compression Ratio | 10.3:1 |
| ABS | Optional |
| Engine Type | Air/oil-cooled, four-stroke, Boxer twin |
| Power | 95 hp at 7, 250 rpm |
| Torque | 100 Nm at 5, 500 rpm |
| Dry Weight | 259 kg |
| Front Suspension | Telelever |
| Rear Suspension | Paralever |
| Front Brakes | Dual disc |
| Rear Brakes | Single disc |
| Wheelbase | 1485 mm (58.5 in) |