33.19
d Warning:
Integral ABS When removing and installing the
brake caliper, force back the pistons carefully to en-
sure that the wheel-circuit reservoir does not over-
flow.
If fluid escapes, proceed in accordance with “In-
structions for filling reservoir” (a 00.48).
•
Install brake caliper.
e Attention:
Do not damage brake pads; keep the brake caliper
parallel to the brake disc when installing.
•
Integral ABS Install sensor (6).
•
Load approx. 85 kg (187 lbs) onto motorcycle
and tighten loose reaction link (5).
X Tightening torque:
Fixed bearing stud bolt
(threads cleaned + Loctite 2701)................ 160 Nm
Floating bearing stud bolt
(threads cleaned + Loctite 2701).................... 7 Nm
Locknut...................................................... 160 Nm
Reaction link to rear-wheel drive unit............ 43 Nm
Wheel studs .............................................. 105 Nm
Brake caliper to rear-wheel drive unit ........... 40 Nm
Capacity:
Initial fill/oil change.................. approximately 0.25 l
................................ (0.44 Imp. pint/0.27 US quart)
Oil grade:
Brand-name SAE 90 hypoid gear oil, API GL 5
33 53
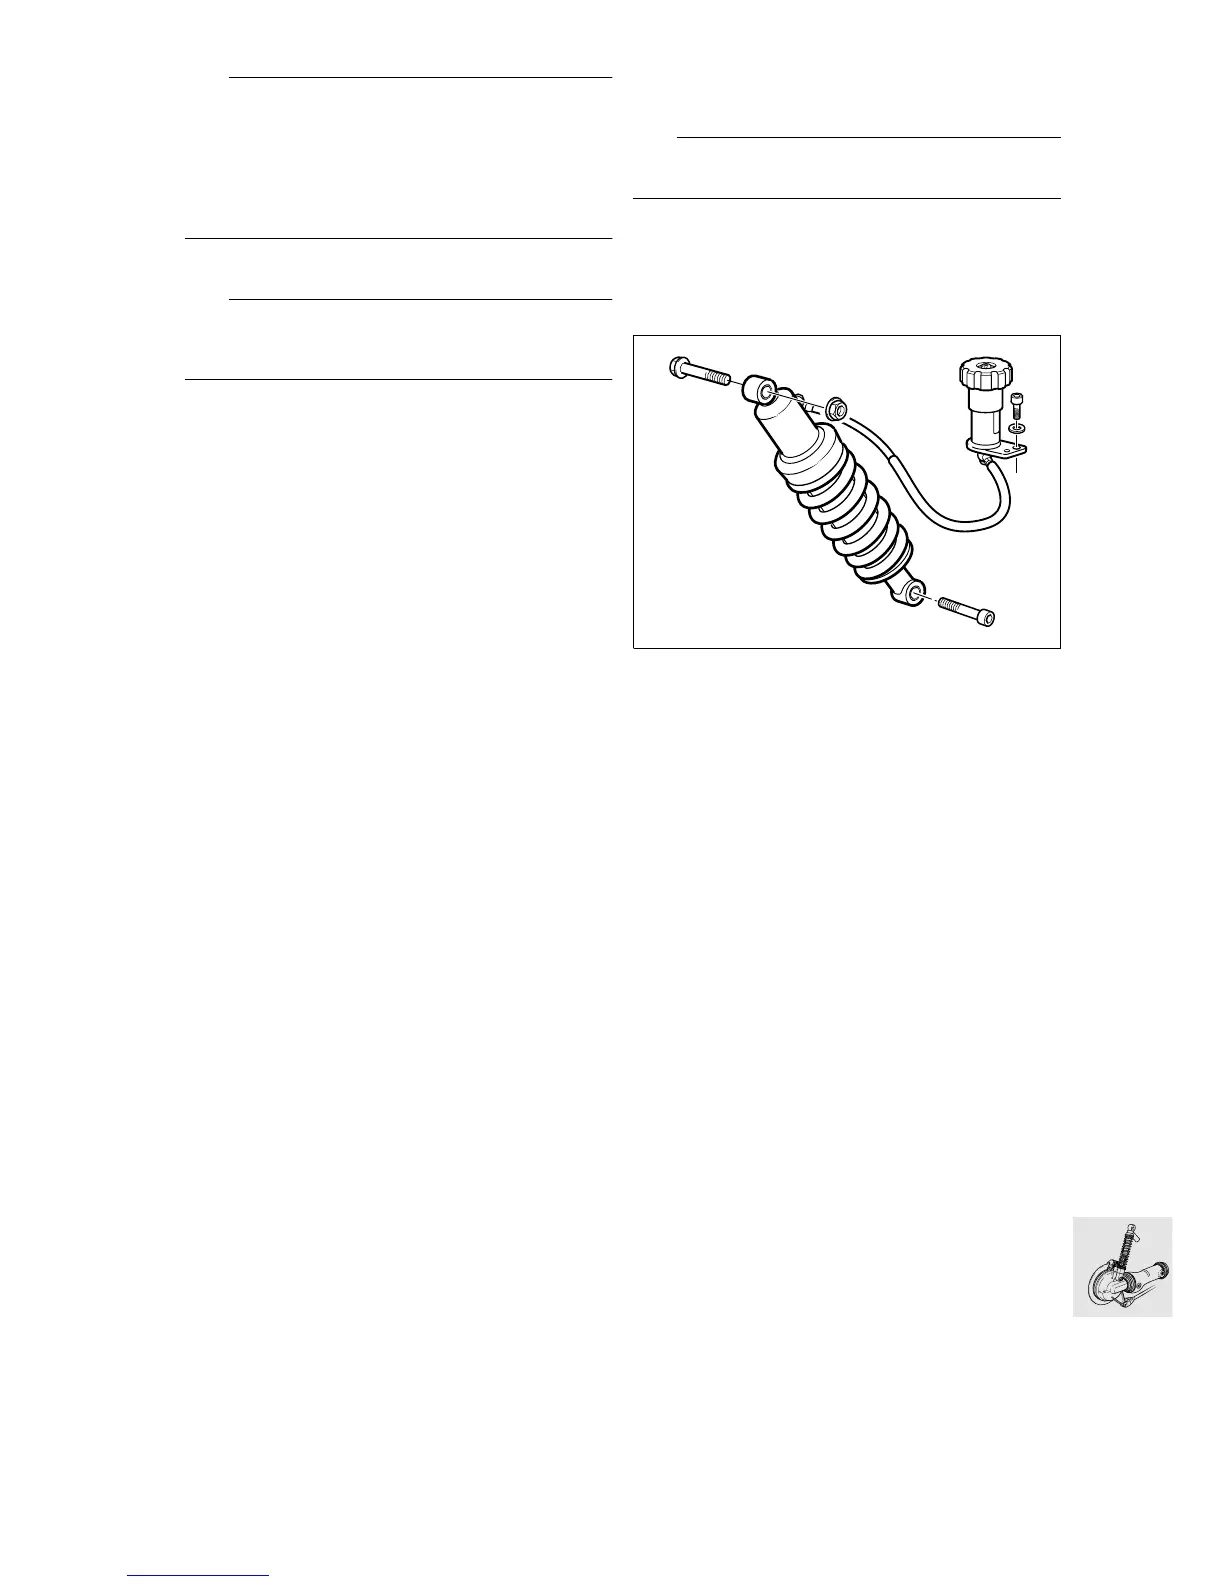
Removing and installing spring
strut
L Note:
To remove the spring strut, support the rear axle.
•
Remove the seat.
•
Slacken the fasteners of the silencer, if neces-
sary.
•
Remove rear brake caliper.
•
Remove rear wheel.
•
Remove the seat adjuster.
•
Remove hydraulic spring adjuster.
•
Remove spring strut.
•
Installation is the reverse of the removal proce-
dure.
X Tightening torque:
Spring strut to rear frame ............................. 50 Nm
Spring strut to swinging arm
(clean thread + Loctite 243).......................... 58 Nm
Hydraulic spring preload adjuster
to rear frame section .................................... 22 Nm
R22330020
 Loading...