Control During Operation
7-117SA6 Manual
C53000-G1176-C156-2
7.1.1.5 Saving and Erasing the Messages
Normally, erasing the messages is not necessary because the oldest messages are
automatically erased when new events are entered, if the memory is full at the time.
However, erasure of the stored messages may be useful, for instance, after revision
of the plant, so that in the future the memory only contains information about actual
events. Erasing the memory takes place separately for each of the message groups.
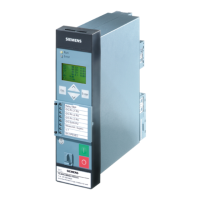
From the
DeviceFront
If erasure is desired, first press the key. The MAIN MENU appears. The first menu
item
Annunciation is marked.
Press the key to enter the
ANNUNCIATION menu (see Figure 7-1).
Using the key, select the item
Set/Reset, and switch to the sub-menu using the
key.
Here, select the message group to be erased using the key, and then press the
key.SeeFigure7-13asanexample.
Password No. 5 (for setting changes) is required at this point. After entering the pass-
wordandconfirmingwiththe key,thesafetyquestion“
Are you sure?”ap-
pears. The response “
YES” is the default (Figure 7-13). Confirm with the key, if
the message group should really be erased. If the message group should not
be
erased, press the key so that the response “
NO” is highlighted, and confirm this an-
swer with the key. Before confirming with the key, the responses can be tog-
gled between “
YES”and“NO” using the and keys. Alternatively, the key can
be pressed to cancel the erasure procedure.
Figure 7-13 Erasing messages from the front panel
Note:
When the fault messages are erased, then the fault records are erased, too, and all
corresponding counters are set to zero. If, however, a fault record is erased (cf. Sub-sec-
tion 7.1.4), the fault messages are unaffected.
MENU
ENTER
ENTER
ENTER
ENTER ENTER
ESC
SET/RESET 01/04
---------------------
>Event Log 01
>Trip Log 02
Etc
Select the associated message group or press
the associated number key to select the mes-
sages to be erased.
Are you sure?
>Yes No
Confirm “Yes” with the key and complete
the erasing of the selected messages, or
switch to “No” with the key and cancel the
erasure with the key.
ENTER
ENTER
ENTER
PW Settings?
=-------
Enter Password No. 5 (for setting change) and
confirm with
ENTER
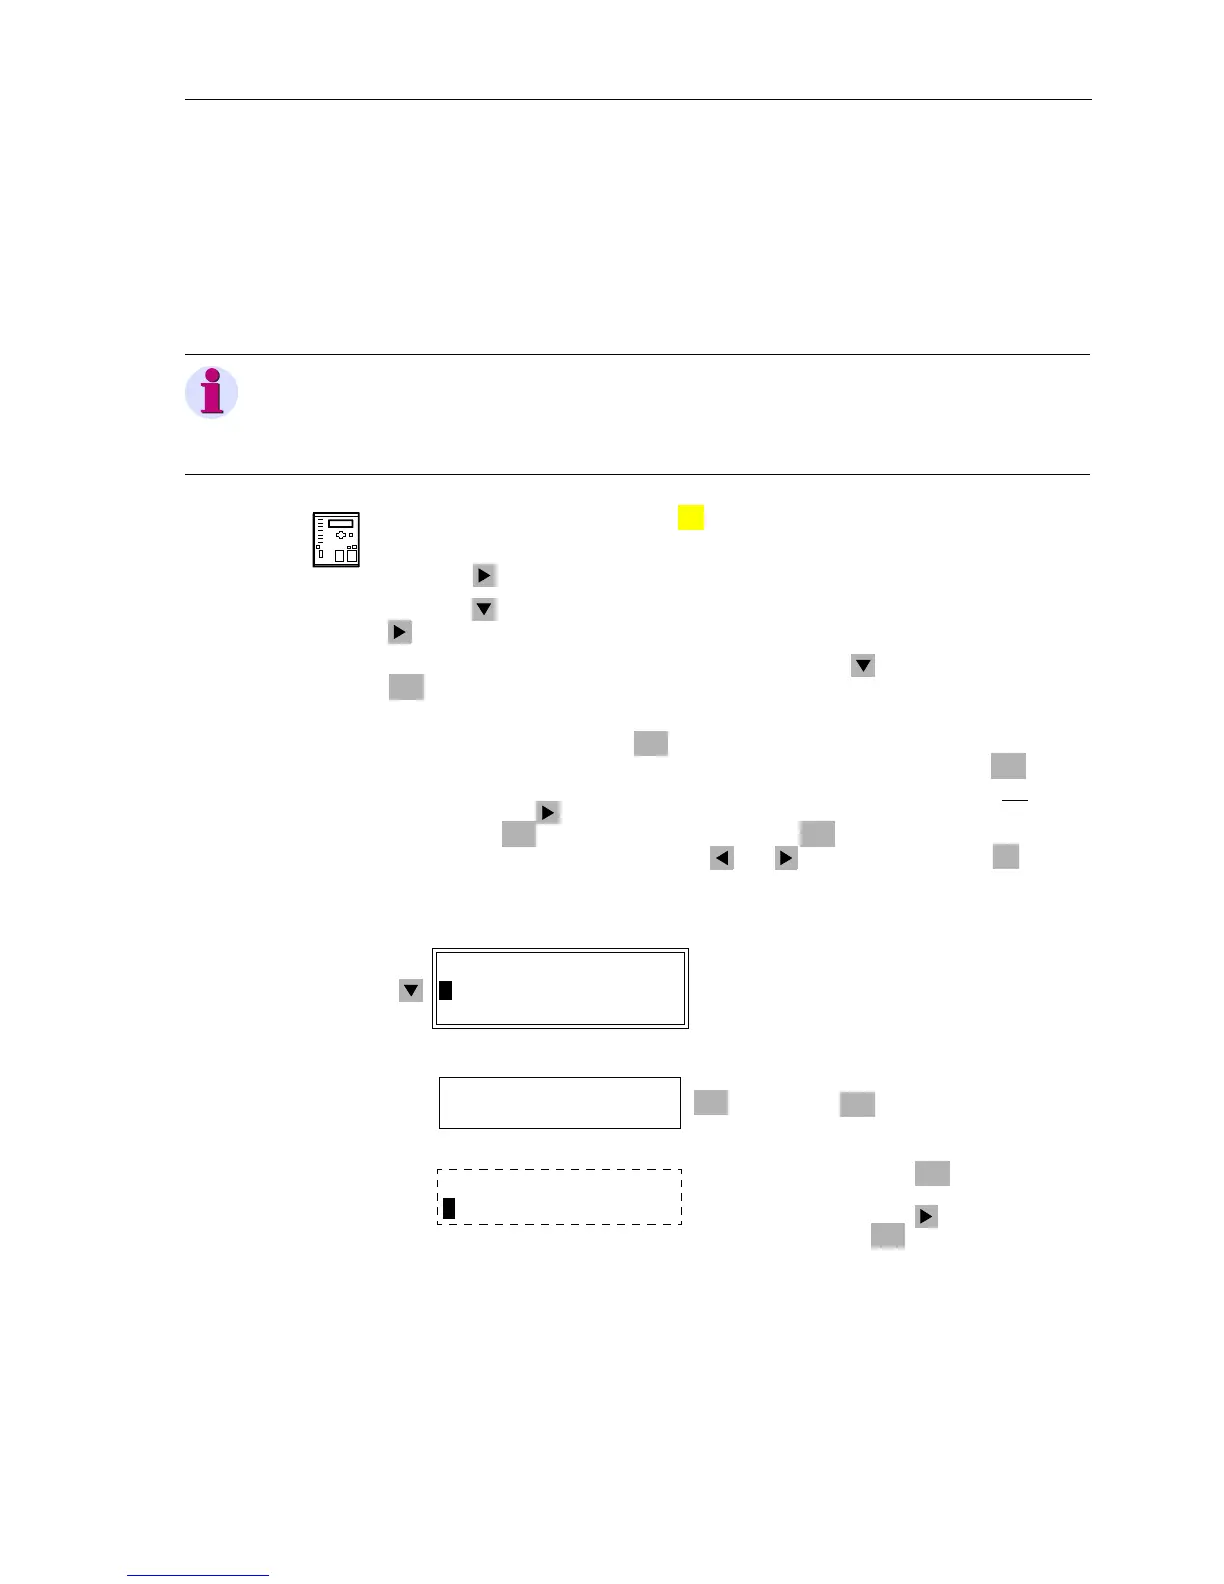 Loading...