Initial Inspections
3-6
7SA6 Manual
C53000-G1176-C156-2
Setting the Display
Contrast
If the image in the integrated LCD does not have satisfactory contrast, adjustments
can be made. A stronger contrast serves, among other purposes, to improve the read-
ability of the image from an angle. With increasing numbers, the contrast is increased
and the picture gets darker. If the contrast is too weak or too strong, there is a risk that
the display will be unreadable and that no operation will be possible using the integrat-
ed operator control panel. Therefore, the preset contrast value should only be
changed in small steps (1 or 2 levels).
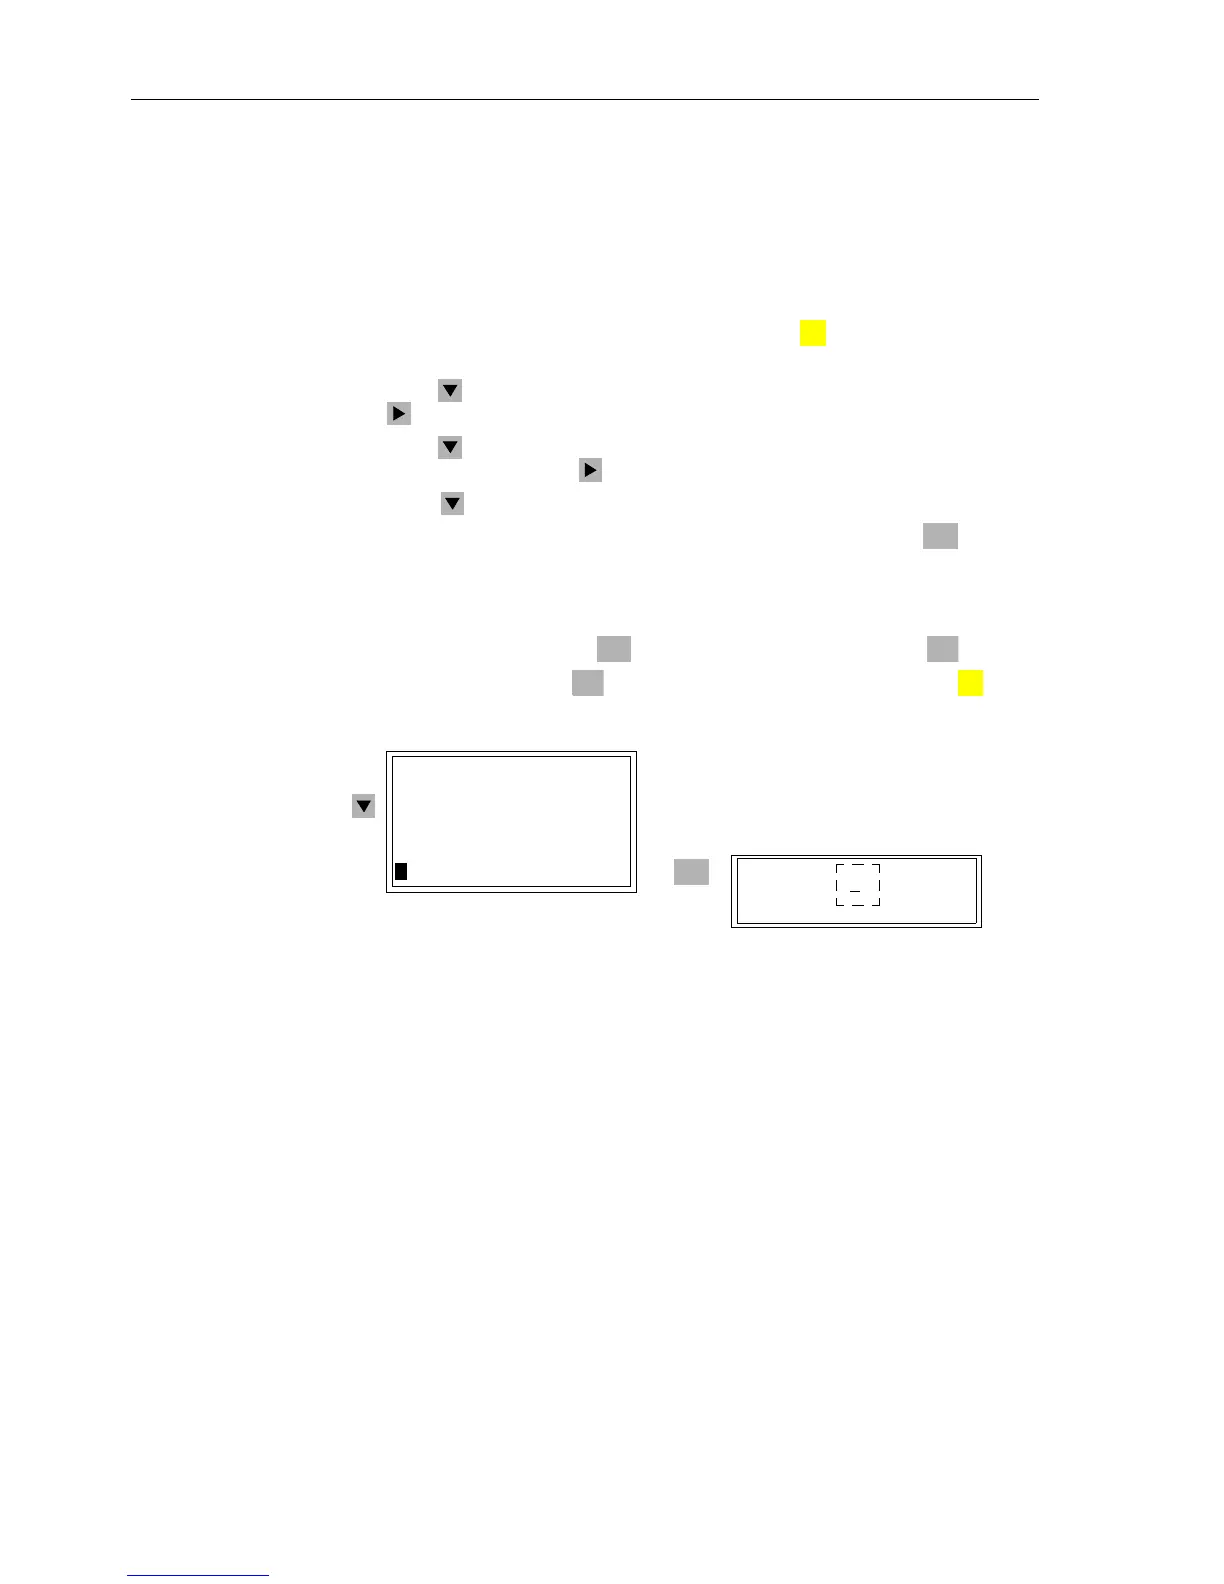
G When the device is ready for operation, first press the key. The MAIN MENU ap-
pears.
G Using the key, select the menu item Settings, and switch to the settings using
the key. The SETTINGS sub-menu appears.
G Using the key, select the menu item Setup/Extras andswitchtotheselection
SETUP/EXTRAS using the key. See Figure 3-3.
G Using the key, select the sub-menu item Contrast.
G If a change of the contrast of the integrated LCD is desired, press the key. The
existing setting appears in a frame with a blinking cursor.
G Overwrite the present setting with the desired setting using the numerical keys. The
setting range is 11 to 22.
G Confirm the change with the key, or cancel the change with the key.
Exit the sub-menu using the key, or return to the main menu using the key.
Figure 3-3 Operating sub-menu for adjusting the display contrast
3.3.2 Operation Using DIGSI
®
4
DIGSI
®
4 User
Interface
DIGSI
®
4 has the typical PC application Windows operating environment to guide the
user. The software has a modern, intuitive, user-interface. Further details are found in
Section 4, as well as in the DIGSI
®
4 handbook “Device Configuration”.
Some applications of DIGSI
®
4 which are described below concern viewing the meas-
urement values, reading messages, and setting the time clock. The handling of the op-
erator control windows of DIGSI
®
4 can be learned quickly by following the simple ex-
amples as described below. To perform the steps in the examples, first connect the
SIPROTEC
®
4devicetothePCandmatchtheDIGSI
®
4 interface data with the equip-
ment. To accomplish this:
G Establish a physical connection between a serial interface of the PC and the oper-
ating serial interface of the device on the front panel.
MENU
ENTER
ENTER ESC
ESC
MENU
ENTER
SETUP/EX 06/06
--------------------
MLFB/Ve n –> 5
Contrast –> 6
18
SETUP/EXTRAS 6/06
--------------------
Date/Time –> 1
Clock Setup –> 2
Serial Ports –> 3
Device–ID –> 4
MLFB/Version –> 5
>Contrast –> 6
 Loading...