Installation and Commissioning
8-2 7SA6 Manual
C53000-G1176-C156-2
8.1 Mounting and Connections
Preconditions Verification of the ratings of the 7SA6 according to Subsection 3.2.1 as well as match-
ing to ratings of the power equipment must have been completed.
8.1.1 Installation
Panel Flush
Mounting
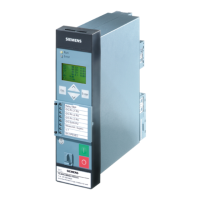
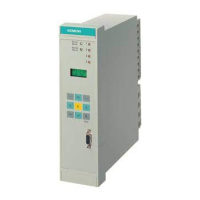
Depending on the version of the device, the housing width may be
1
/
3
,
1
/
2
or
1
/
1
of a
19 inch rack. For housing sizes
1
/
3
and
1
/
2
(Figure 8-1 and Figure 8-2) there are
4 covers and 4 holes for securing the device, for size
1
/
1
(Figure 8-3) there are
6 covers and 6 securing holes.
G Remove the 4 covers located at the corners of the front cover, for size
1
/
1
the2ad-
ditional covers located centrally at the top and bottom, reveal the 4 respectively 6
slots in the mounting flange.
G Insertthedeviceintothepanelcut-outandfastenitwithfourorsixscrews.Forthe
dimensions refer to Figure 10-7 to 10-10 in Section 10.22.
G Replace the four or six covers.
G Connect the ground on the rear plate of the device to the protective ground of the
panel. Use at least one M4 screw for the device ground. The cross-sectional area
of the ground wire must be greater than or equal to the cross-sectional area of any
other control conductor connected to the device. Furthermore, the cross-section of
the ground wire must be at least 2.5 mm
2
.
G Connect the plug terminals and/or the screwed terminals on the rear side of the de-
vice according to the wiring diagram for the panel.
When using forked lugs or directly connecting wires to screwed terminals, the
screws must be tightened so that the heads are even with the terminal block before
the lugs or wires are inserted.
A ring lug must be centred in the connection chamber so that the screw thread fits
in the hole of the lug.
Section 2.1 has pertinent information regarding wire size, lugs, bending radii, etc.
Warning!
The successful and safe operation of the device is dependent on proper handling, in-
stallation, andapplicationby qualified personnel under observanceof all warnings and
hints contained in this manual.
In particular the general erection and safety regulations (e.g. IEC, DIN, VDE, EN or
other national and international standards) regarding the correct use of hoisting gear
must be observed. Non-observance can result in death, personal injury, or substantial
property damage.
 Loading...