08/2012
4-92
WorkCentre 5021/5019
ADJ 18.2.1, ADJ 18.2.2
Initial Issue
Repairs and Adjustments
ADJ 18.1.2 Edge Erase Value Adjustment
Purpose
To correct both (Rear/Front) sides, Lead Edge and Tail Edge erase values of the image.
NOTE: The IOT Lead Edge/Side Edge Registration must be adjusted.
Check
1. Specify a Tray loaded with paper. Make a black copy without using any originals and leav-
ing the Platen Cover open.
2. Check that the white sections of the Lead Edge, Tail Edge, and both Side Edges are 4
mm.
Adjustment
1. Enter the CE Mode.
2. Adjust the NVM until the white sections of the Lead Edge, Tail Edge, and both Side Edges
are 4 mm.
Increasing the setting value increases the amount of edge erase for the Lead Edge, Tail
Edge, and both Sides.
This setting affect all 4 sides equally and it is not possible to perform individual setting for
the Lead Edge only, etc.
3. After adjustment, make another black copy without using any originals and leaving the
Platen Cover open.
4. Adjust until the white sections of the Lead Edge, Tail Edge, and both Side Edges are 4
mm.
ADJ 18.2.1 Things to take note when replacing Important
Information Stored Components (ISC)
Purpose
After installation, any data that the customer has registered are very important. To lose or leak
the data would be an unforgivable offence. To gain the trust of customers, it is essential for CE
to be knowledgeable about the name of components that store these data. The CE must also
have full understanding on how to handle these components when replacing them.
Procedure
This product stores important data in the following components. Perform the operation accord-
ing to the following procedures.
NOTE: IBG) Collect/discard components according to the separately pre-determined proce-
dures.
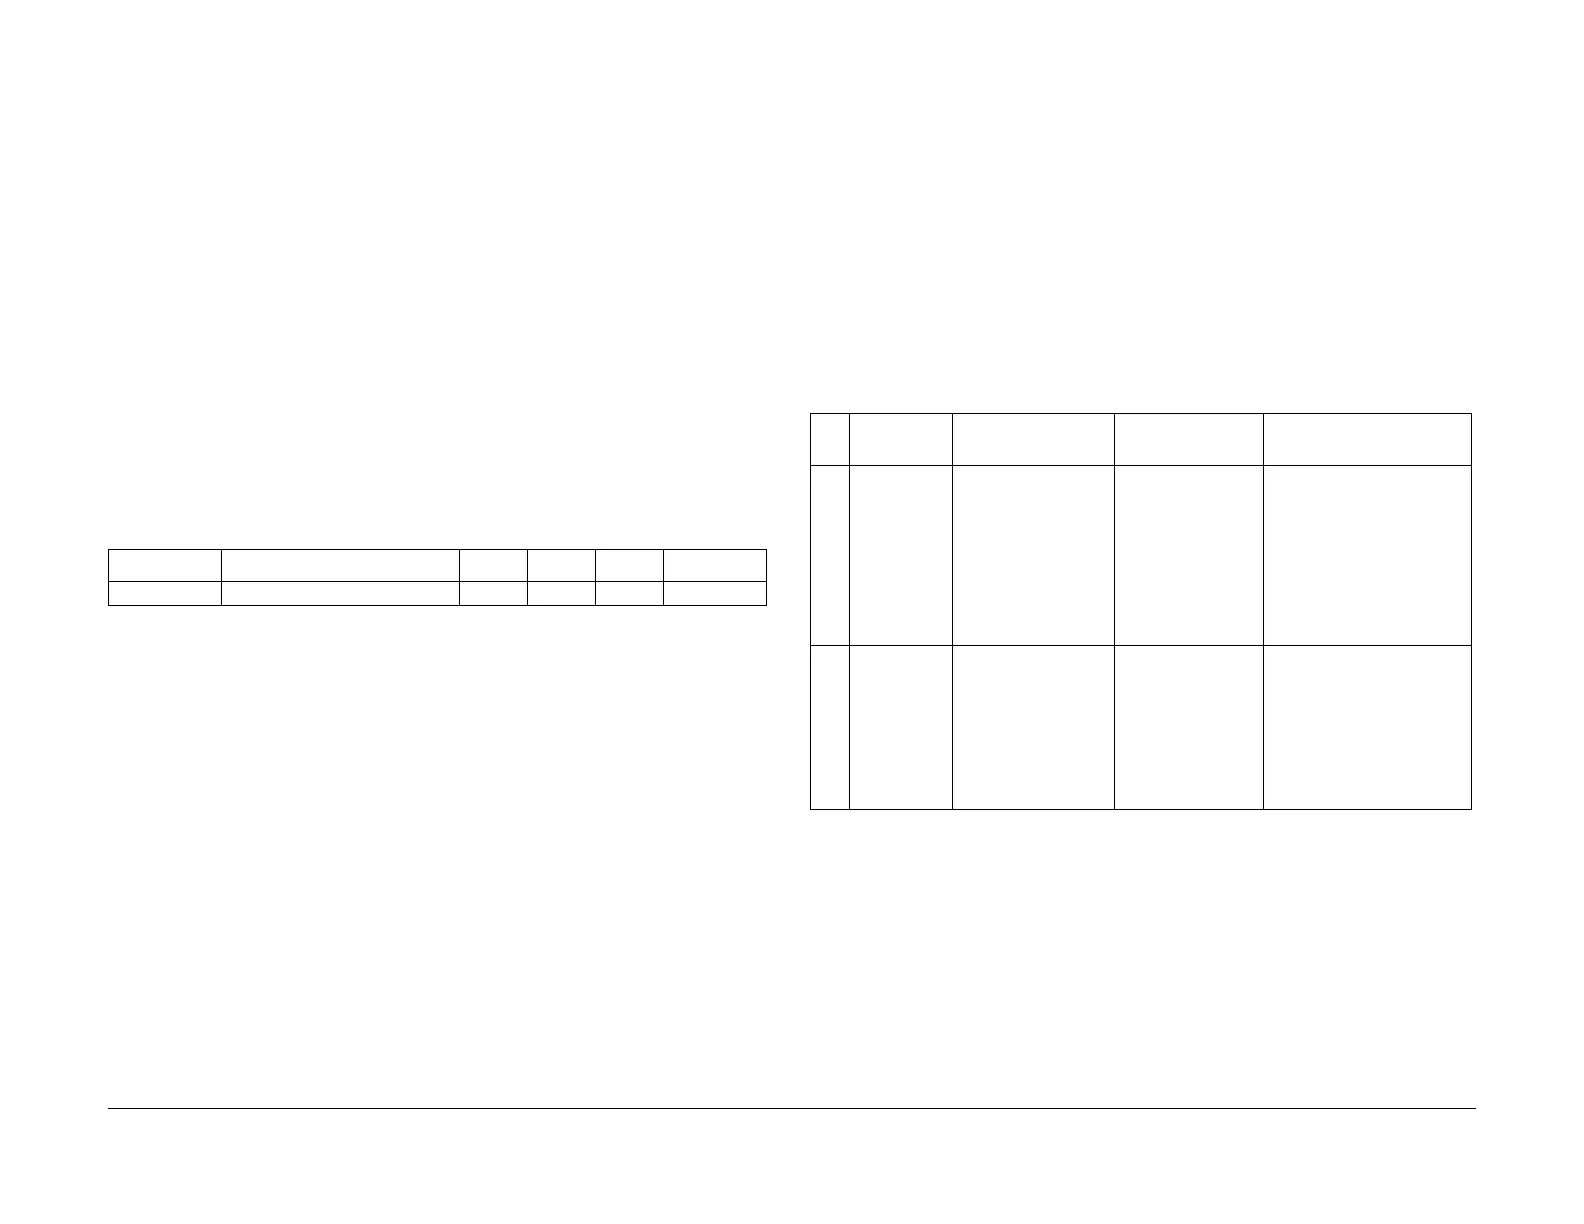
Table 1 NVM List
Chain-Link Name Min Initial Max Step
780-066 Edge Erase Copy Job 0 40 500 0.1mm
Table 1
Component
Name Stored Information
Pre-replacement
operation
Post-replacement
operation
1EEP ROM
(ESS/MCU
PWB)
• Product Code
• Serial Number
• Copy Counter/
Print Counter
•HFSI
Counter(IIT/IOT)
• Machine Sys-
tem Parameter
To restore the set-
tings later, print the
reports.
When replacing the
PWB, remove the
EEP ROM from the
old PWB, and install
it to the new one.
Restore settings according
to the reports.
When replacing the PWB,
remove the EEP ROM from
the old PWB, and install it to
the new one.
2EEP ROM
(NET I/F
PWB)
• MAC Address
• IP Address
•Network Sys-
tem Parameter
To restore the set-
tings later, print the
reports.
When replacing the
PWB, remove the
EEP ROM from the
old PWB, and install
it to the new one.
Restore settings according
to the reports.
When replacing the PWB,
remove the EEP ROM from
the old PWB, and install it to
the new one.

 Loading...