CHAPTER 5 DISASSEMBLY AND RE-ASSEMBLY
Confidential
5-30
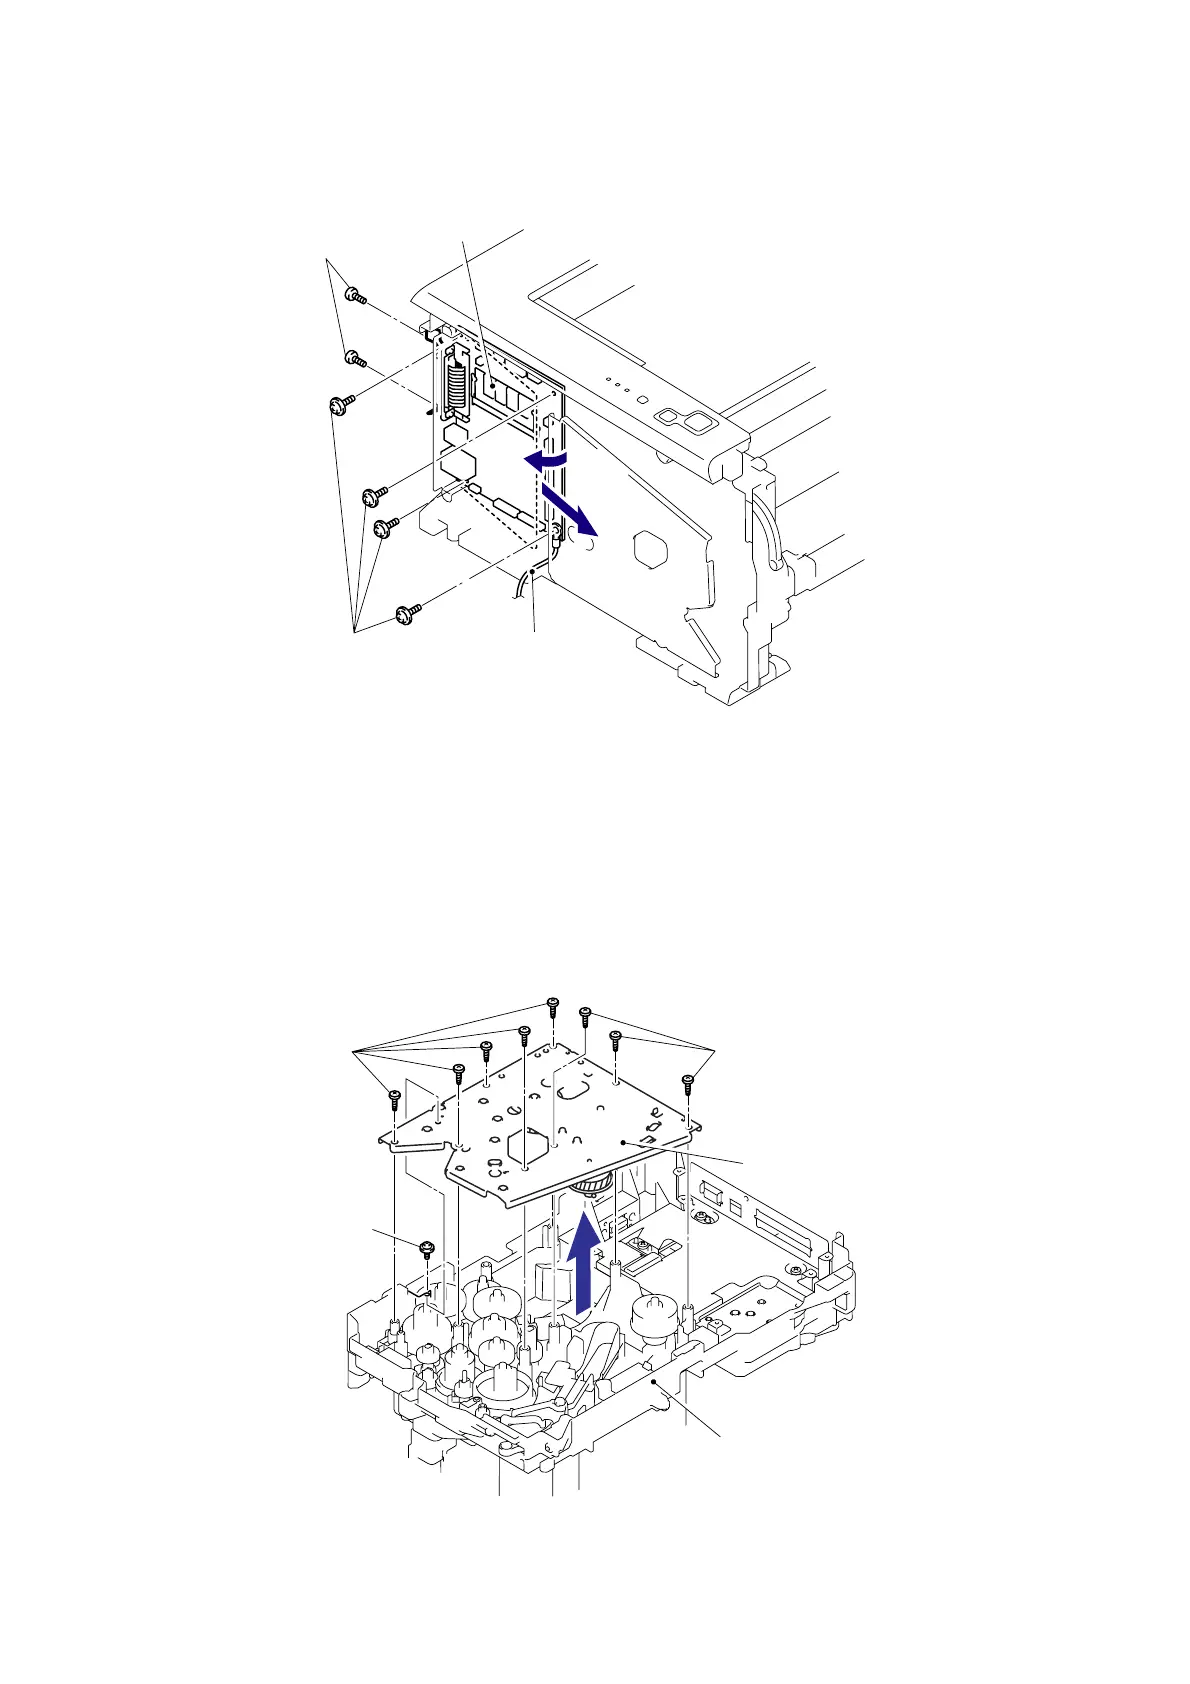
(3) Remove the four cup S M3x6 SR Taptite screws and two Screws to remove the Main PCB
by following the direction of 3a and 3b.
Fig. 5-32
7.13 Gear Plate Calking ASSY AL/Develop Joint/ Main Motor ASSY AL
(1) Place the printer body so that the Frame L is at the top.
(2) Remove the eight bind B M4x12 Taptite screws and one cup S M3x6 taptite screw.
(3) Remove the Gear plate calking ASSY AL from the Frame L.
NOTE:
Be careful not to drop the gear.
Fig. 5-33
Screws
Main PCB
Taptite, cup S M3x6 SR
FG harness
Taptite, bind B M4x12
Taptite, bind B M4x12
Taptite, cup S M3x6
Frame L
Gear plate calking ASSY AL
3a
3b
 Loading...