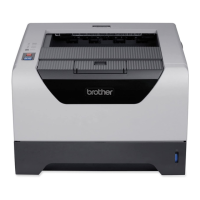
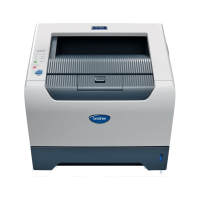
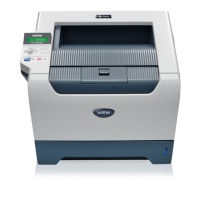
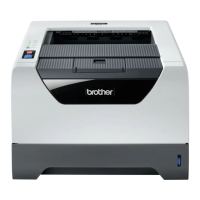
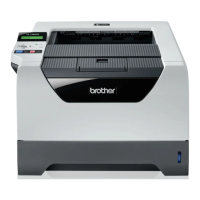
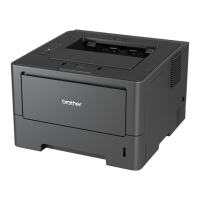
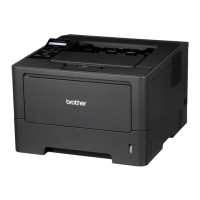
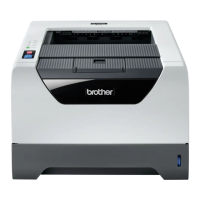
HL-5240/5250DN/5270DN/5280DW SERVICE MANUAL
Confidential
7-3
1.2 User Maintenance Mode
This section describes what the user should do when replacing the consumable parts.
<Resetting the drum counter>
The printed image may deteriorate when using the drum unit to a certain degree. The printer
detects how much the drum unit is used with the drum counter and lights up the Drum LED
when the drum unit life is nearly at the end of its life to indicate to the user that the drum unit
life reaches the end of its life soon, in order to prevent the printed image defects due to drum
unit deterioration.
The printer does not provide the function which resets the drum counter automatically when
the drum unit is replaced with a new one. If replacing the drum unit with a new one without
resetting the drum counter, the counted value of the old drum unit is used continuously so
that the Drum LED is not off.
When replacing the drum unit with a new one, it is required to reset the drum counter
following the steps below:
<HL-5240/5250DN>
(1) Make sure that the printer is turned on and the Drum LED is blinking. Press the front
cover release button and then open the front cover.
(2) Press and hold down the Go button for about four seconds until all the LEDs light up.
Once all four LEDs are lit, release the Go button.
(3) Take out the drum unit and toner cartridge ASSY.
(4) Put the new drum unit and toner cartridge ASSY back into the printer.
(5) Close the front cover.
<HL-5270DN/5280DW>
(1) Press the front cover release button and then open the front cover.
(2) Keep pressing the Go button for about four seconds. When the message of finishing
resetting the drum counter, release the Go button.
(3) Take out the drum unit and toner cartridge ASSY.
(4) Put the new drum unit and toner cartridge ASSY back into the printer.
(5) Close the front cover.
 Loading...


