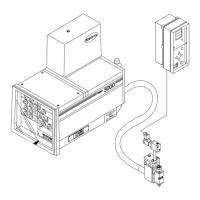
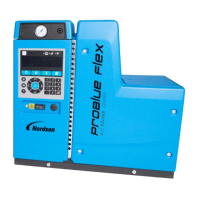
Control
B 2-39
Replacing
the Control
Assembly
Follow
this
procedure
to replace
the control assembly. The control
assembly includes
the following
components:
.
power
board
.
control
board
.
display board
o
control-end frame
o
operator
panel
Control Assembly
Removal
WARNING:
Risk of
equipment damage,
personal
injury or
death. Disconnect
and lock
out electrical
power
to the unit,
including
inpuVoutput
(l/O)
lines.
1. Place
the unit's POWER
switch in the off
position,
disconnect and
lock
out electrical
power
to the unit
at
the branch
circuit disconnect
switch, and disconnect
and lock
out
electrical
power
supplied through
any
l/O wiring.
2.
Open the electrical enclosure.
Refer to
Opening and Closing the
Electrical
Enclosure.
3.
Disconnect
the
ground
wire
4. Taking
care not
to cut any electrical wires,
cut the cable ties that
secure the harnesses
at the bottom
of the control-end frame.
5.
Label
or note all board
connections for later reference.
NOTE:
See
Figure B
2-14 for an
exploded drawing of the control
assembly
parts.
The
wiring diagram contained inlhe
Wiring
Diagrams
section at the
end of this manual may
also be
helpful.
6.
Disconnect
all harnesses,
ribbon
cables, and other connections from
the control
assembly boards.
NOTE:
lf
your
unit has
an optional l/O board,
you
must also
disconnect
this board from
the control board. Refer
to Series
3000V
lnput/Output
Boardinthe
Options
section for instructions on l/O board
removal.
@
2000 Nordson Corporation
All rights reserved
41-3000v
lssued
5/00
82 EN-04-[3V-X-4XXVI-5

 Loading...
