Cleaning Procedures
SM 3-61 J012/J013/J014
Replacement
Adjustment
3.10.1 FLUSHING GATE CLEANING
Dry ink flakes that collect around the flushing gate can cause streaking in printouts.
Preparation:
Remove platen or ADF. ( 3.2.4, 3.2.5)
Raise the scanner unit to full upright. ( 3.2.7)
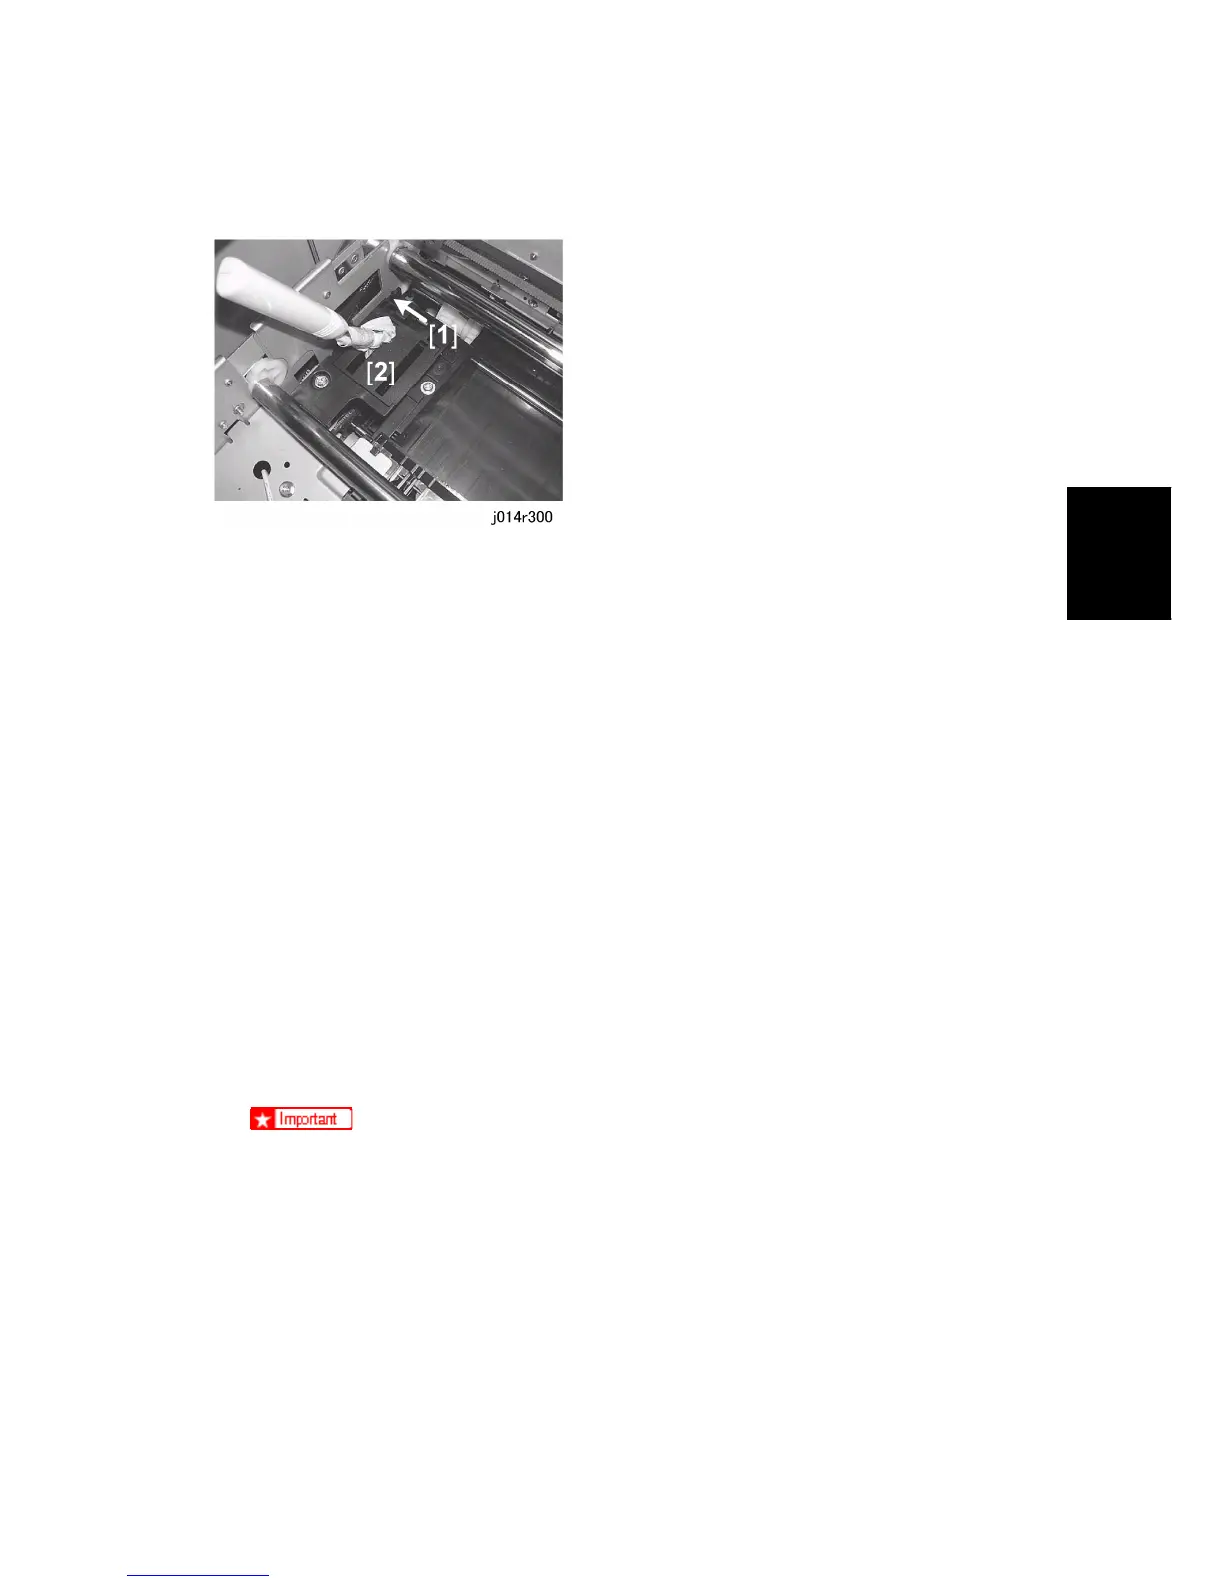
1. Wrap the tip of a screwdriver or other tool with a piece of soft cloth.
2. While pushing the lever [1] to the left, use the tip of the screwdriver [2] to remove ink that
has hardened inside the slits of the flushing gate.
3. Use a damp cloth to wipe clean the ink splatter around the flushing gates.
3.10.2 MAINTENANCE UNIT CLEANING
1. Move the carriage to the left.
[Menu]> #> "Maintenance"> [Yes]> "1 Nozzle Check?"
#> "9 Move Print Heads?"> [Yes]> "Please Wait"
After a few seconds the carriage will move the left and the printer will go off.
2. Open the scanner unit.
3. Wrap the tip of a screwdriver or similar tool with a piece of finely woven cloth which is
slightly damp.
The damp cloth prevents scratching the suction cup. A scratched suction cup
could cause poor print quality. Never use tissue, cotton, or any other type of
material to wrap the tip of the screwdriver. Such material can contaminate the
maintenance unit with loose fibers.

 Loading...