Installation Procedure
SM 1-25 J012/J013/J014
Installation
2. [#] or [%] > "Maintenance" > [Yes]> "Nozzle Check?"
3. [Yes]> "*Please Wait* displays as the pattern prints.
4. [#] or [%] > "Nozzle Check" > [Yes]. The Nozzle Check pattern prints.
5. [Clear Modes]> Standby
For more about how to use the Nozzle Check pattern to diagnose and correct problems,
see Section "4 Troubleshooting.”
Print a System Summary
1. [Menu]> "System Settings"
2. [#] or [%] > "Engine Settings?"> [Yes]
3. [#] or [%] > "2 List/Test Print?"> [Yes]> "Configuration Page?"
4. [Yes]> "Please Wait" displays as the report prints.
5. [Clear Modes]> Standby
6. Check the settings.
1.3.9 INSTALL USB AND PRINTER DRIVER
Connect the USB Cable
1. If the machine is on, switch it off.
2. Turn the computer on and start Windows.
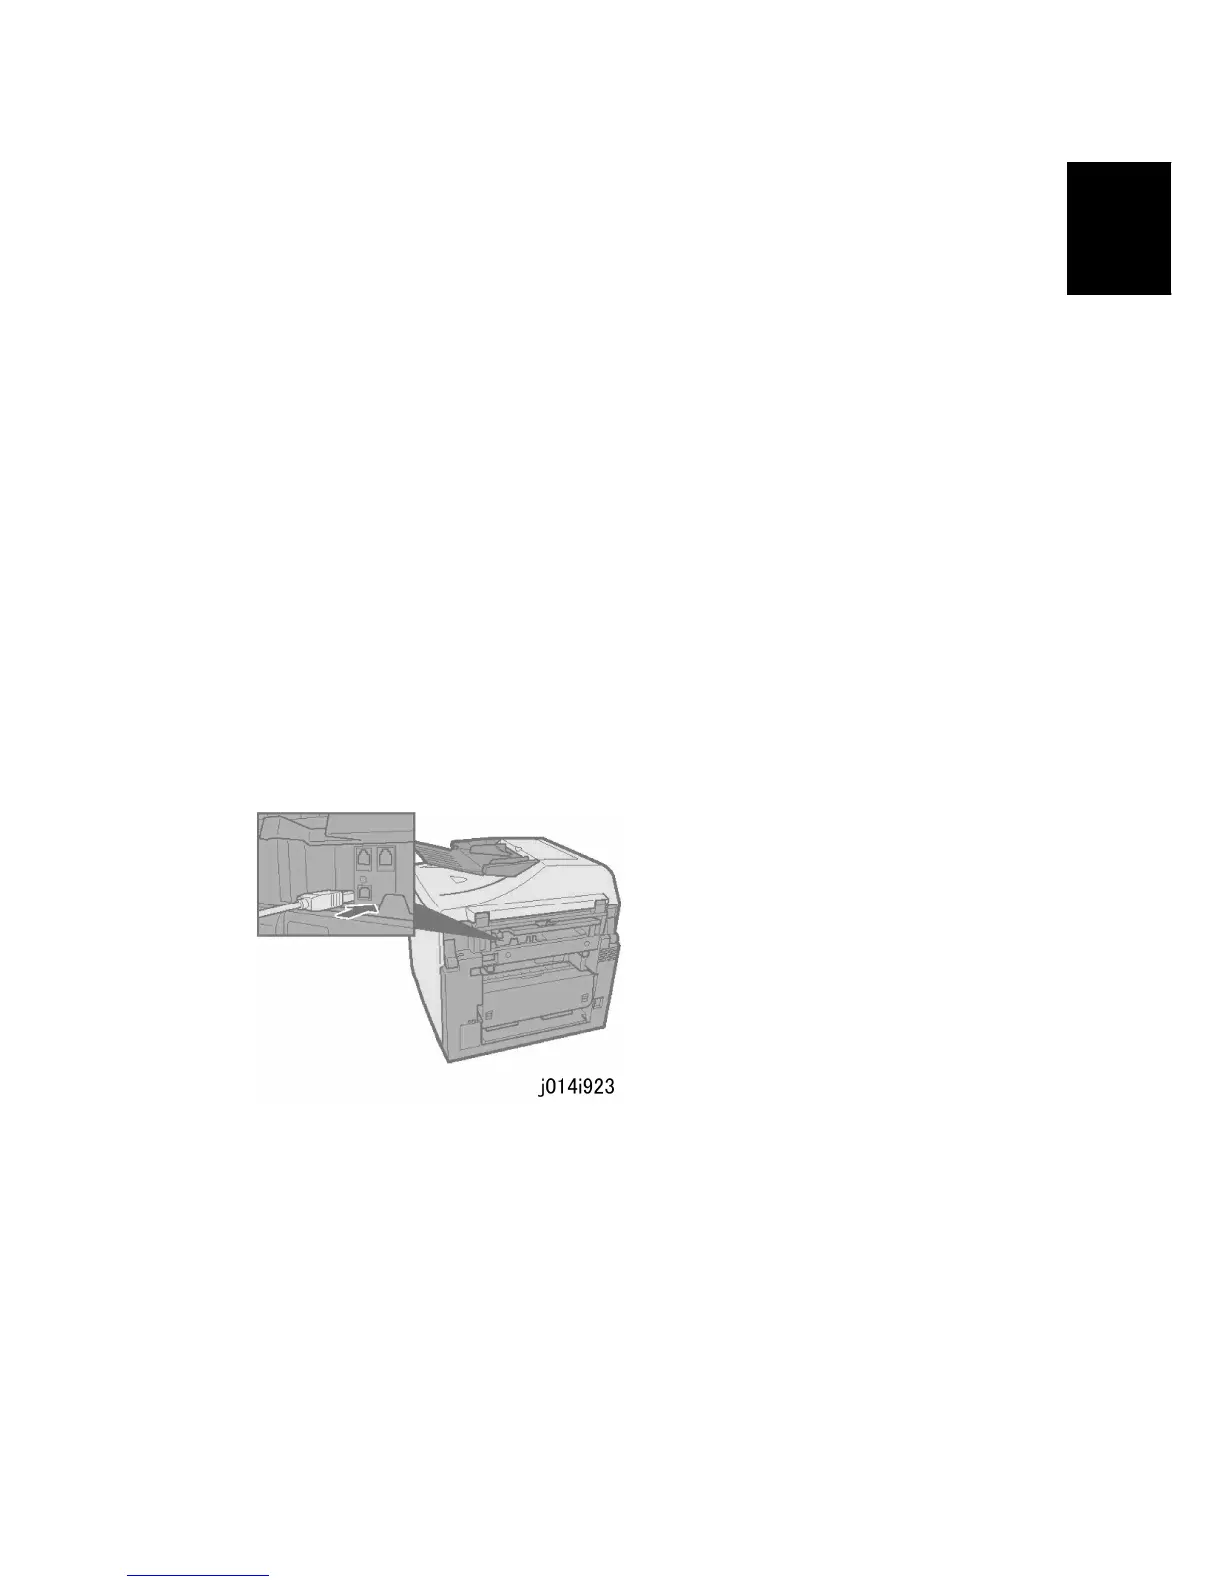
3. Remove the seal from the USB slot on the back of the machine.
4. Insert the Type B plug (hexagonal) of the USB cable into the slot.
5. Insert the other plug of the USB cable (Type A: Flat) into a USB slot of the computer.
6. Make sure that both USB cable plugs are firmly inserted.
Install the Printer Driver
The following items are also installed during installation of the printer driver:
TWAIN Driver (scanner)
LAN-Fax driver (network and fax operation)
Device Setting utility

 Loading...