Creating Cutting Lines with GreatCut-R
Import data into GreatCut-R and create cutting lines. For basic operations and other information on
GreatCut-R, refer to the GreatCut-R online help.
Procedure
1. Start GreatCut-R.
2. Display the cutting data on the GreatCut-R work screen.
• GreatCut-R format file:
Select the cutting data from [File]>[Open], and then click [Open].
• Other files:
Select the cutting data from [File]>[Import], and then click [Open].
MEMO
CorelDRAW format files cannot be imported into GreatCut-R. Open the target cutting data in CorelDRAW and
click on the menu bar.
3. Select the object for which you want to create cutting lines.
4. Click [Tools]>[Contour Line] or [Outline].
The [Contour Line] window or the [Outline] window appears.
MEMO
• Only [Contour Line] is available for raster data.
• For the difference between contour lines and outlines and details on these settings, refer to the Great-
Cut-R online help.
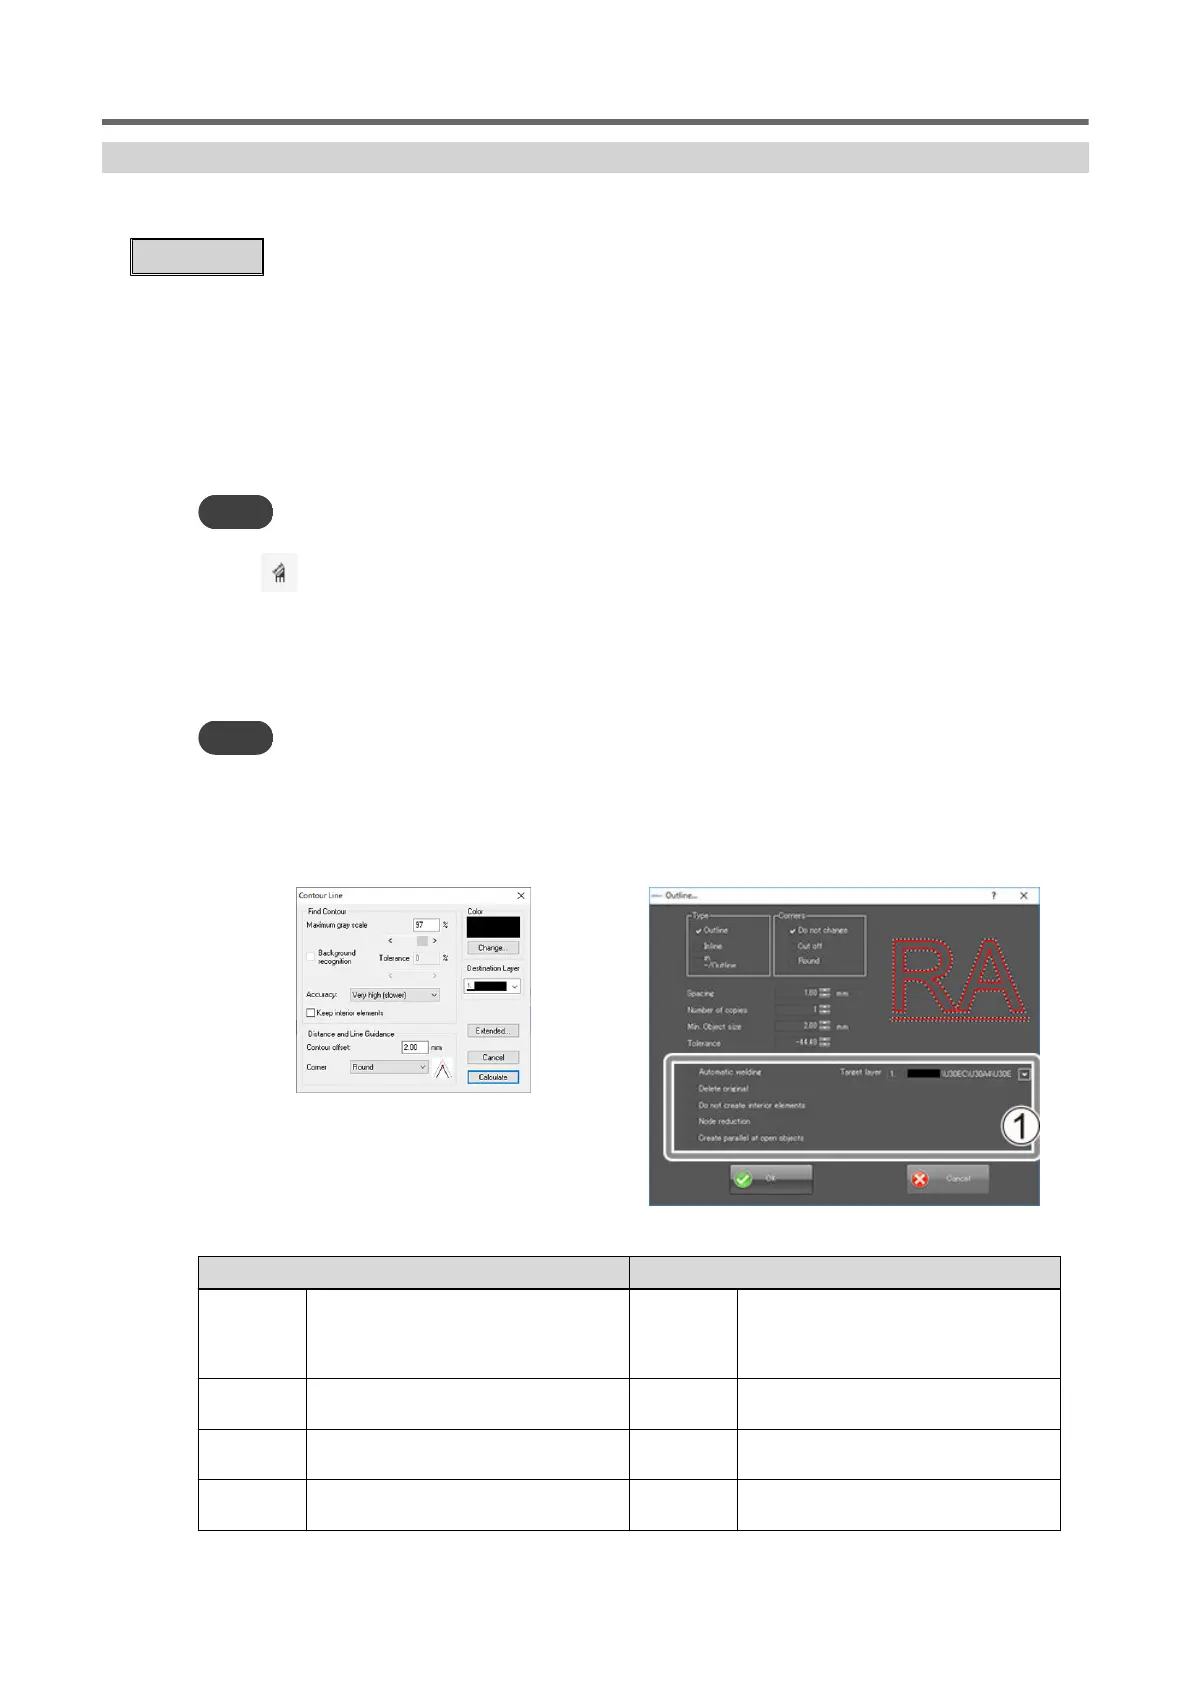
5. Set the conditions for the cutting lines to be created.
[Contour Line] window
[Outline] window
[Maximum
gray scale]
To clarify the borders on which the cutting
lines are created, a higher gradation value
should be used for the object and back-
ground.
[Type] Select the position of cutting lines for the
object.
[Accuracy] Select the accuracy level. [Corners] Select how to process the corners of cut-
ting lines.
[Contour
offset]
Enter the distance from the object. [Spacing] Enter the distance from the object.
[Corner] Select how to process the corners of cut-
ting lines.
[Number of
copies]
Enter the number of cutting lines created
with the offset value.
Creating Cutting Data
44 Preparations before Cutting Output
 Loading...