Setting Crop Marks with the GreatCut-R Plug-in (Adobe Illustrator/CorelDRAW)
Set up crop marks in cutting data using the GreatCut-R plug-in. After setup, output the cutting data
from GreatCut-R.
Procedure
1. Start Adobe Illustrator or CorelDRAW.
2. Click [File]>[Open] to select cutting data that includes cutting lines.
3. Display the crop mark setting window.
• Adobe Illustrator: Click [File]>[GreatCut-R]>[Settings].
• CorelDRAW: Click
on the menu bar.
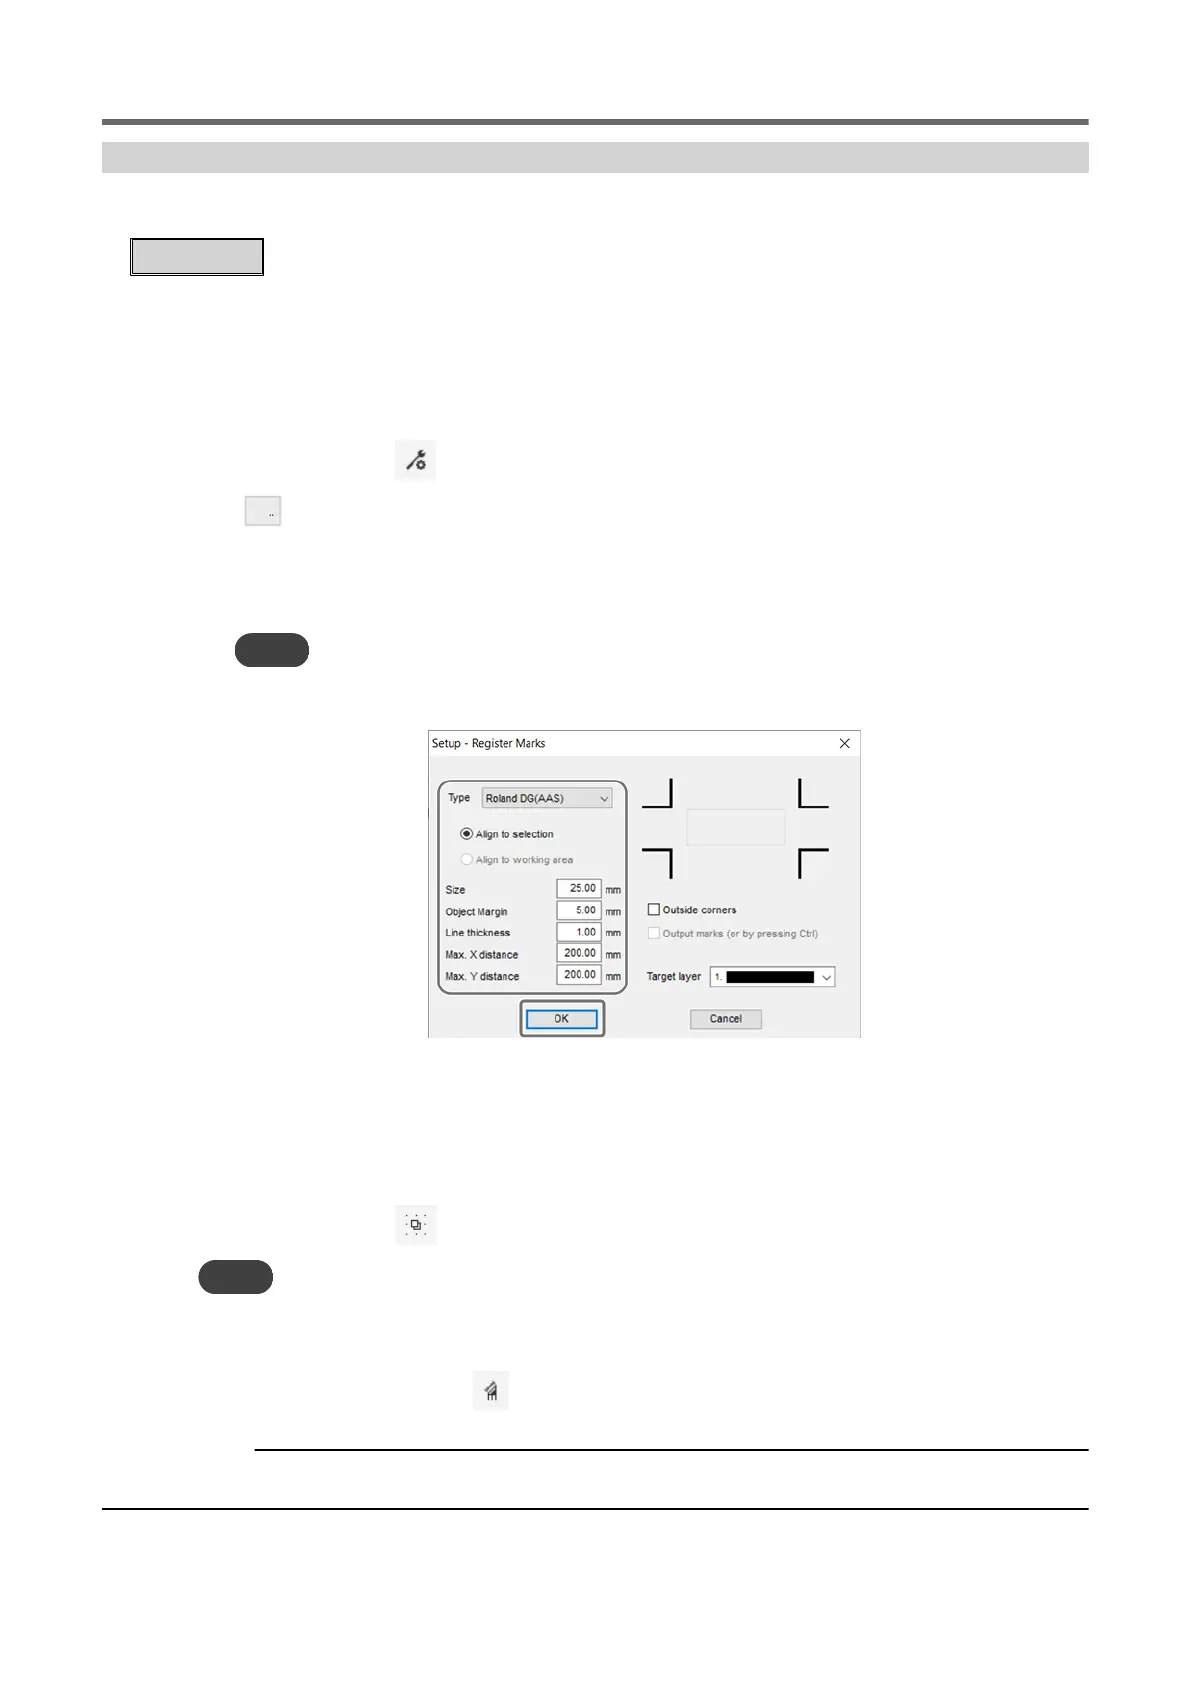
4. Click
for [Jog marks] and set the crop mark conditions.
• [Type]: Roland DG(AASII)
• Set the basic four-point crop marks and enter the distance to be used for creating crop
marks.
MEMO
Intermediate crop marks are set up in the cutting data once the relevant value exceeds the set dis-
tance. This means that segmental crop marks are created automatically based on the cutting size in the
cutting data.
5. Click [OK] to close all of the open setting windows.
6. Select cutting data that includes cutting lines.
7. Create crop marks on the object.
• Adobe Illustrator: Click [File]>[GreatCut-R]>[Add jog marks].
• CorelDRAW: Click on the menu bar.
MEMO
For cutting output, select the cutting data (object including cutting lines) and crop marks, and send them to
GreatCut-R. GreatCut-R will start up, displaying the cutting data on the work screen.
• When using Adobe Illustrator: Click [File]>[GreatCut-R]>[Cut].
• When using CorelDRAW: Click on the menu bar.
RELATED LINKS
・ P. 58 "Crop Mark Types"
Setting Crop Marks in Cutting Data
68 Basic Printing and Cutting
 Loading...