GE RAFT VOLUSON™ P8/VOLUSON™P6
DIRECTION 5775469, R
EVISION 3 DRAFT (JULY 19, 2018) BASIC SERVICE MANUAL
8-174 Section 8-56 - Replacement of CWD piggy
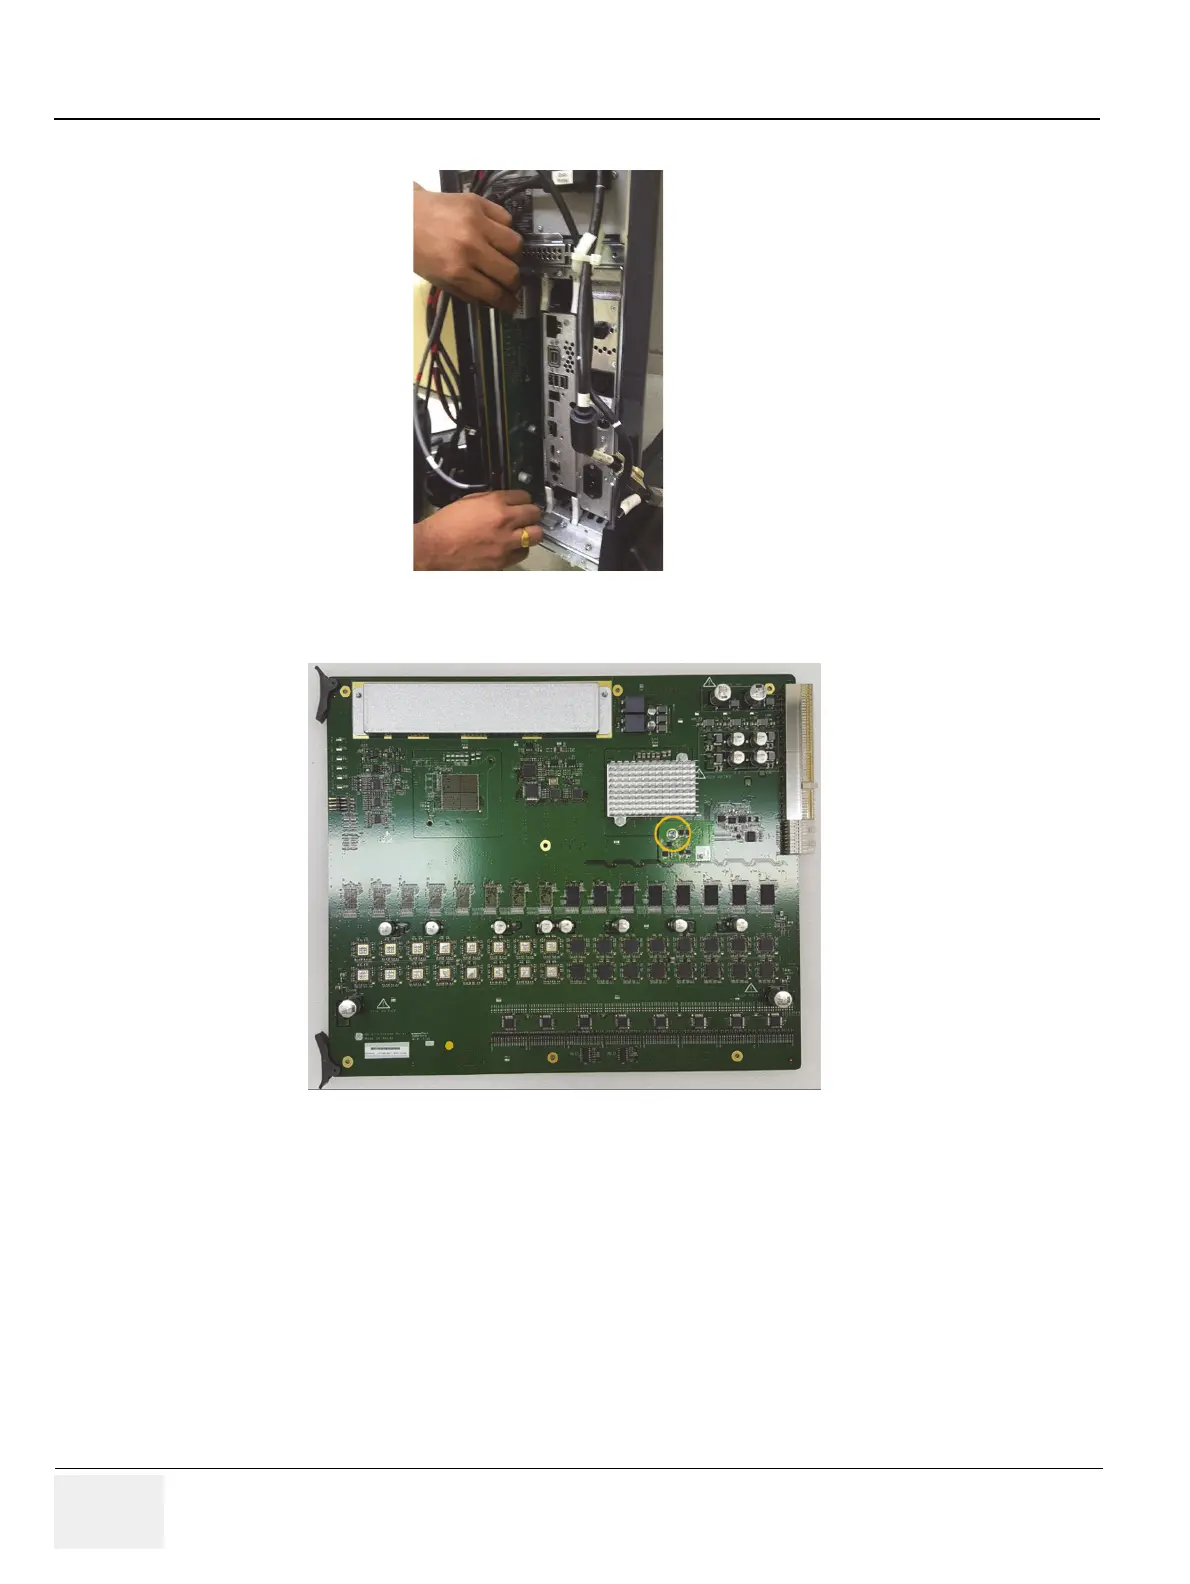
6.) Pull out DBM64G/T-DPI Boards.
7.) Unscrew 1 screw and replace the CWD Piggy.
8-56-5 Installation Procedure
1.) Install the new board assy in the reverse order of removal procedure.
2.) Perform: FRU8-48: Functional Checks after FRU replacement (Debrief Guidelines) -
Functional Tests
Figure 8-249 Pulling out DBM64G/T-DPI Boards
Figure 8-250 Unscrewing 1 screw and replacing the CWD piggy
 Loading...


