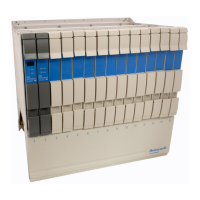
LLAI Module replacement
The LLAI plug-in module can be replaced while power is applied to the FTA. After replacement, power
initialize the LLAI IOP. The initialization will initiate a background diagnostics. Allow at least two (2)
minutes for it to complete before analyzing the results.
AO redundancy switching module replacement
Before removing the Analog Output (AO) Redundancy Switching Module from an AO Redundancy FTA
for testing or replacement, be sure that the associated “A” AO IOP is controlling the FTA outputs. When
the green DS1 LED on the FTA is illuminated, the associated “A” AO IOP is controlling the FTA’s
output. The HPM Status display at the Universal Station also can also be used to determine if the “A”
AO IOP is controlling the FTA output.
For critical analog outputs, it is recommended that the “B” AO IOP be removed, or an Analog Output
Standby Manual device be connected before removing the Analog Output Redundancy Switching
Module.
SDI/SI module and fuse replacement
Before attempting to replace any components on a Serial Device Interface (SDI) or Serial Interface (SI)
FTA, remove power from the FTA by loosening the captive screws on the connector J1 and removing the
connector. After power has been removed from the FTA, module M1 and fuses F1 and F2 can be
removed and replaced as applicable.
When the removal/replacement process is complete, reconnect J1 and tighten the captive screws. As
power is applied to the FTA, the FTA will initiate background diagnostics, followed by normal FTA
operation.
Galvanic isolation module replacement
If the field device, controlled by a Galvanic Isolation Module that must be replaced, is an output device,
be sure the loss of control is acceptable. Also, when the environment is Division 2, be sure the
atmosphere is nonhazardous.
The module can be removed and replaced while power is applied to the FTA. Remove the module’s
pluggable field connector. Loosen the screws that retain the module. Lift the module from its connector
on the FTA and replace it. Reinstall the pluggable field connector.
 Loading...