CHAPTER 5 FINAL DRIVE ATV SERVICE MANUAL 09.0
CHAPTER 5 FINAL DRIVE. 5-
15
vehicle .
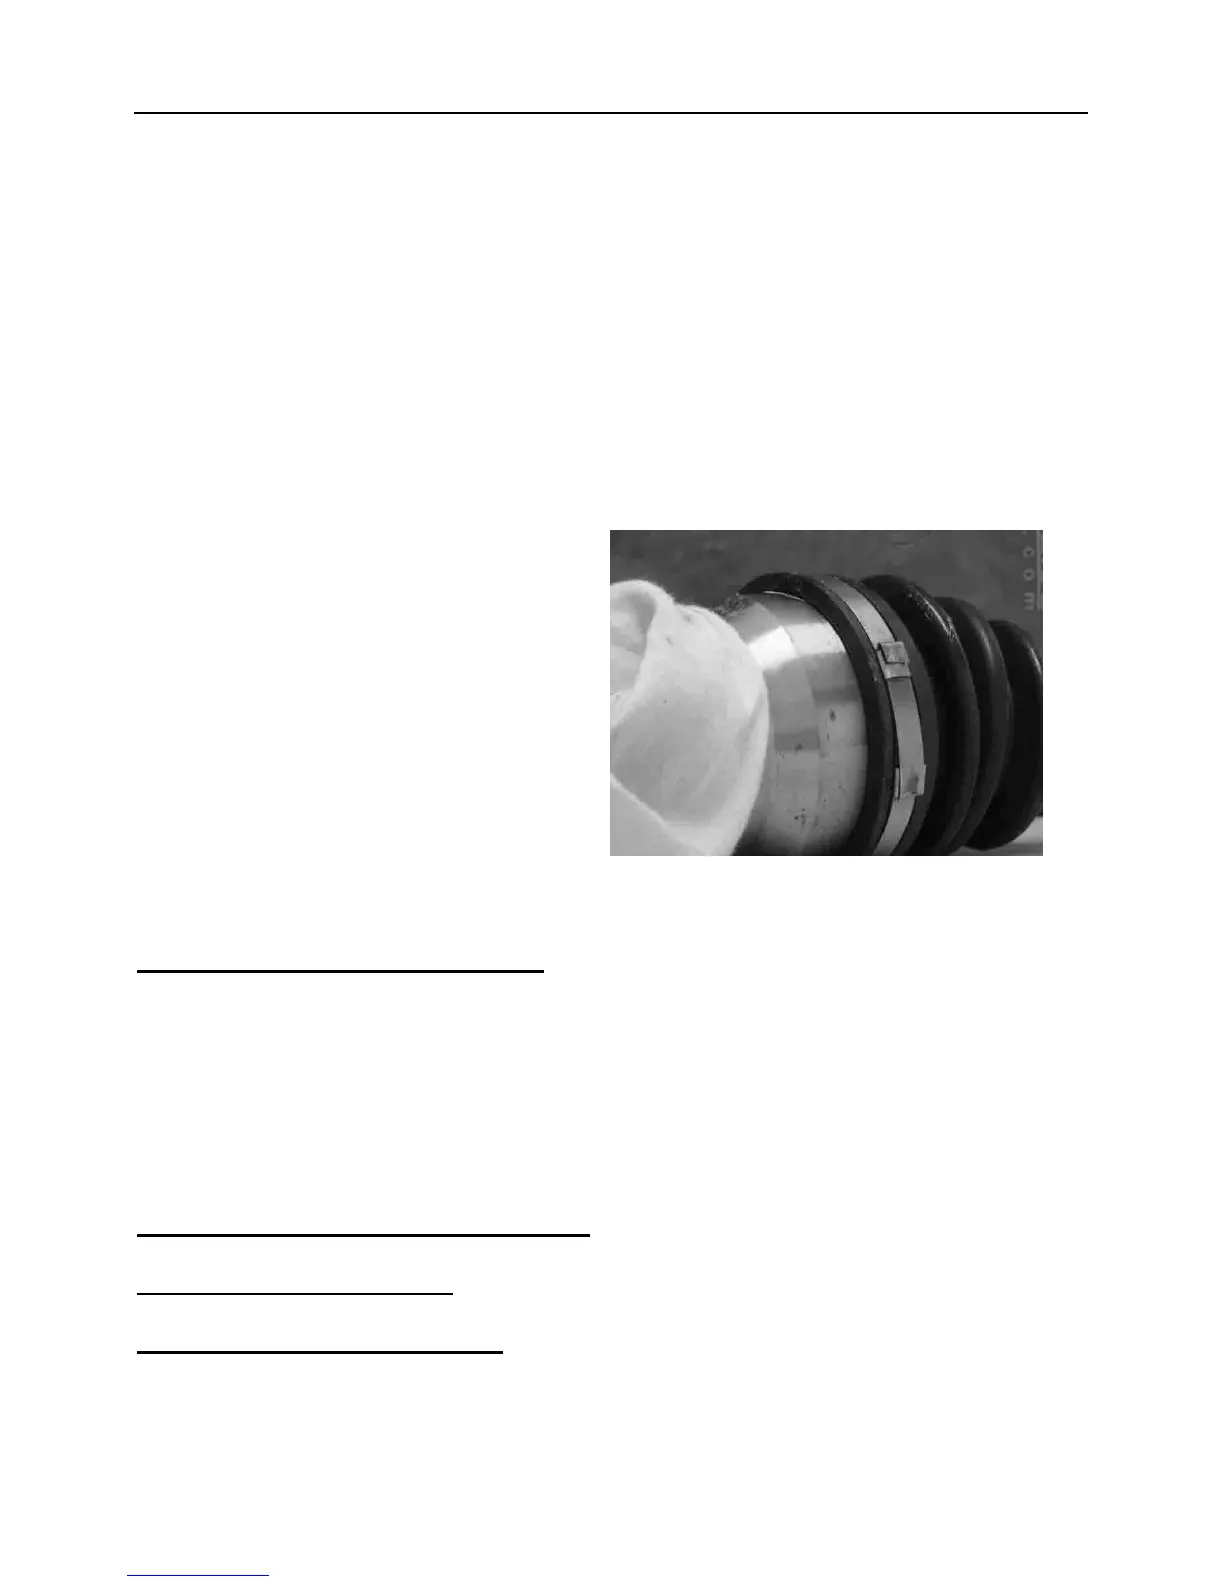
15. Move the small boot band onto the boot.
Bend down the tab on the boot band and
secure the tab with the locking clips and
tap them with a plastic hammer. Make
sure they are locked in place.
16. Install the large boot bands onto each
boot.
CAUTION
It is critical to avoid undue stress on the
rubber boots after the drive axle is
installed and the vehicle is run. Don’t
twist the boot, and always set the both
ends in designed position.
17. Secure all large boot bands. Bend down
the tab on the boot band and secure the
tab with the locking clip and tap them with
a plastic hammer. Make sure they are
locked in place.
18. If removed, install the stopper ring and
make sure it is seated correctly in the
drive axle groove.
19. Apply molybdenum disulfide grease to the
end splines.
5.9 REAR HUB INSPECTION
1. Support machine securely with rear
wheels elevated.
2. Grasp wheel/hub and check for
movement.
3. If movement is detected, inspect hub, hub
nut torque and bearing condition and
correct as necessary.
5.10 REAR AXLE
REMOVAL(EXCEPT
ATV400-2/ ATV400-2B)
1. Lock the parking brake. Remove rear axle
cap.
 Loading...