CHAPTER 7 BRAKES ATV SERVICE MANUAL 09.0
CHAPTER 7 BRAKES PAGE. 7-
8
has been built up. Maintain at least 1/2 ". (13
mm) of brake fluid in the reservoir to prevent
air from entering the brake system.
5. Install the adjuster screw and turn clockwise
until stationary pad contacts disc, then back off
1/2 turn (counter clockwise).
6. Install reservoir cap.
Hand and (or) Foot Brake Master
Cylinder(s) Fluid Level:
Between MIN and MAX lines
7. Install wheels and torque wheel nuts, test
and burnish.
See BURNISHING PROCEDURE
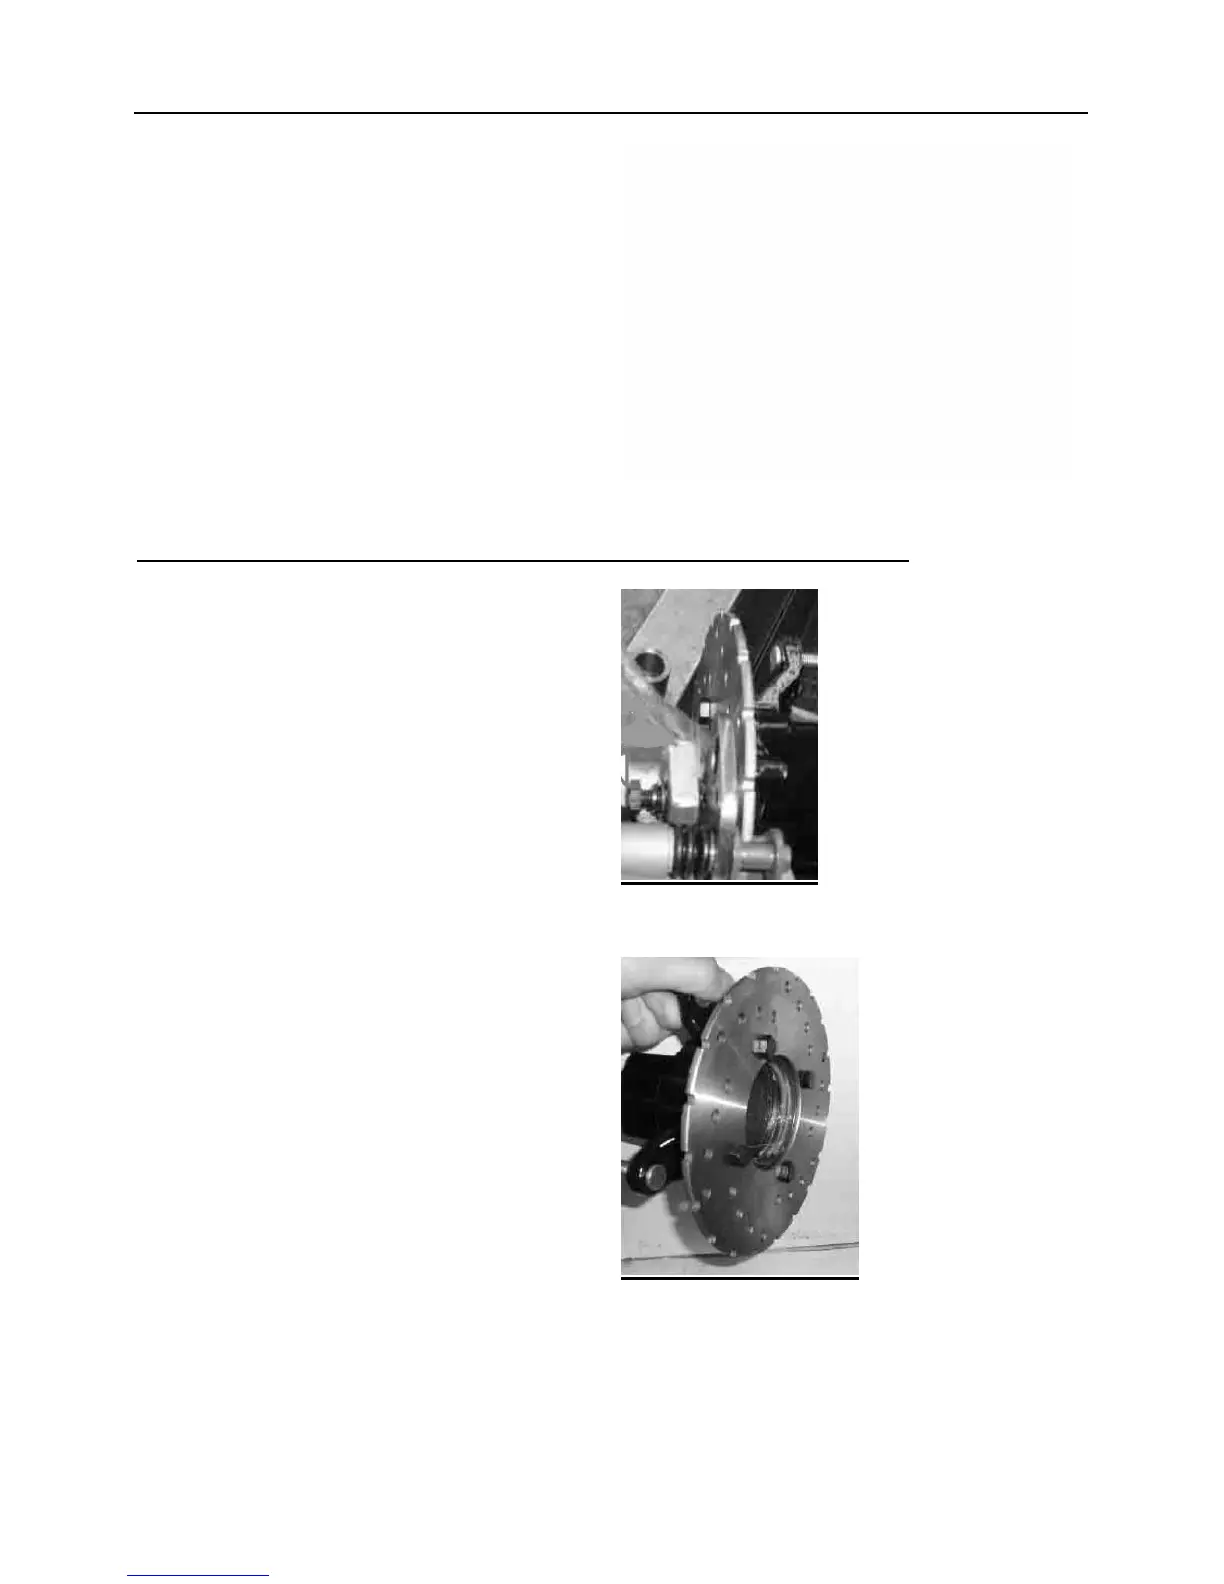
7.8 FRONT DISC INSPECTION / REMOVAL / REPLACEMENT
INSPECTION
1. Visually inspect the brake disc for nicks,
scratches, or damage.
2. Measure the disc thickness at 8 different
points around the pad contact surface using a
0-1" micrometer and a dial indicator. Replace
disc if worn beyond service limit.
Brake Disc Thickness
New0.150-0.164"(3.810-4.166mm)
Service Lim it 0.140"/3 .556 mm
Brake Disc Thickness Variance
Service Limit 0.002 " (0.051mm)
difference between measurements
Brake Disc Runout
Service Limit 0.005" (0.127 mm)
REMOVAL/ REPLACEMENT
1. Removal caliper and hub. Apply heat to the
hub in the area of the brake disc mounting
bolts to soften the bolt locking agent.
2. Remove bolts and disc.
3. Clean mating surface of disc and hub.
4. Install new disc on hub.
5. and tighten to specified.
CAUTION: Always use new brake disc
mounting bolts.
Front Brake Disc Mounting Bolt Torque :
18 ft. lbs. (25 Nm )
 Loading...