Technical Information
22
DGC 6xxx
8. Separate the cable duct from the appliance.
9. Release and remove the interference suppression capacitor from the
cable duct.
4.7 Hinge Replacement
Note:
Hinges are replaced in pairs.
1. Remove the door; see Section 020-4.1.
2. Disconnect the appliance from the power supply.
3. Remove both side panels. See Sections 010-4.3 and 010-4.4.
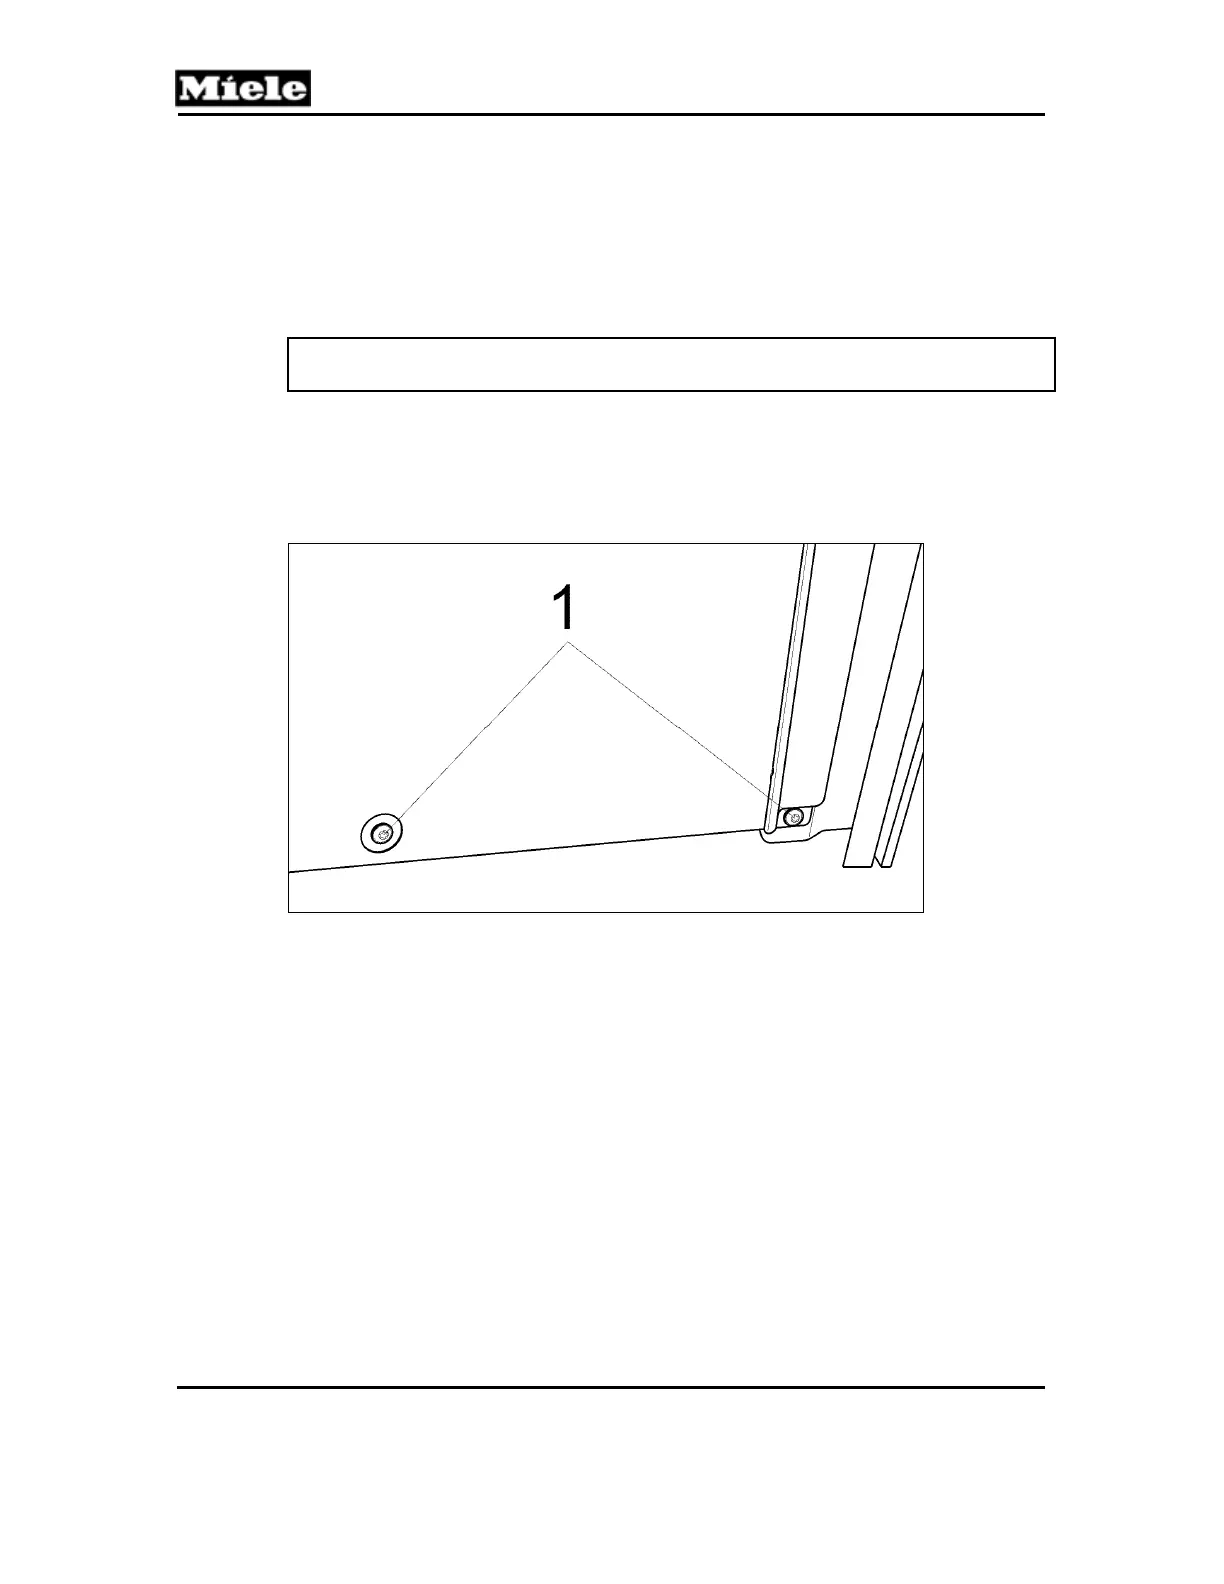
4. Remove the two T20s securing each hinge (see Figure 010-8, Item 1)
and remove the hinges from the appliance.
Figure 010-8: Hinge Screws (Left Side Shown)
5. Align the rear hinge screw opening with the base plate and insert one flat
T20 screw to keep the hinge aligned. Leave the screw loose for later
adjustment.
6. Support the base plate with a block of wood.
7. Open the door; this aligns the base plate with the hinge.
8. Raise the fascia panel up and towards the rear of the appliance to line it
up with the hinge and base plate.
9. Insert the second flat T20 screw, and then tighten both hinge screws.
10. Repeat for the other hinge.
 Loading...