6 - 40 Operator’s Manual
6 Image Acquisition
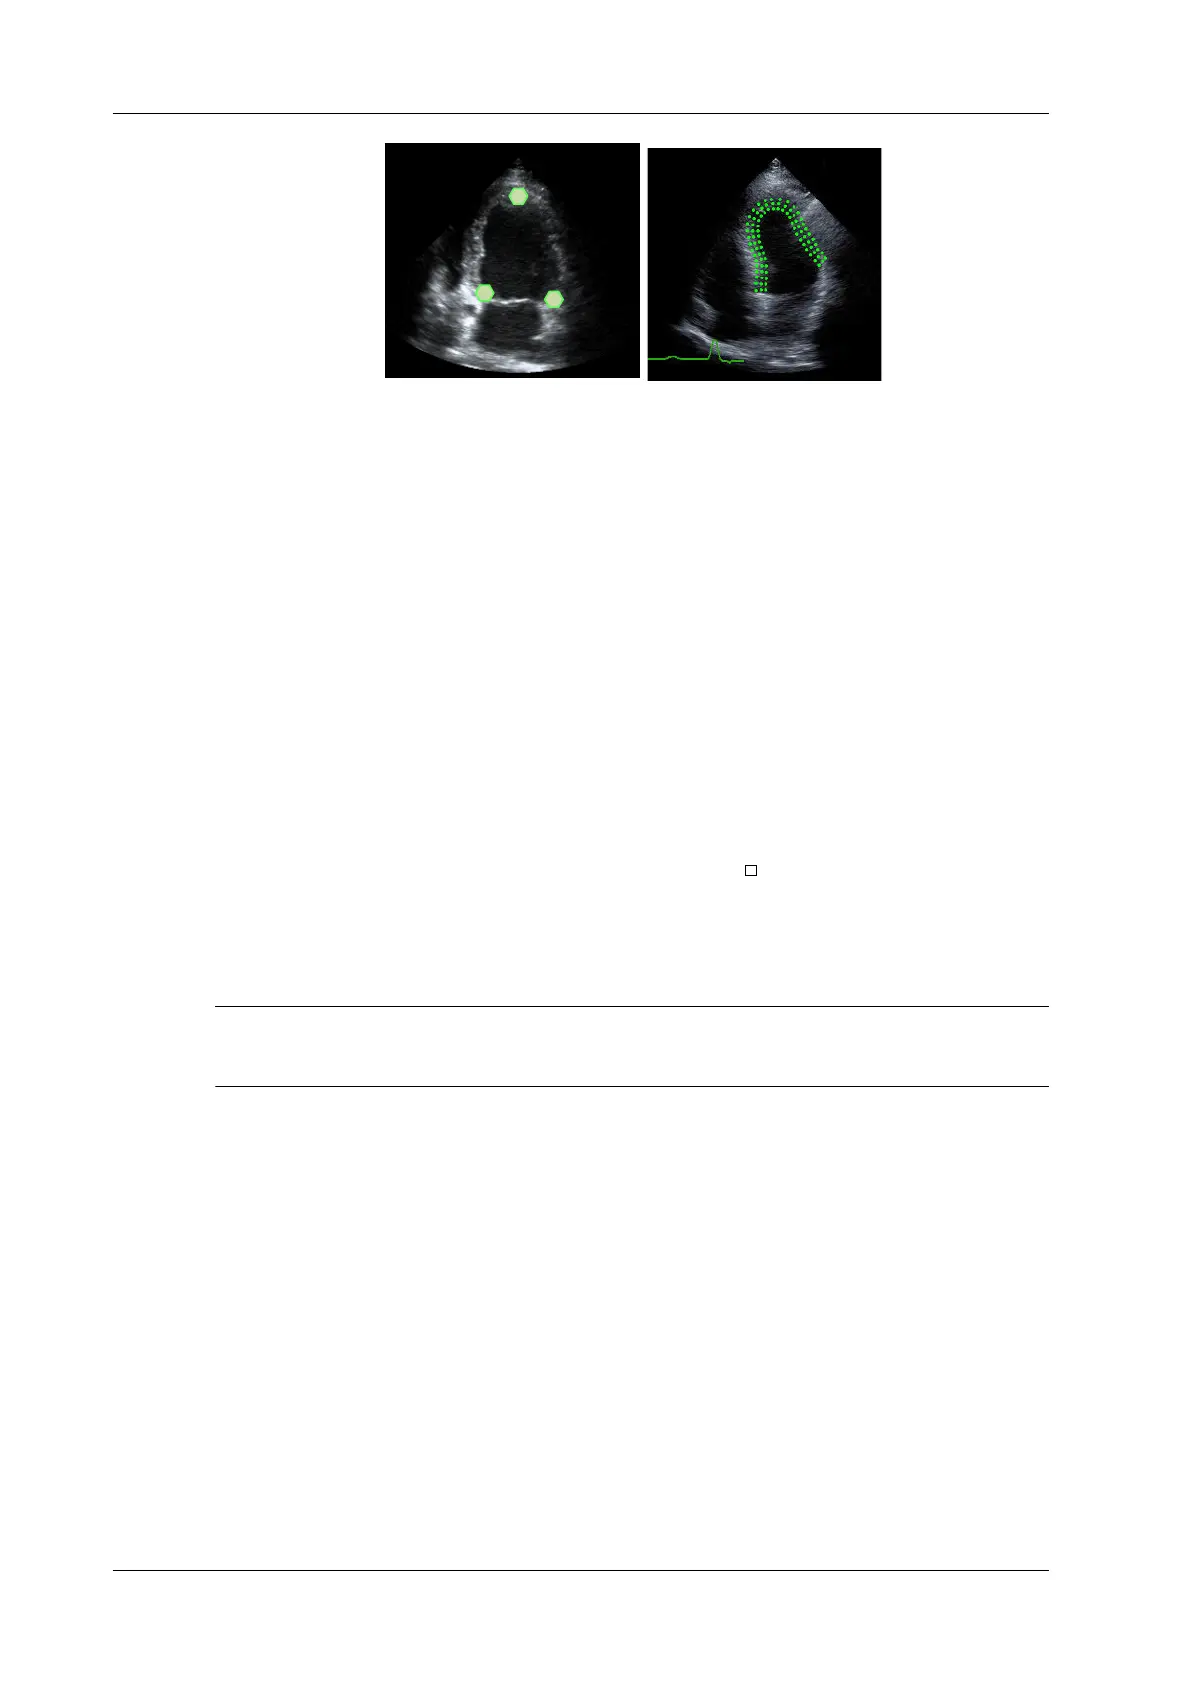
• Manual trace method
Move the cursor along the boundary to add the trace points gradually, after trace is finished,
tap the cursor twice to finish tracing.
NOTE:
At least 6 points should be determined by you before the system generates automated trace.
Tap the cursor to make the traces on the image clockwise or anticlockwise.
Retracing
If current trace is not satisfactory, tap [Reload] on the touch screen to clear the trace and to start
another tracing.
During the tracing drawing, tap [Clear] to clear already traced drawing.
Make fine adjustment to the trace
You can make fine adjustments to the trace after it is completed.
Perform the following procedure:
1. Under tracing curve adjusting status, the cursor turns into .
2. Move the cursor to the editable point.
3. Drag the curve to desired position, tap again to set the point to the new position.
4. Repeat step 2~3 above to finish all points that need adjustment.
Under tracking status, tap [Edit] on the touch screen to enter the status.
6.20.5 Basic Operations of Smart TTQA
Switch among the operation controls
• [Start Tracking]: tap to start tracking.
• [Accept & Compute]: tap to start calculation and display the curve.
• [Exit]: tap to exit tissue tracking.
• [Parameter]: rotate to select the curve type.
• [Bull’s Eye]: touch to turn on/off bull’s eye and peak data table.
• [Auto Play]: change the speed of the play.
View Selection
Before tracing, touch the corresponding keys to select for the view.
• [A4C]: apical four chamber.
• [A2C]: apical two chamber.

 Loading...


