HD3G7 HD 3 Gb/s SDI Video Generator module
How to operate
the HD3G7 module
After the module is installed in the mainframe, and the mainframe is installed in
the rack or other location where it will be used, use the following procedure to
access each f
unction of the module:
1. Connect the power cord to the power connector on the rear panel, and then
plug the cor
d into the AC electric power source. Electric power is supplied
to the mainframe.
2. Wait until
the power-on initialization p rocess is complete, and then check that
no error messages appear on the display.
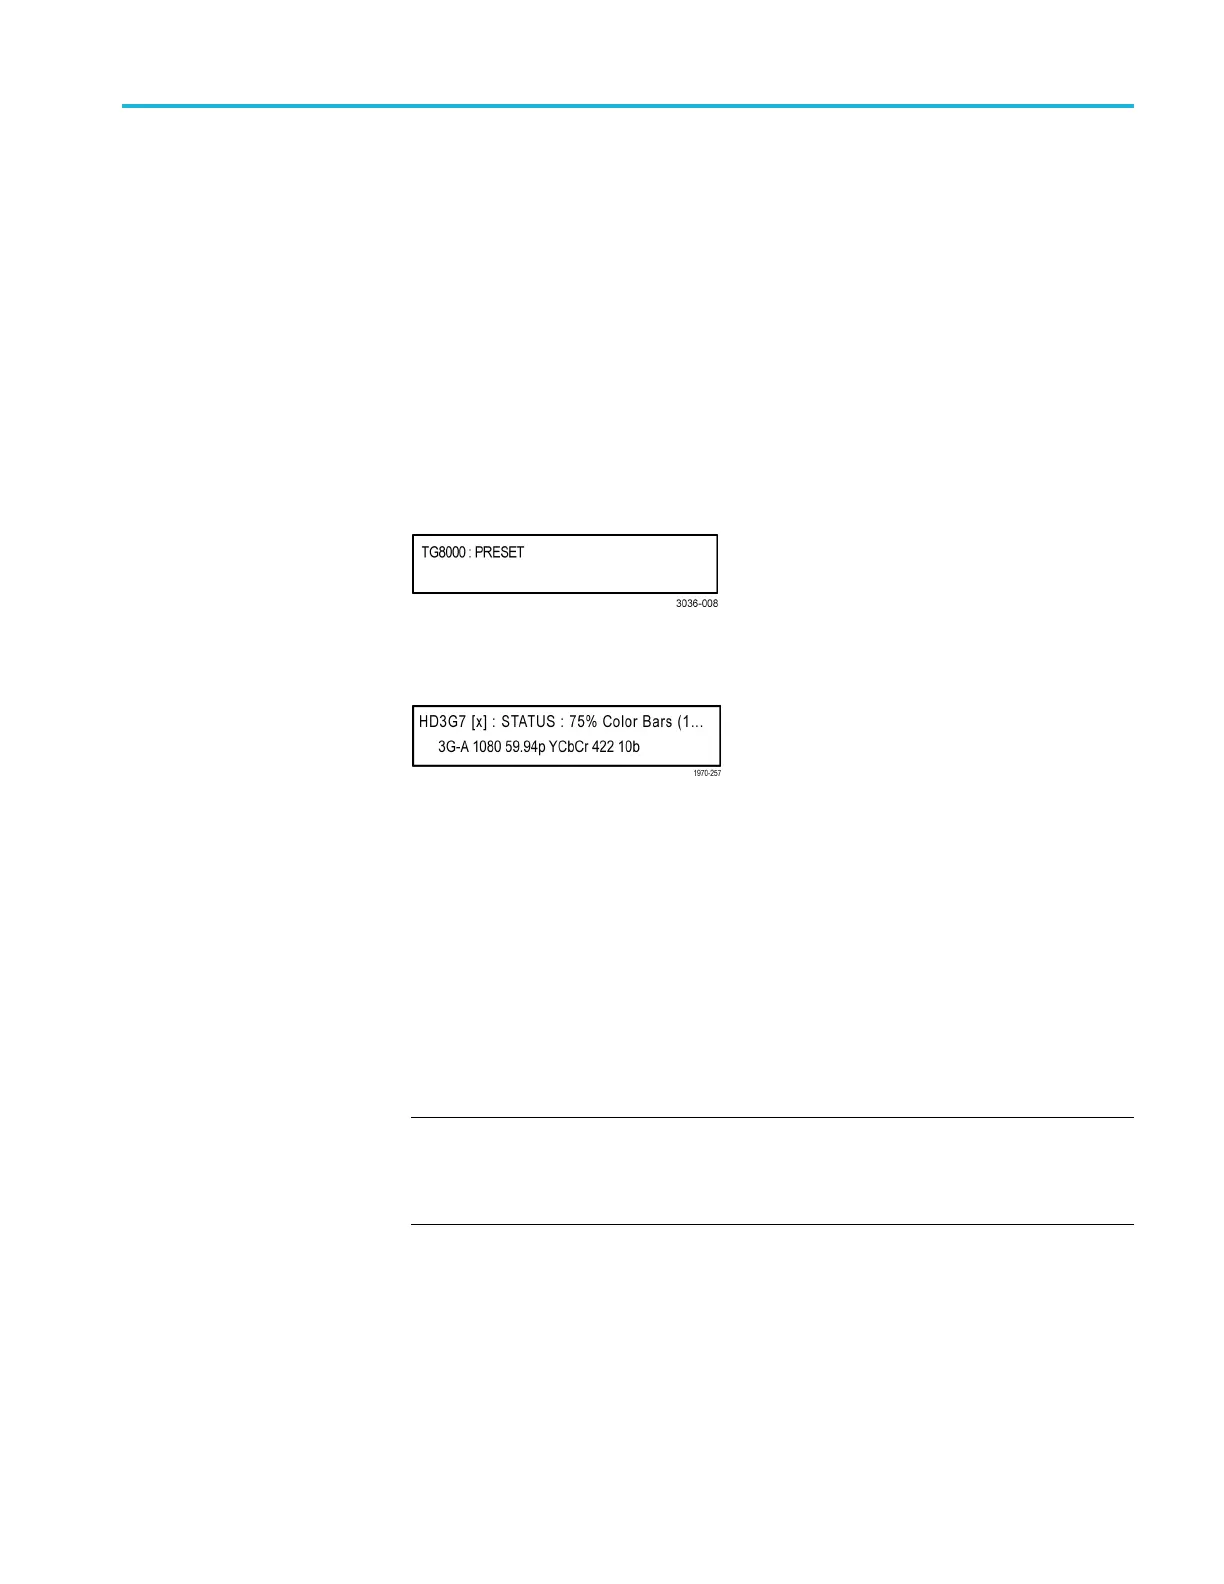
3. After the
initialization process is complete, the mainframe main menu appears
as shown below:
4. Press t
he front-panel MODULE button until the HD3G7 module main menu
appearsasshownbelow:
5. Select the frame rate using the FORMAT button, or select the test signal using
the test signal front panel buttons, such as COLOR BARS or LINEARITY.
To learn how to set the instrument to convertor mode, refer to the following
pag
e. (See page 3-160, To select an output signal on the HD3G7 module.)
6. Use the front-panel arrow buttons to navigate and select items in the m ain
me
nu and submenus. For example, when the OUTPUT MODE menu is
displayed, pressing the left (◄)orright(►) arrow button allows you to select
between output modes such a s Level A, Level B, HD, etc.
Refer to HD3G7 module main menu for detailed information about the main
menu items and the submenu items. (See page 3-185.)
NOTE. In addition to the factory installed signal sets, there are enhanced signal
sets available for the HD3G7 module. These signal sets are located on the
TG8000 SW Library and Documentation DVD that was supplied with your
instrument. (See page 3-171, To install the HD3G7 module enhanced signal sets.)
TG8000 Multiformat Test Signal Generator User Manual 3–159
 Loading...