Publication 1752-UM001A-EN-P - October 2006
22 Installing and Wiring the SmartGuard 600 Controller
Understanding Node
Addressing
To communicate on the DeviceNet network, each device requires its
own address. Follow the recommendations below when assigning
addresses to the devices on your network.
The standard DeviceNet network assigns communication priority
based on the device’s node number. The lower the node number, the
higher the device’s communications priority. This priority becomes
important when multiple nodes are trying to communicate on the
network at the same time.
DeviceNet safety nodes have additional priority on the network,
regardless of node number. DeviceNet safety communications from
devices with lower node numbers have priority over DeviceNet safety
communications from devices with higher node numbers.
Setting the Node Address
Set the node address before you mount the controller.
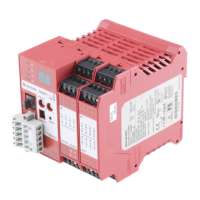
Use a small flathead screwdriver to set the node address using the two
rotary switches on the front panel of the controller. Use care not to
scratch the switches. Values from 00…63 are valid. The default setting
is 63.
Node Address Recommendations
Give This Device This Address Notes
Scanner 0 If you have multiple scanners, give them
the lowest addresses in sequence.
Any device on your network,
except the scanner
1…61 Gaps between addresses are allowed
and have no effect on system
performance. Leaving gaps gives you
more flexibility as you develop your
system.
RSNetWorx for DeviceNet
workstation
62 If you connect a computer directly to the
DeviceNet network, use address 62 for
the computer or bridging/linking device.
No device 63 Leave address 63 open. This is where a
non-commissioned node typically enters
the network.
IMPORTANT
Turn off power to the controller before setting the node address
or communication rate via the switches.
Do not change the switch settings while the power supply is on.
The controller will detect this as a change in the configuration
and will switch to the ABORT mode.
 Loading...
